A storyteller & her vintage camper

Midge & Me It started on a whim...

Have you ever decided to do something that sounded like a good idea at the time? Well, meet Midge, a 1954 Empire that I decided to turn into a writing retreat! Follow me through this renovation along with all the things I love to do.

Meet Midge

A small trailer from a short-lived company

Midge was built by Empire Trailers, Inc. in El Monte, California, a town that turned out a remarkable number of postwar trailers. Empire only made travel trailers from 1950 to 1958, so there aren't many left, and there isn't much written about them.

The company sold through a dealer who called himself "the Trailer King," and many of its trailers wore an angled EMPIRE decal on the front, just above the window.

I brought Midge home to be a quiet place to write. She was tired but full of story, and she needed a lot of work first. If you own an Empire, or have photos or brochures of one, I would love to hear from you.
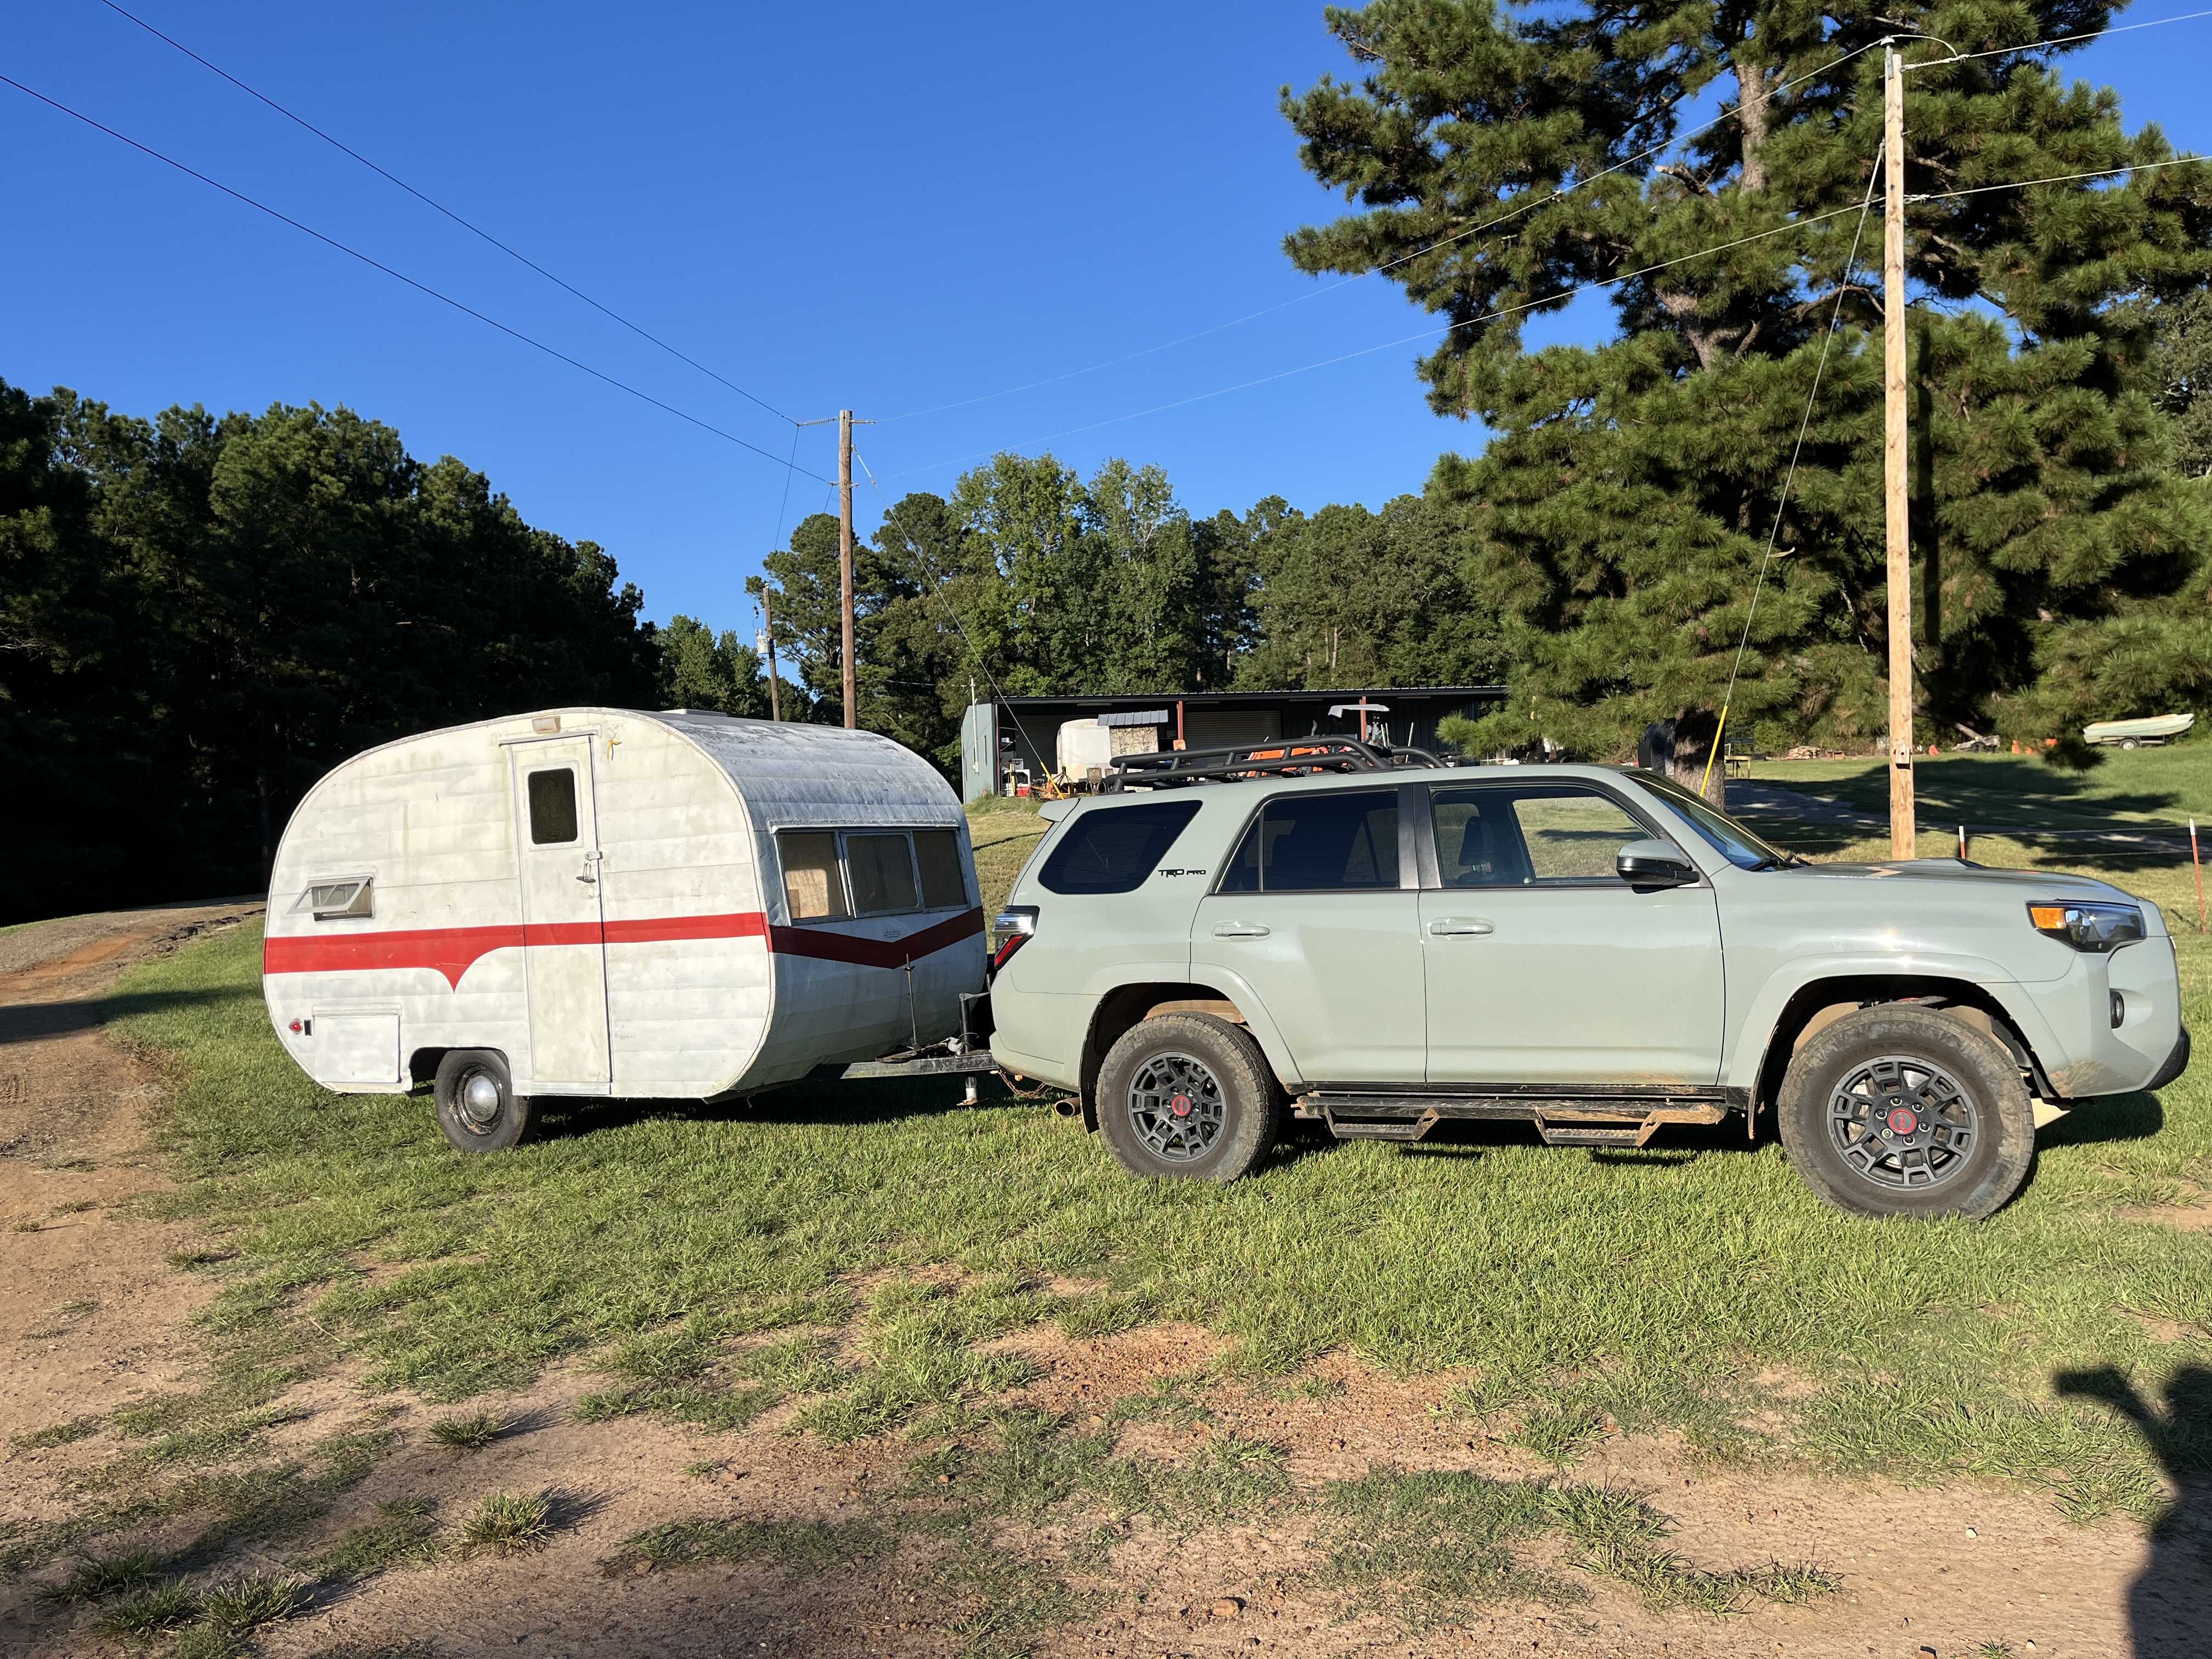
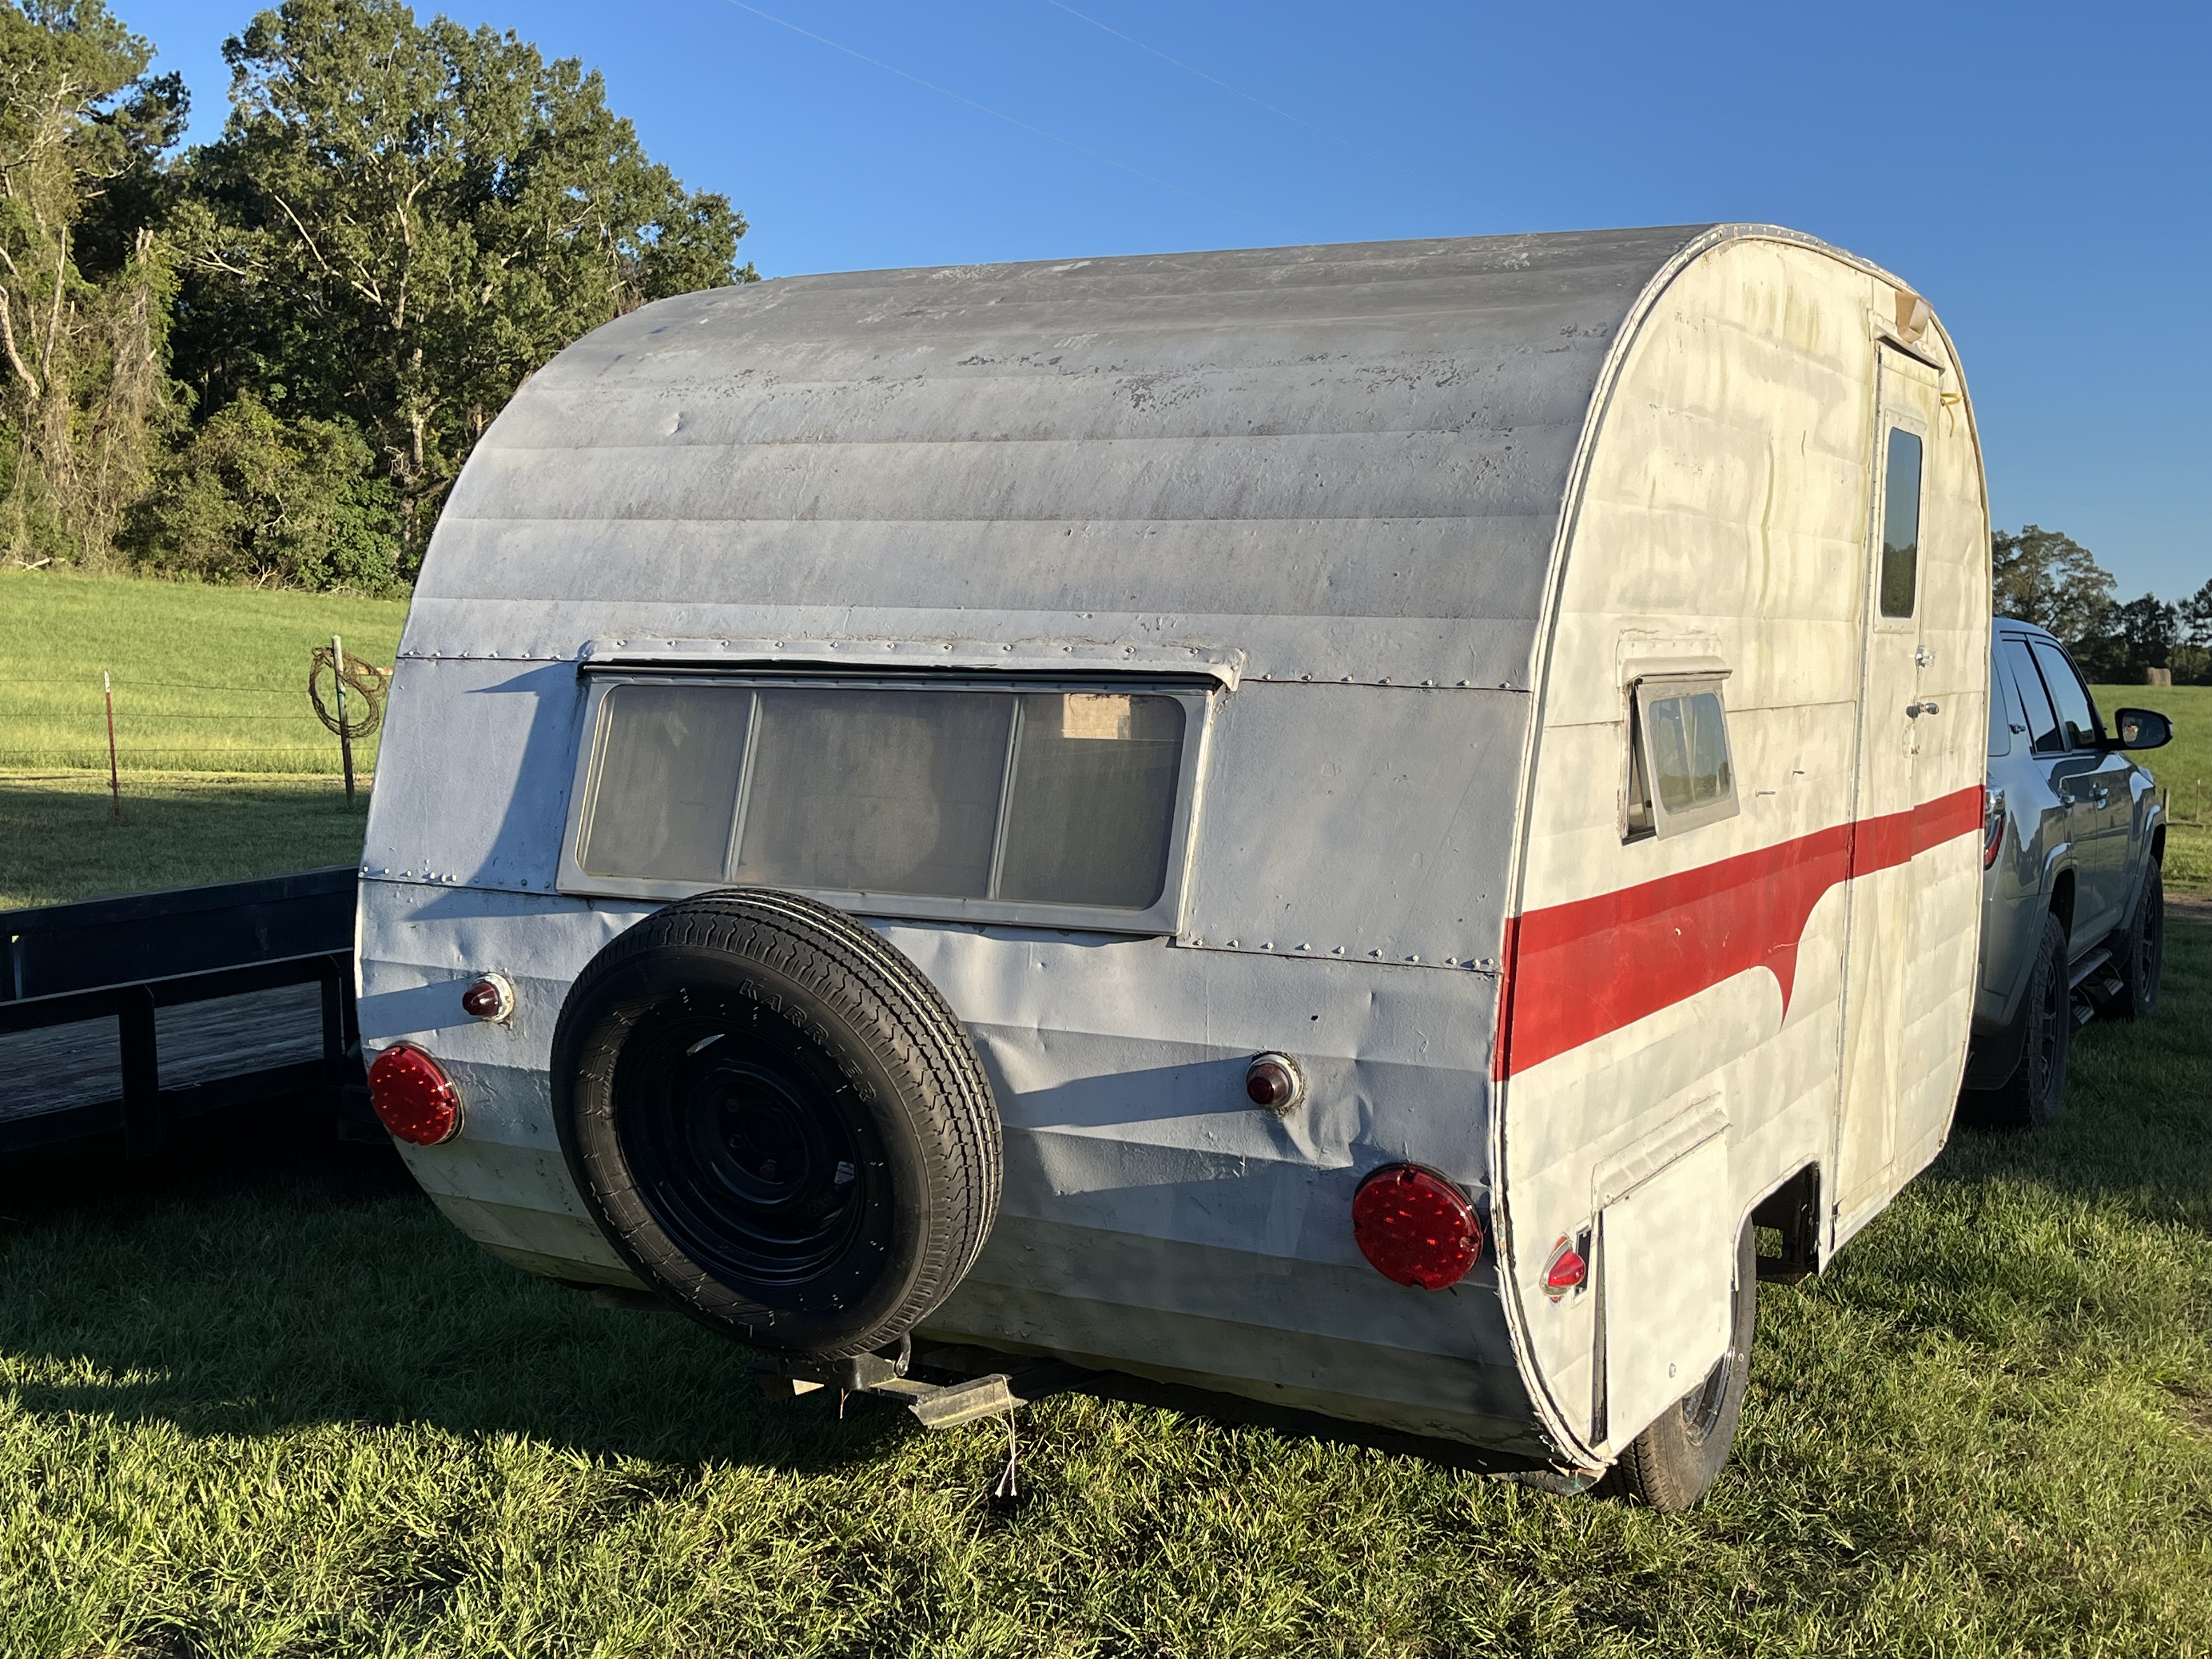
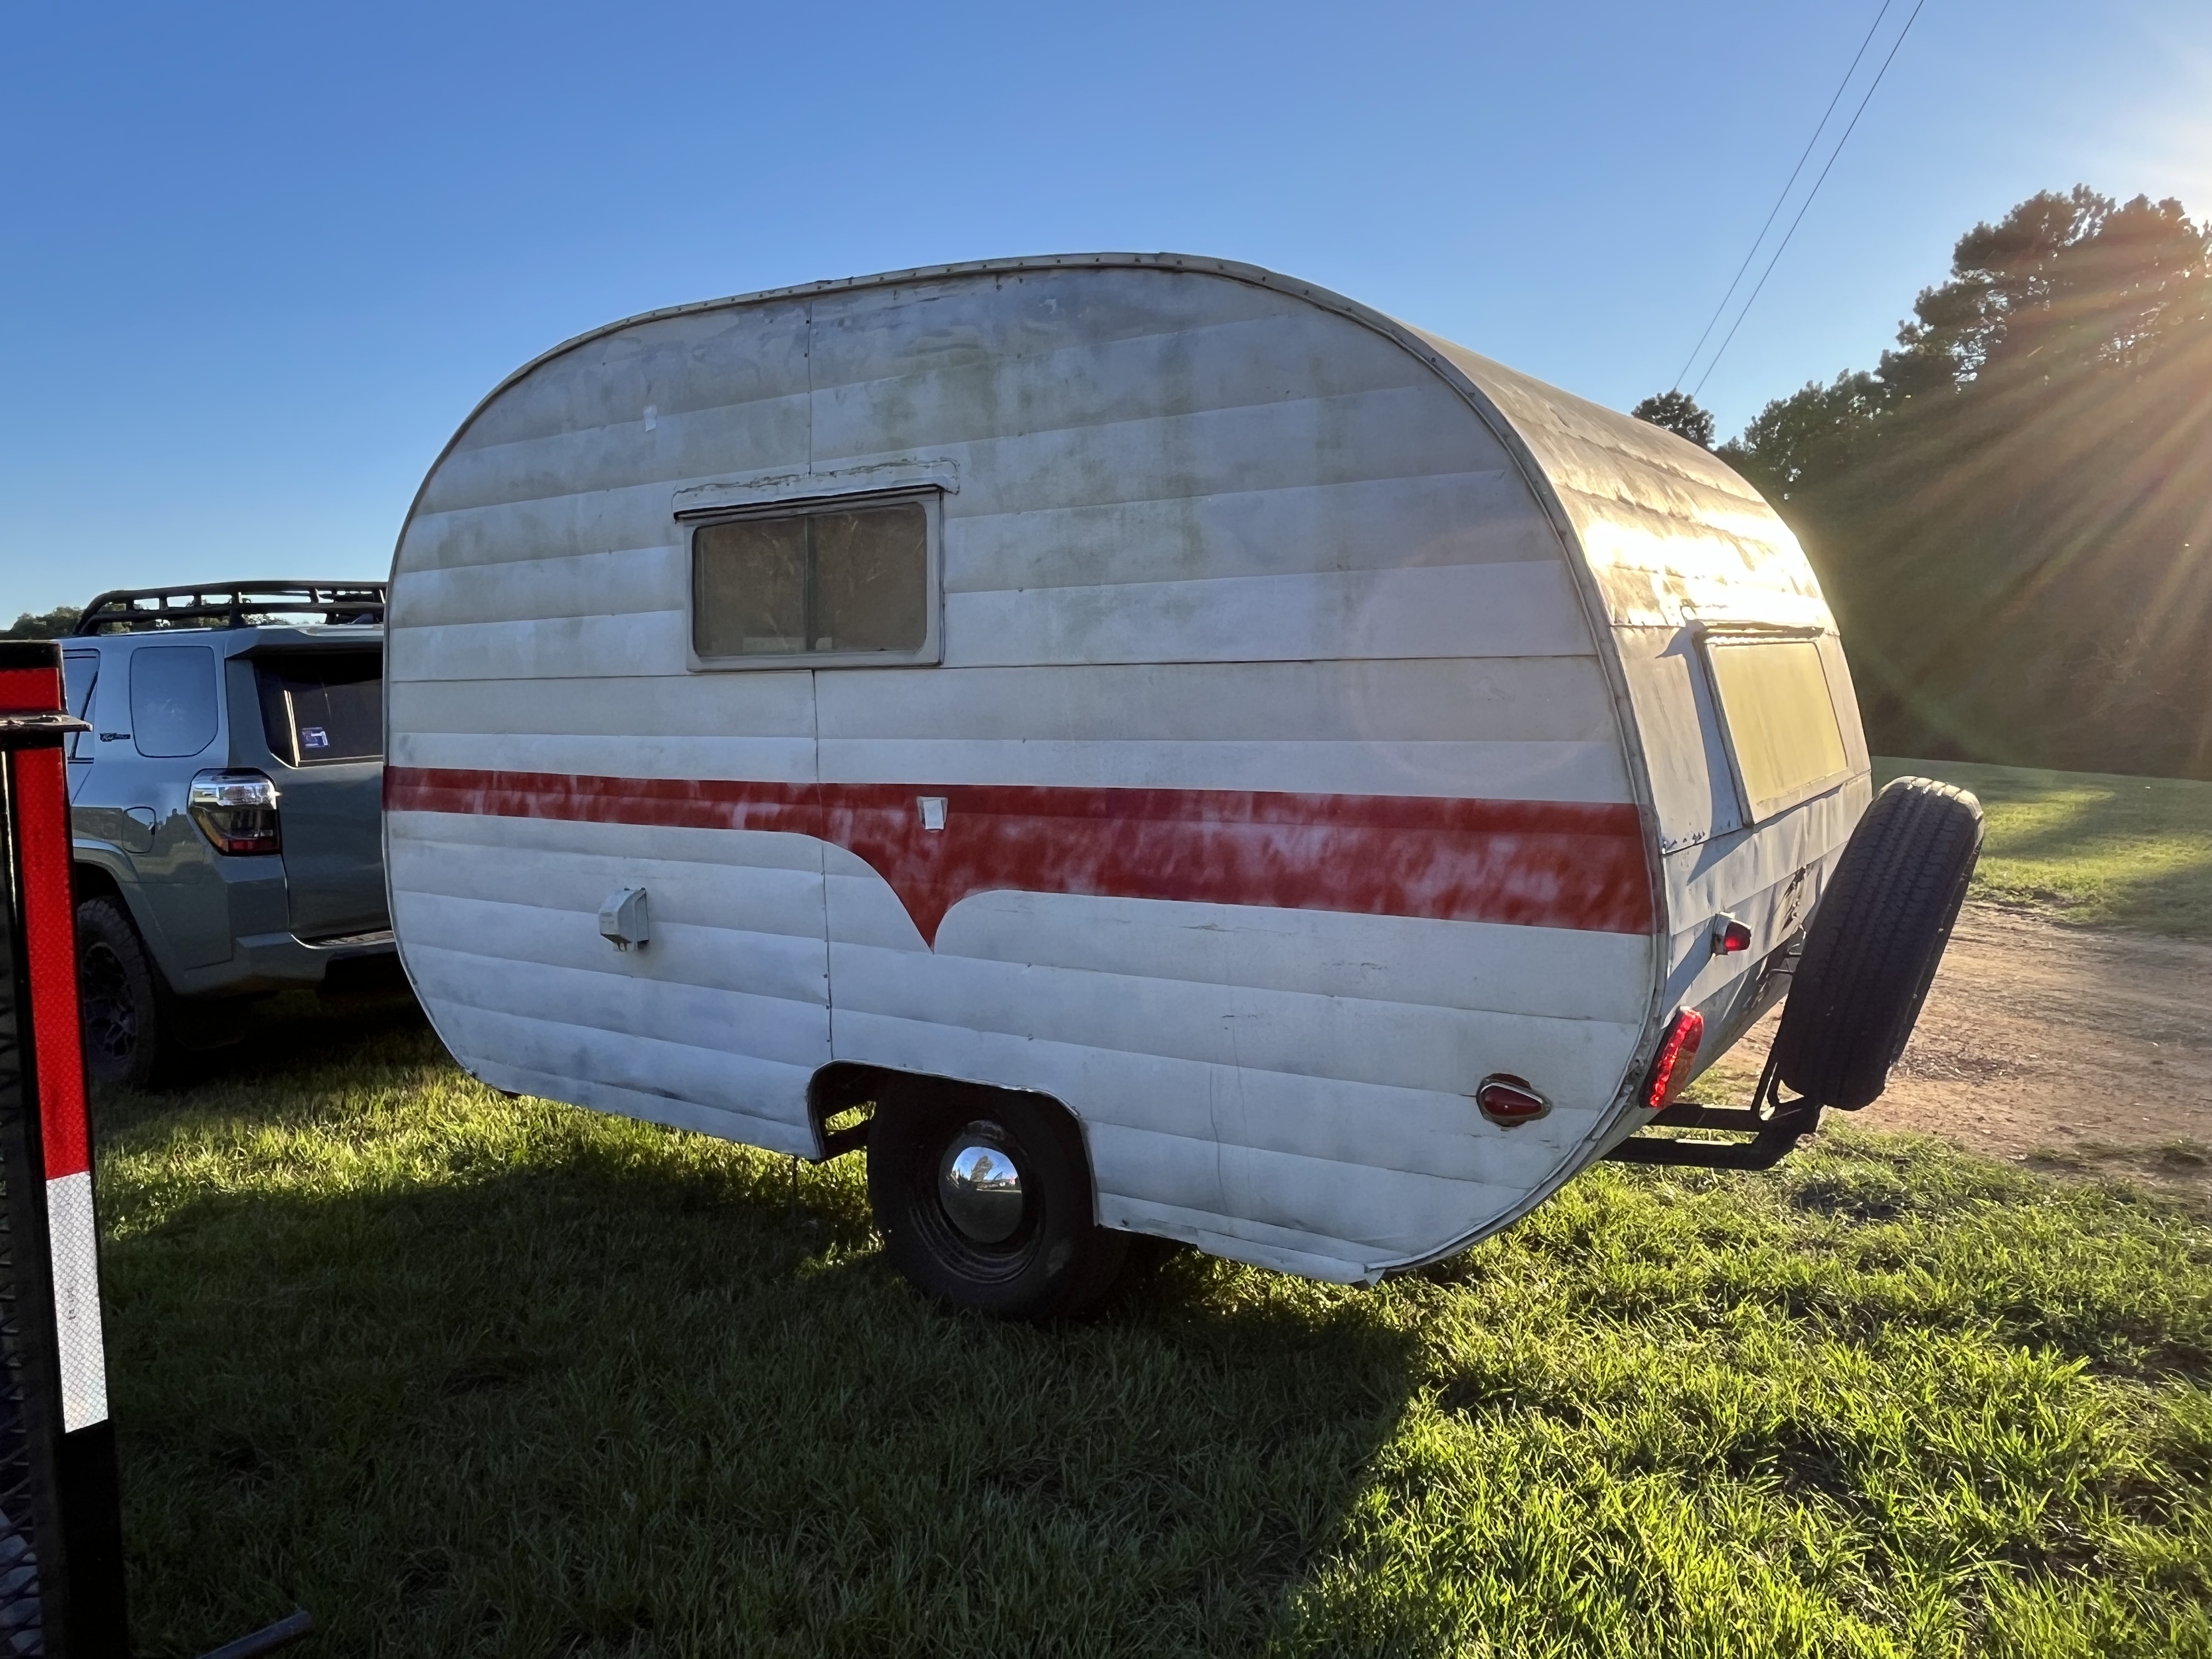
Midge, white with a red stripe, hitched behind the Lunar Rock 4Runner in a grassy field
Midge in her original white and red, hitched to the 4Runner she'll soon match · Sept 2024

Build log

The restoration so far

The first stages live in photos. Everything from here on is on video.
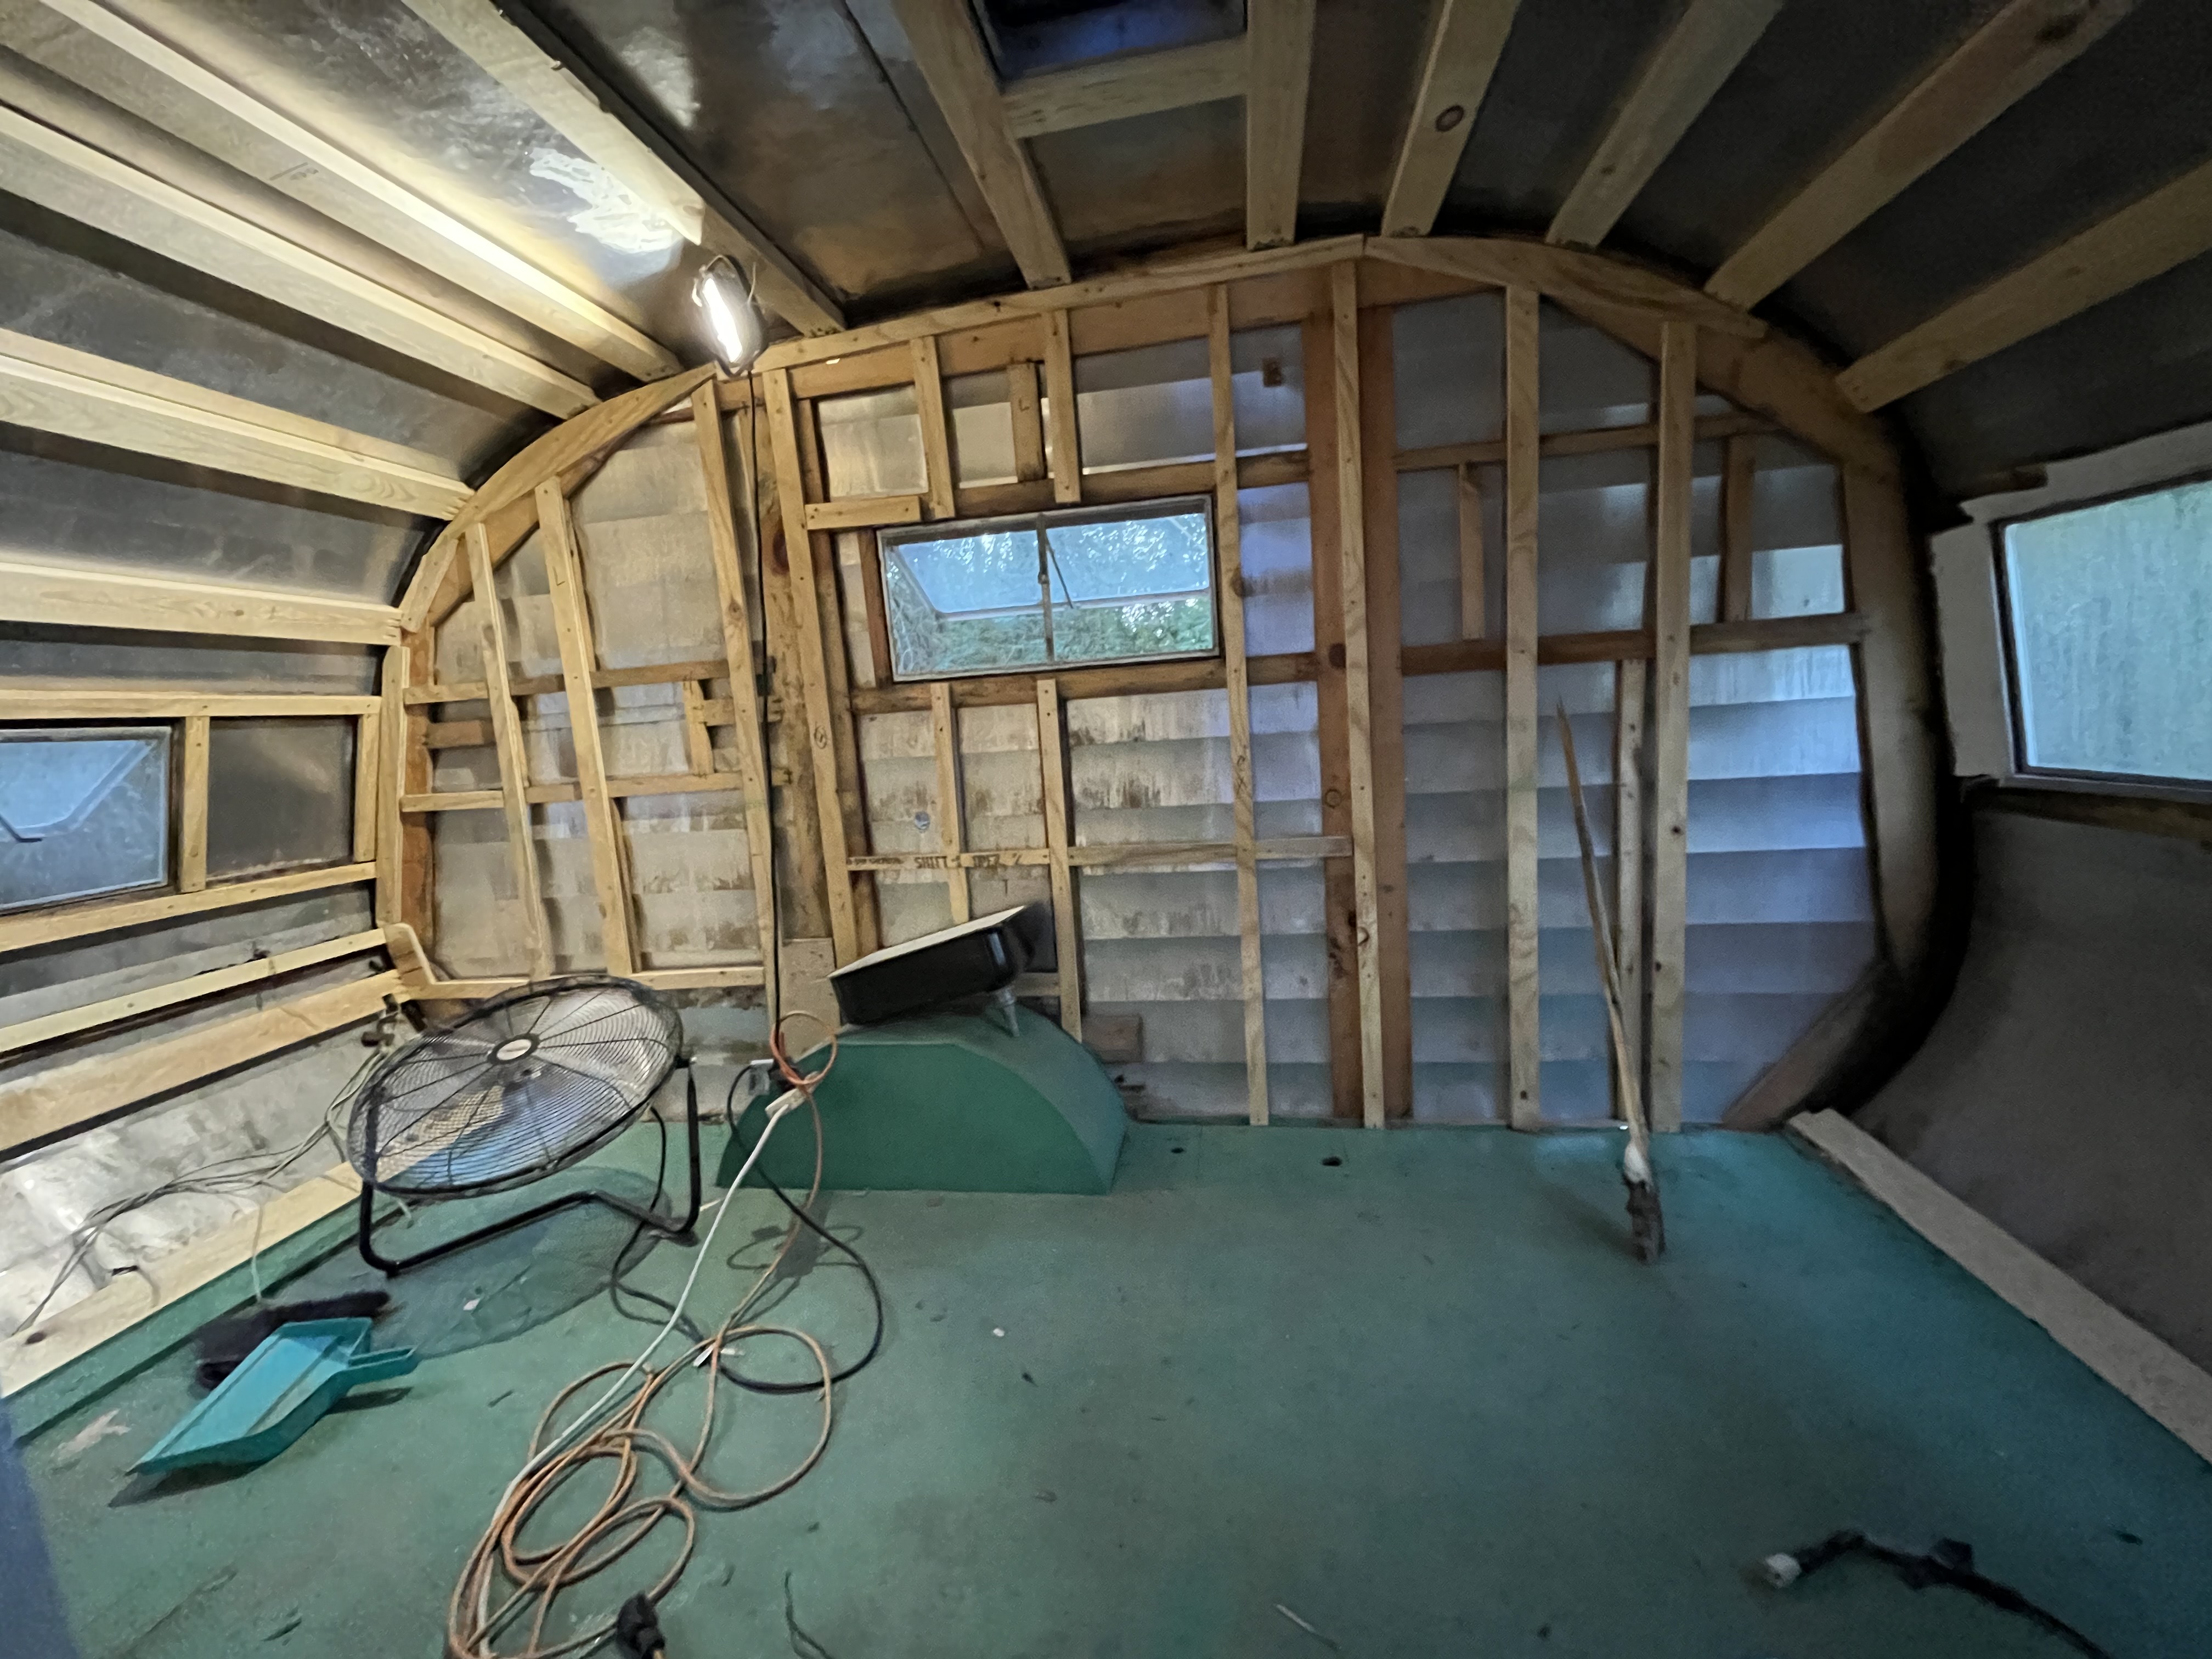
The front wall finished in white shiplap, with the window and wheel-well box framed in The same front wall stripped to new wood framing, with the green wheel-well cover exposed August 2024October 2024

Same wall, ten weeks apart. Drag to compare.

  1. Phase 1

    The "before" tour

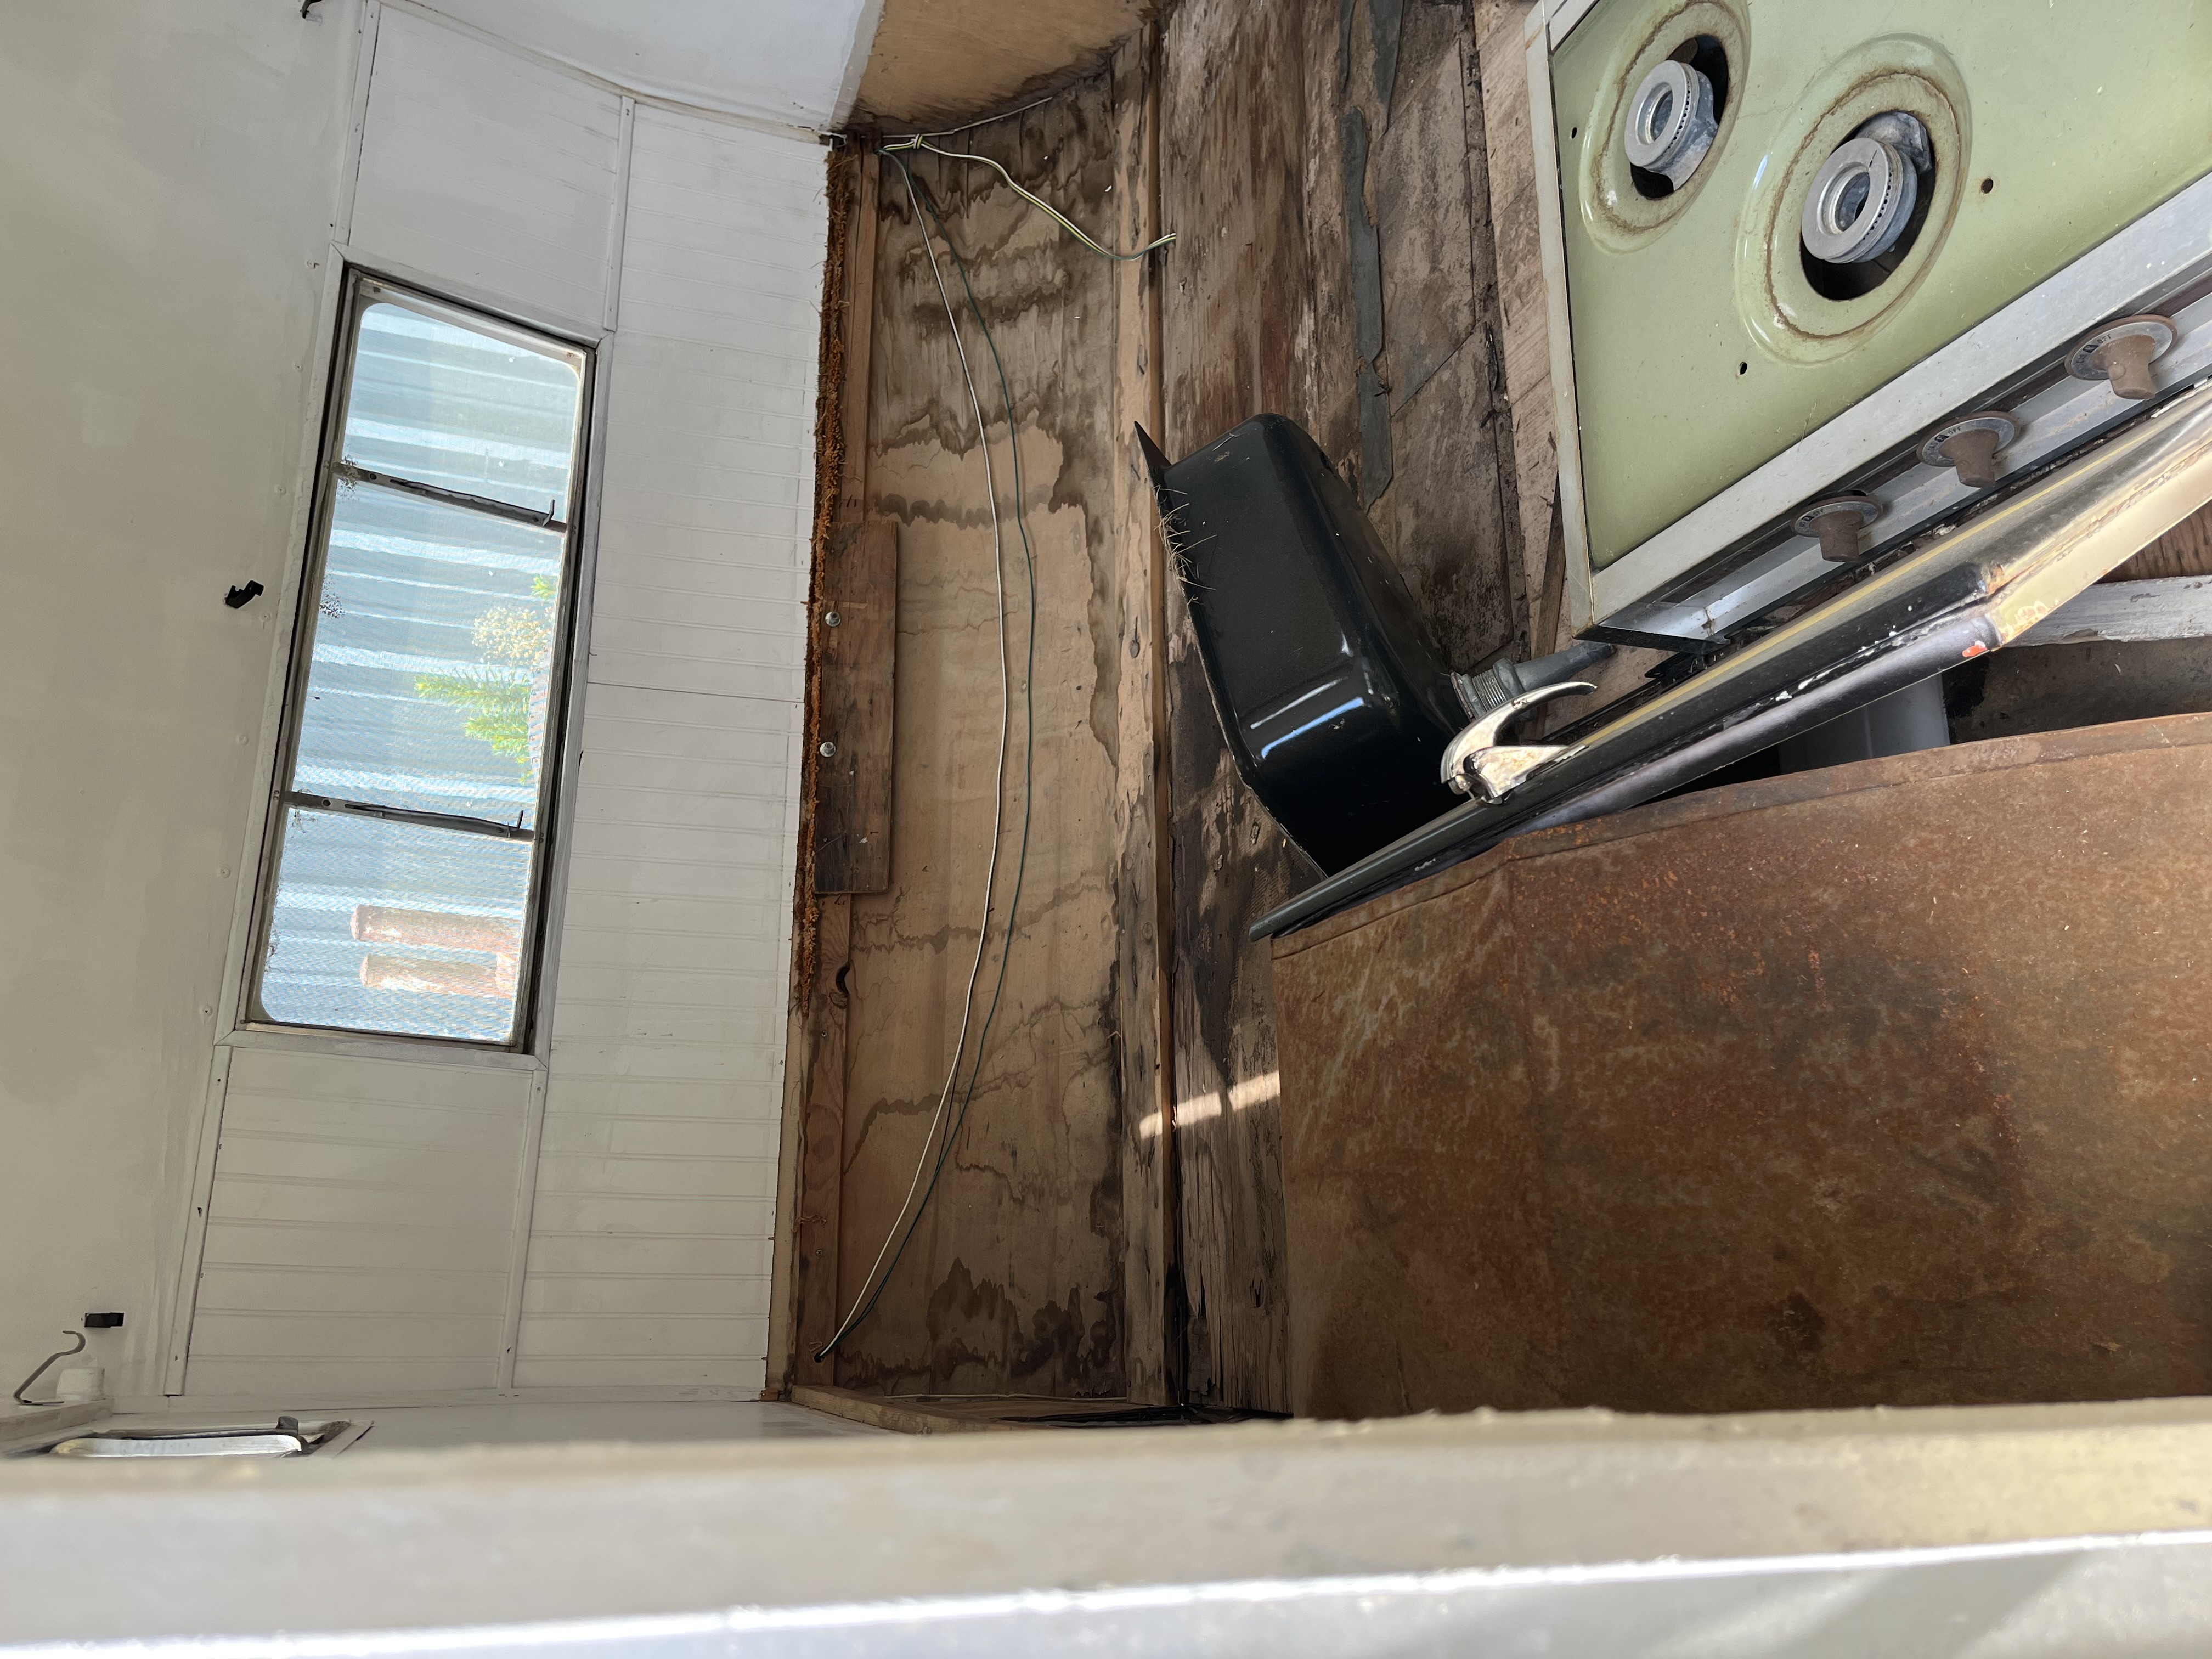
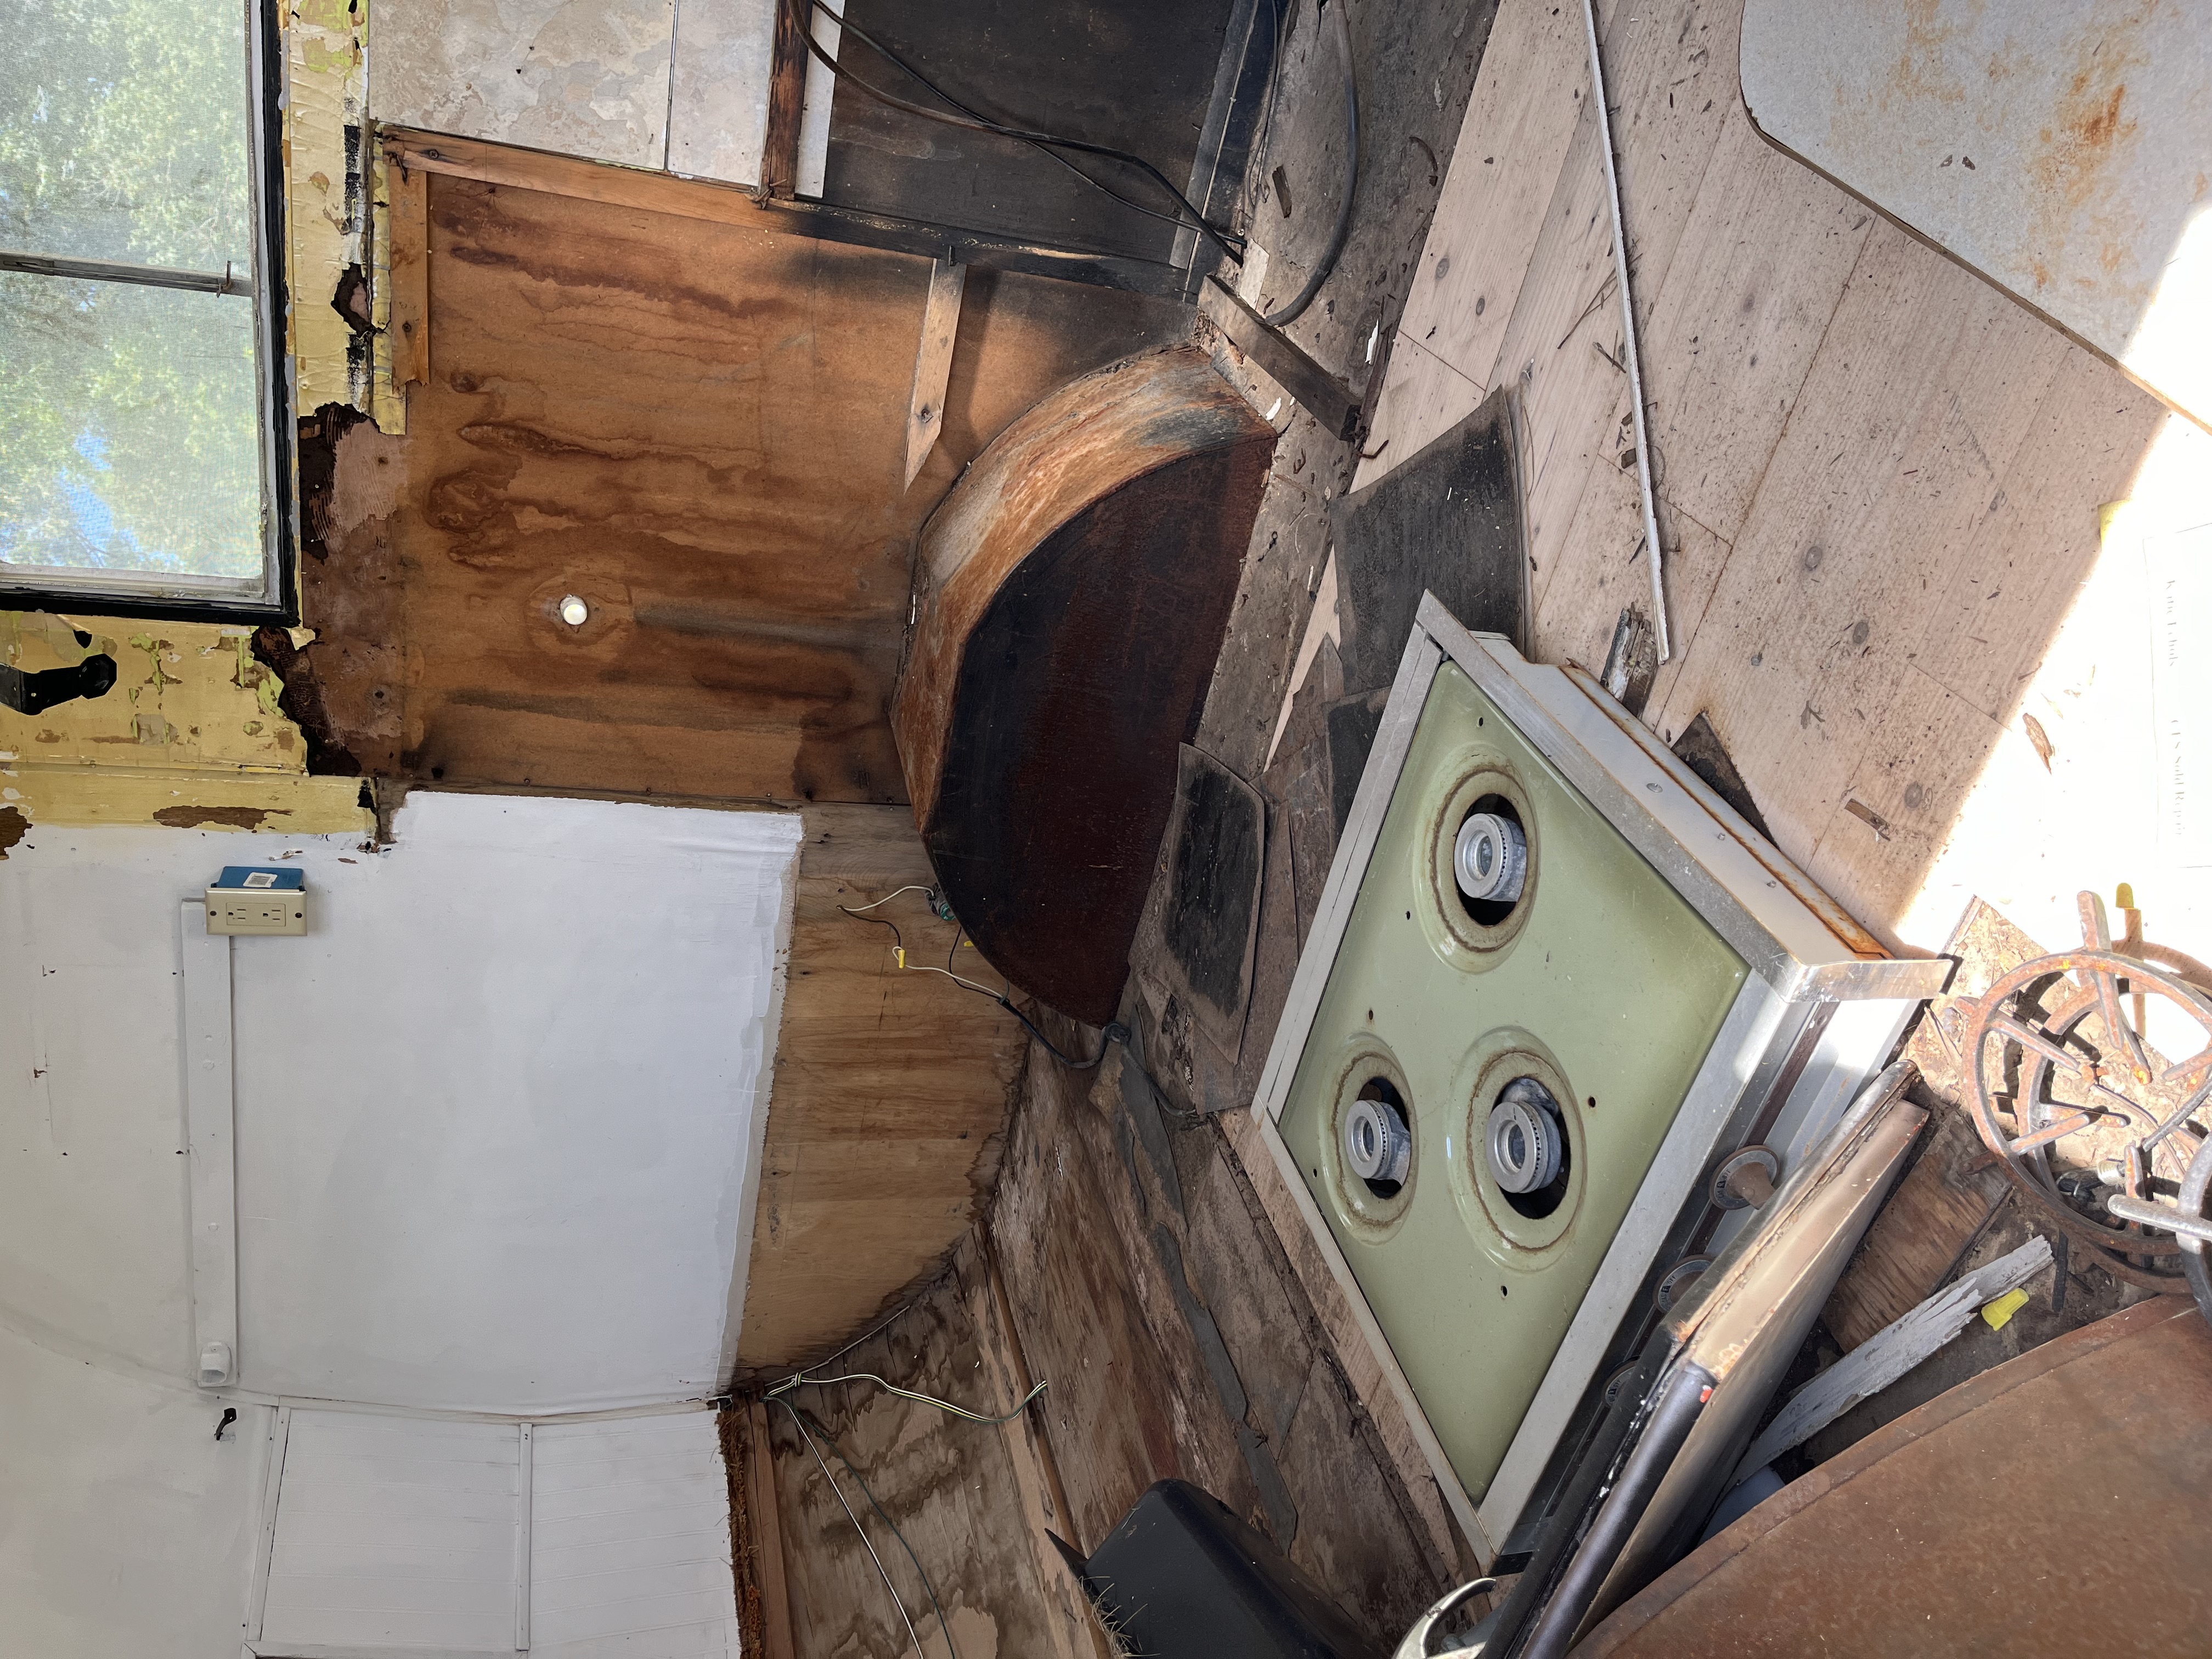
    Midge as she came to me: white paint with a red stripe that dips into a V under the window, and inside, water-stained floors, a rotted wall behind the wheel well, and the old stove pulled loose.
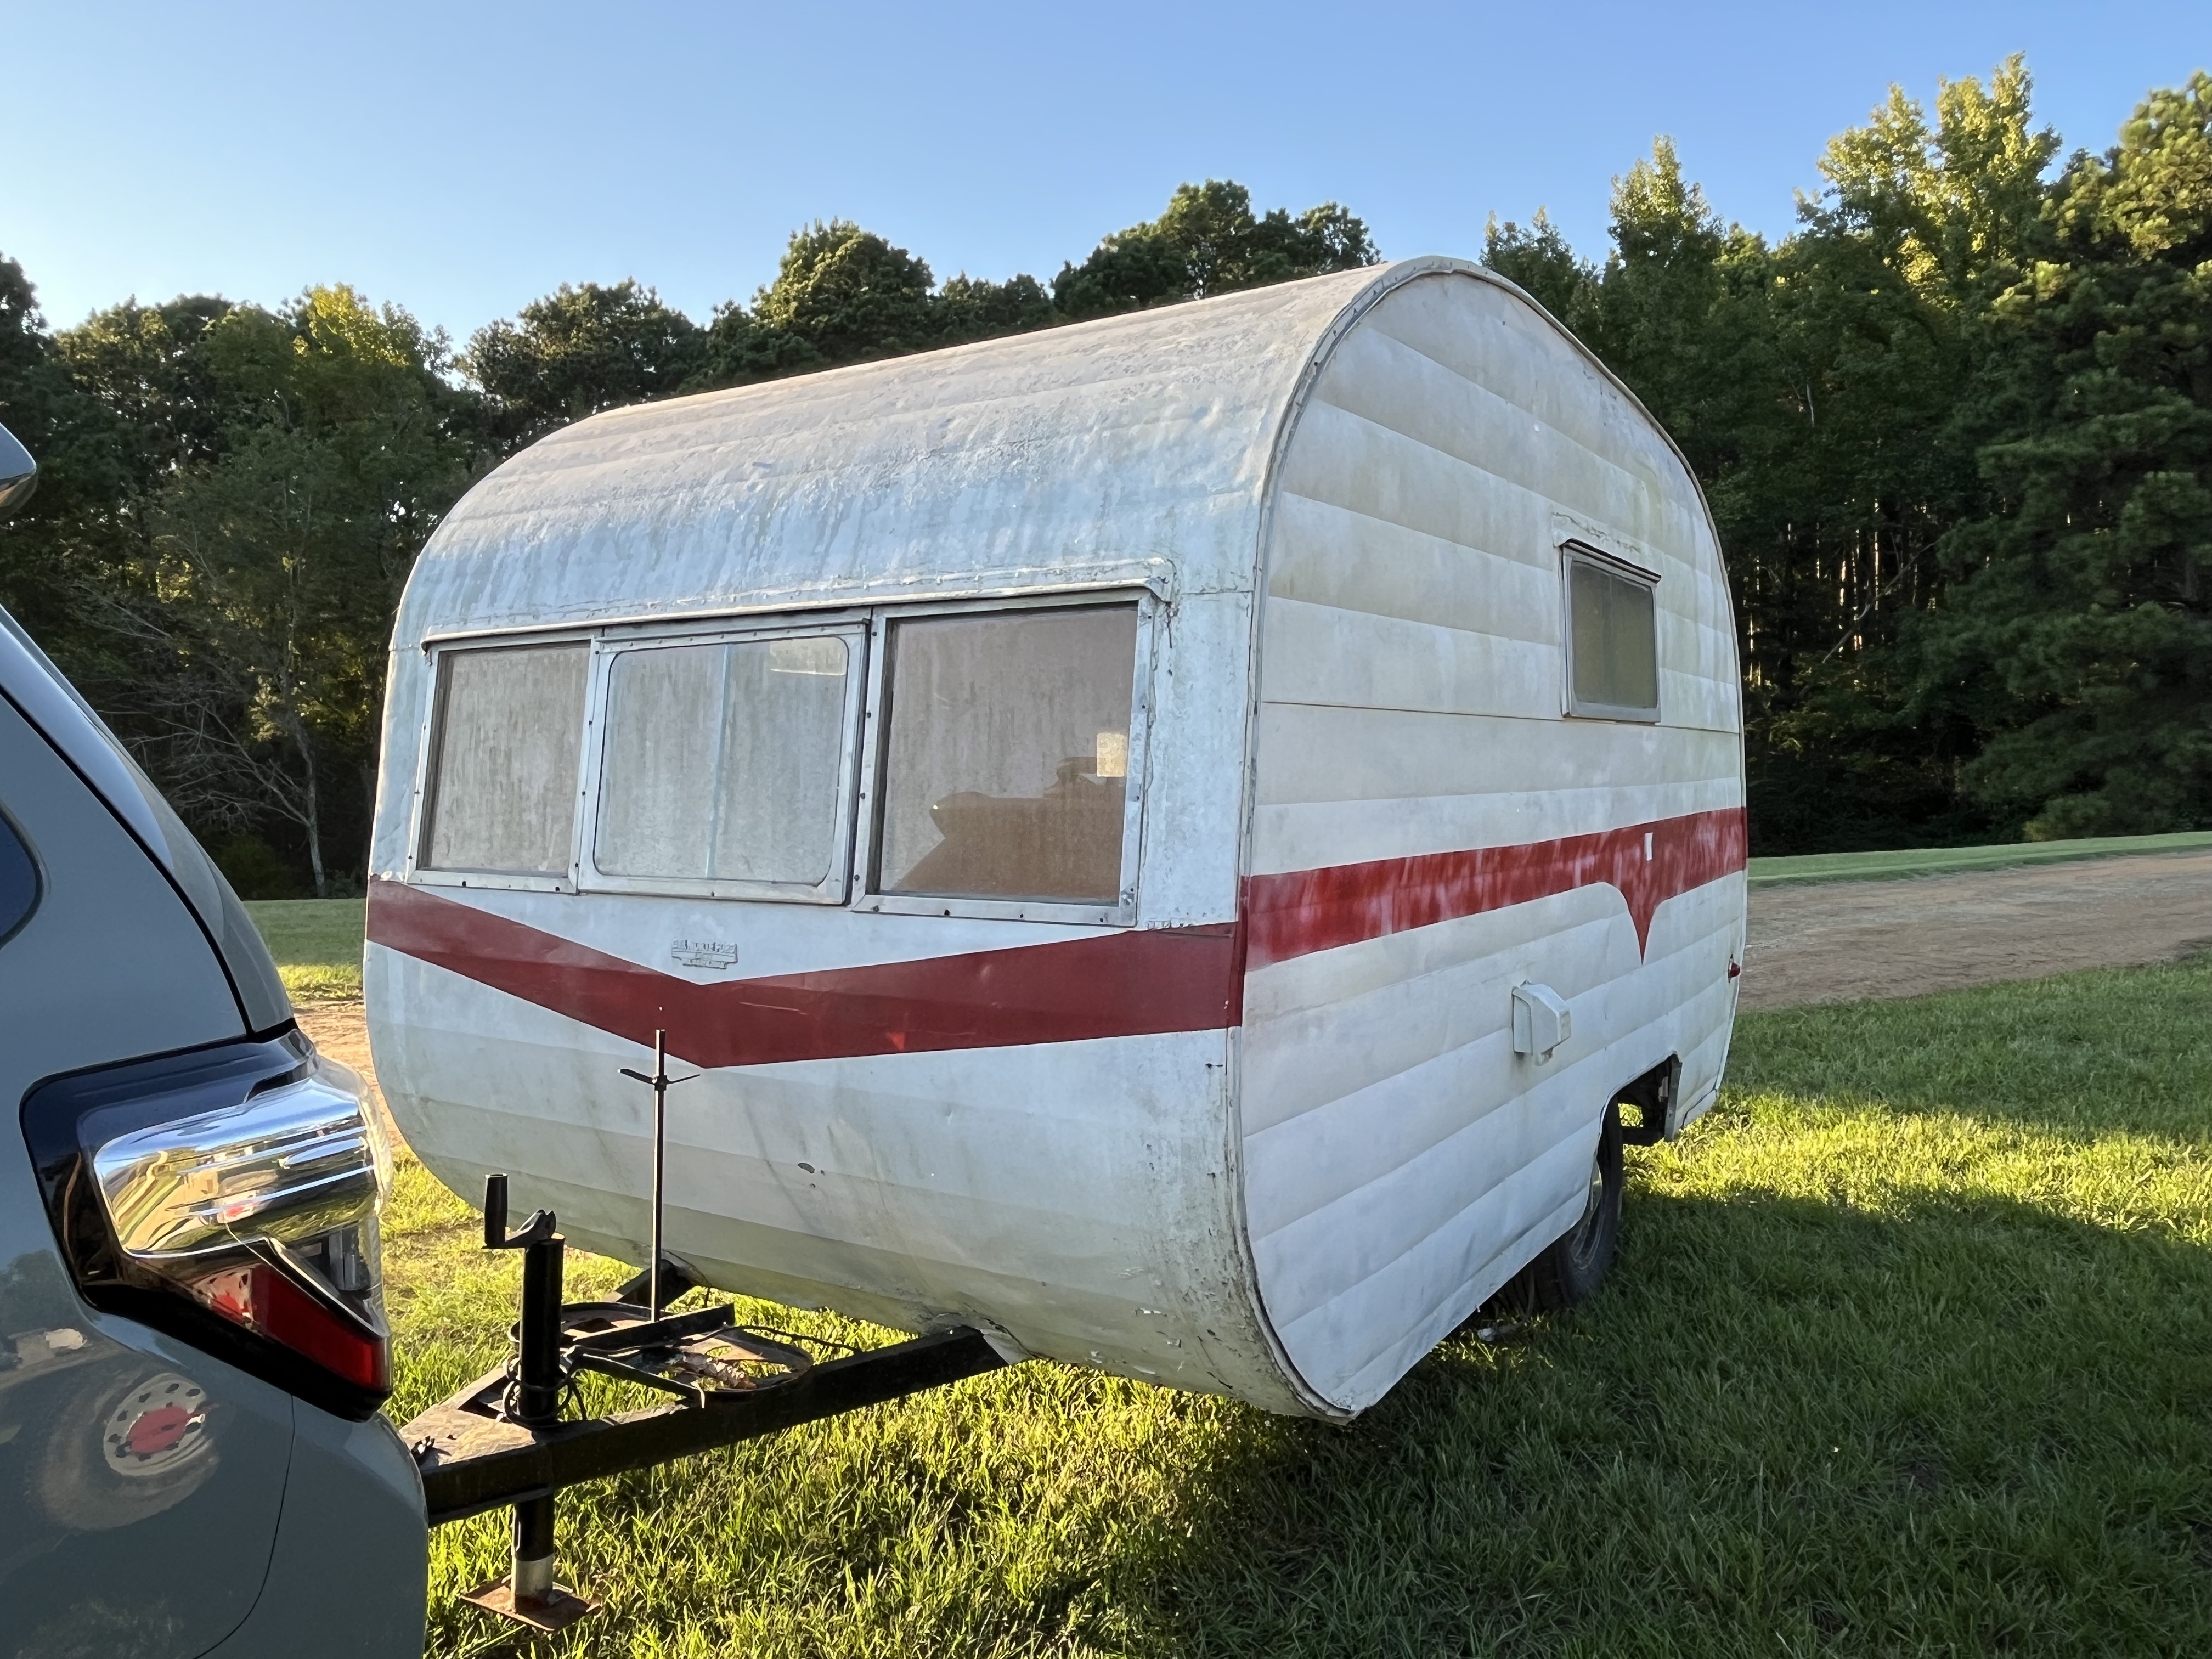
    Front of the camper with a wide three-pane window and the red stripe
    Front · Sept 2024
    Side of the camper with a small window and the red stripe dipping into a V
    Street side · Sept 2024
    Rear of the camper with a spare tire and round red taillights
    Rear and spare · Sept 2024
    Original interior looking toward the rear window, with a water-damaged floor and loose stove
    The rear, as she arrived · Aug 9, 2024
    Rusted wheel-well cover, stained paneling, and the original pale green stove top
    Wheel well and the original stove · Aug 9, 2024
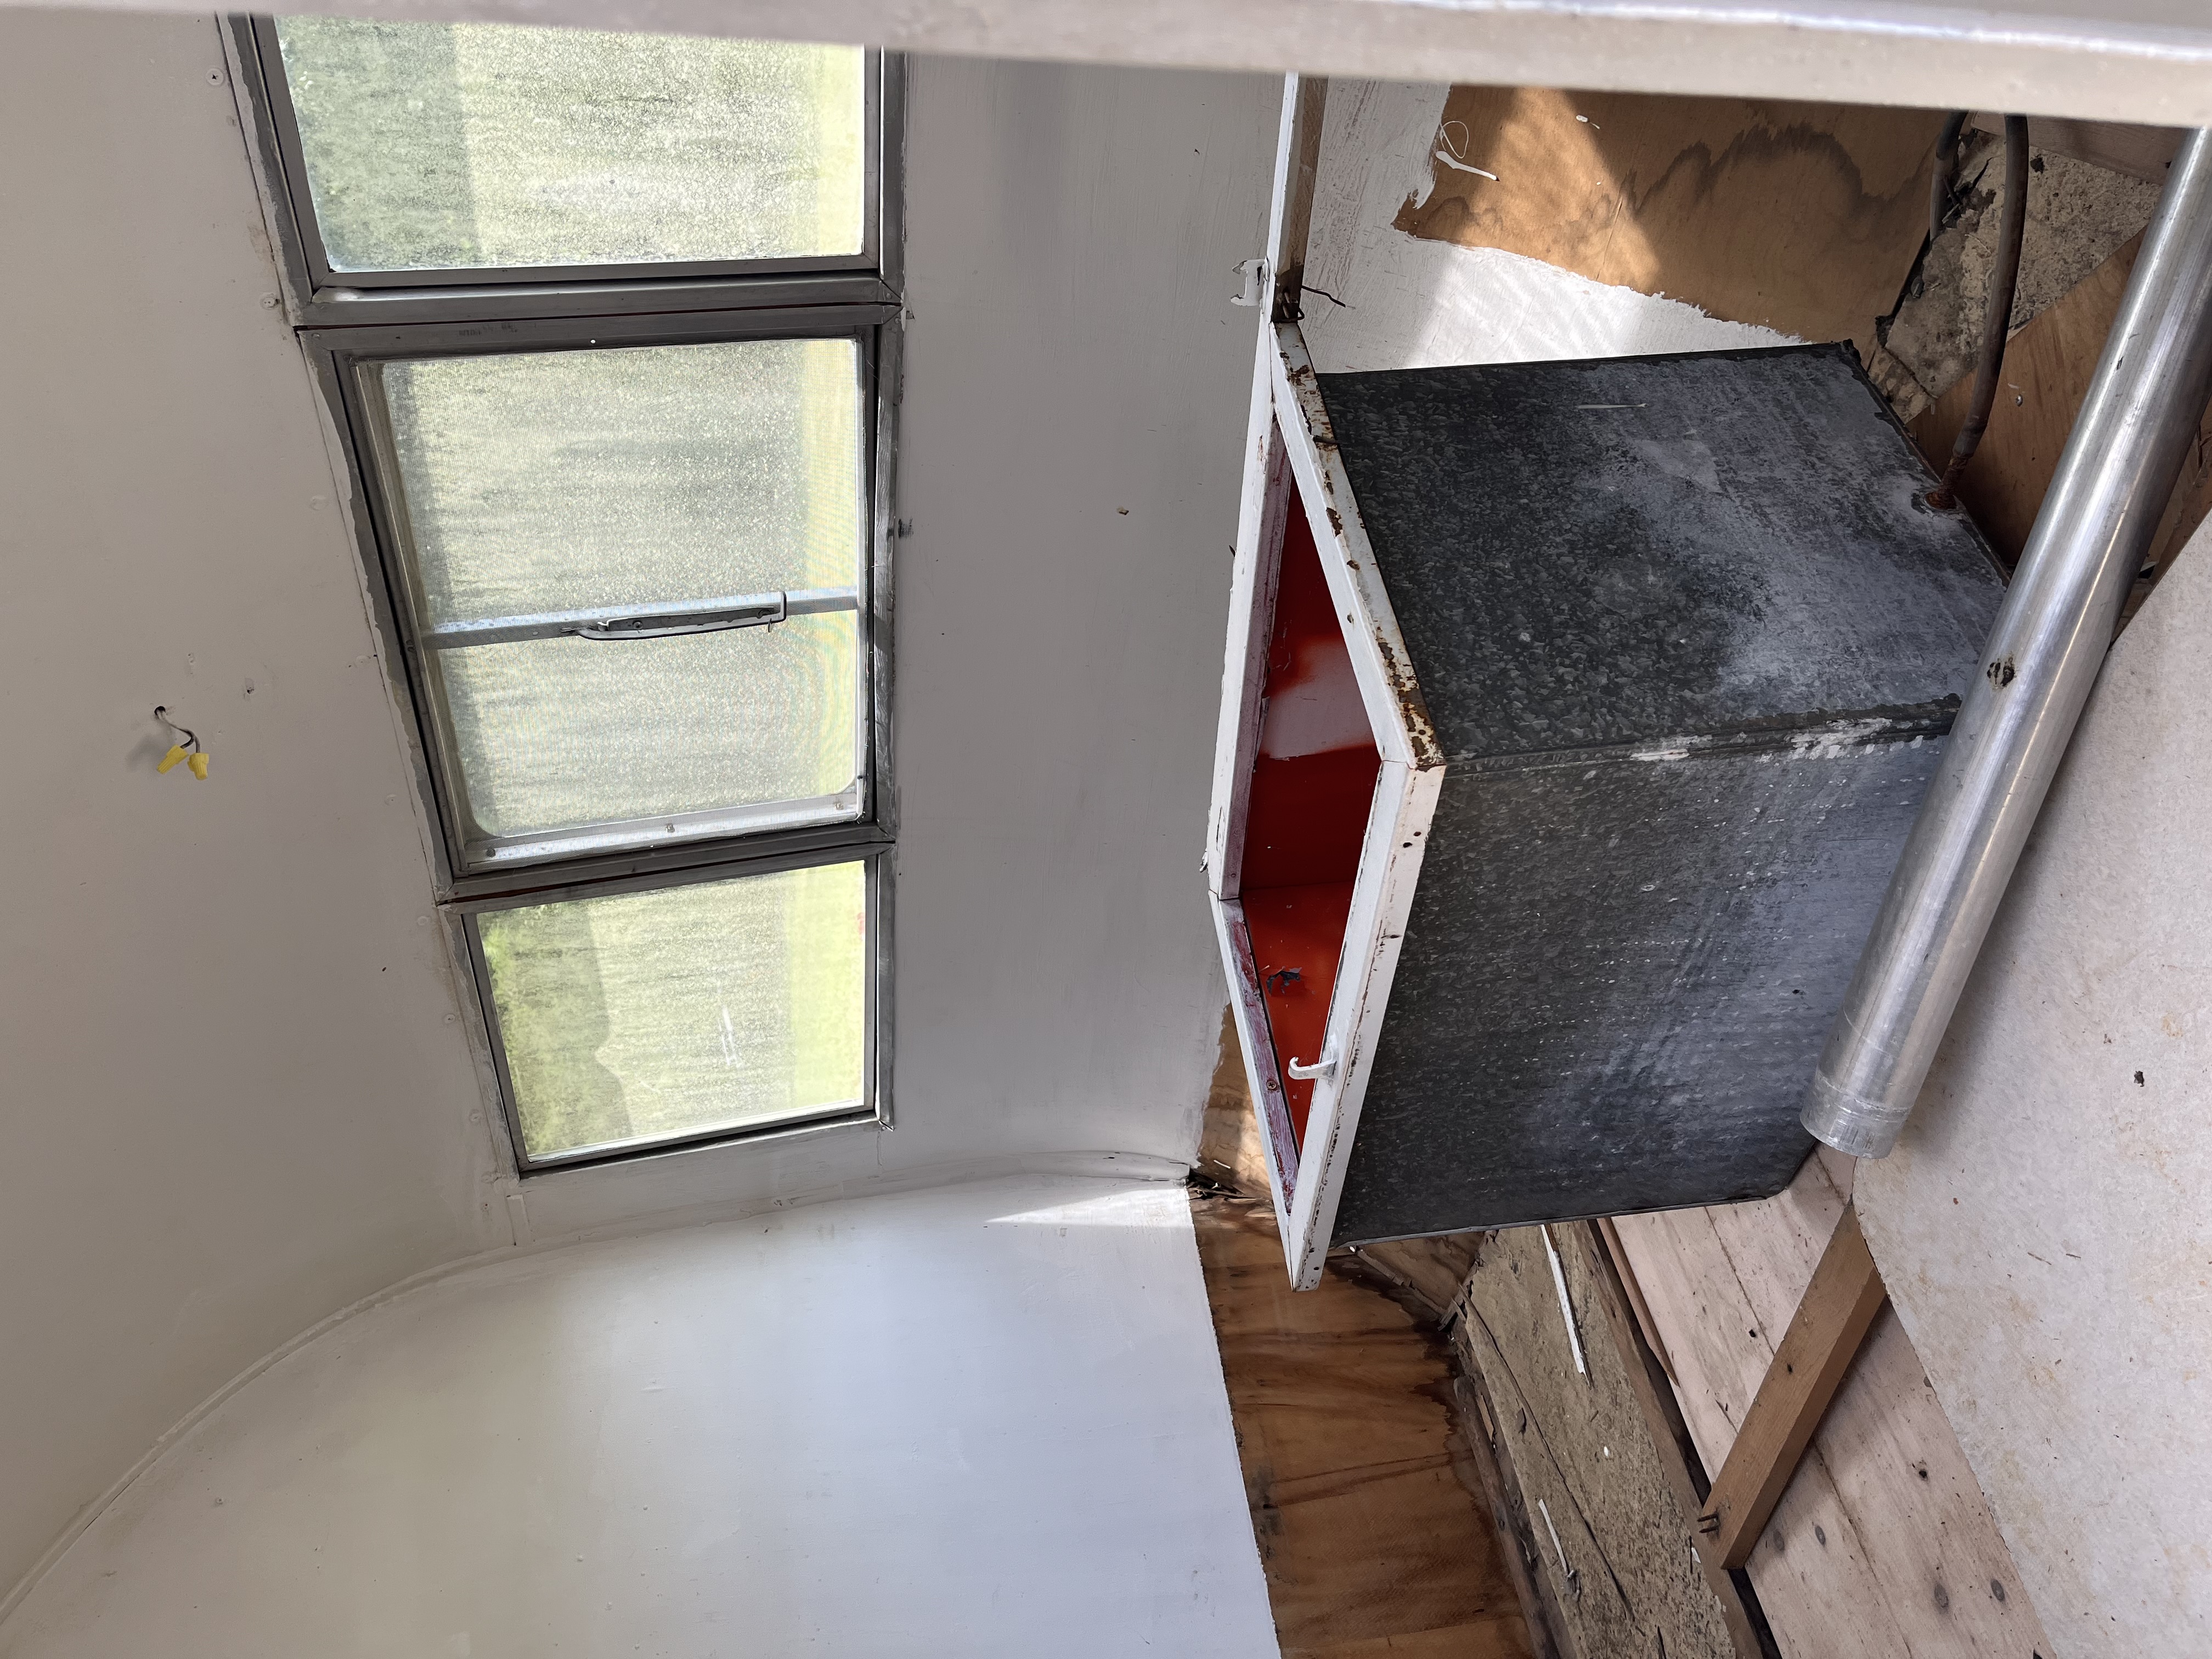
    The front of the original interior with white walls, three windows, and an old metal water tank
    The front, with the old water tank
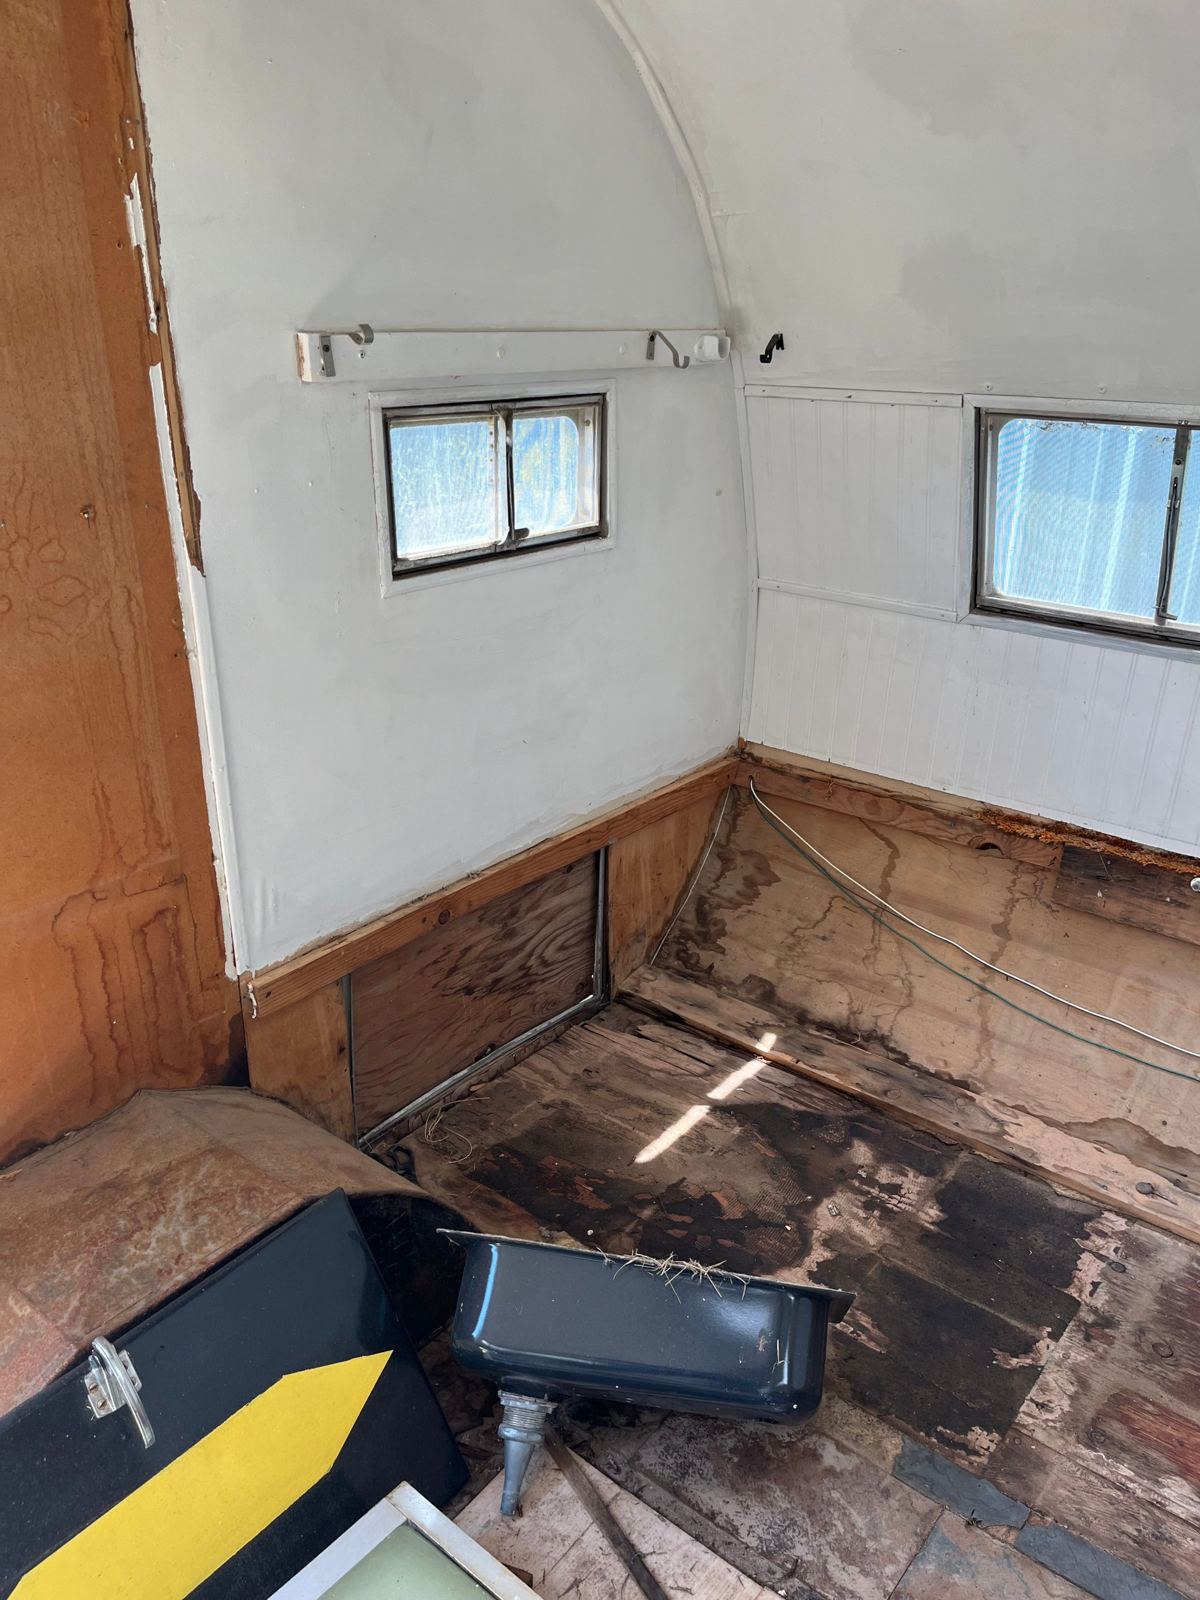
    A rear corner of the original interior with small windows, a rotted floor, and the old sink
    Rotted floor and the old sink
    In photos
  2. Phase 2

    Gutting and reframing

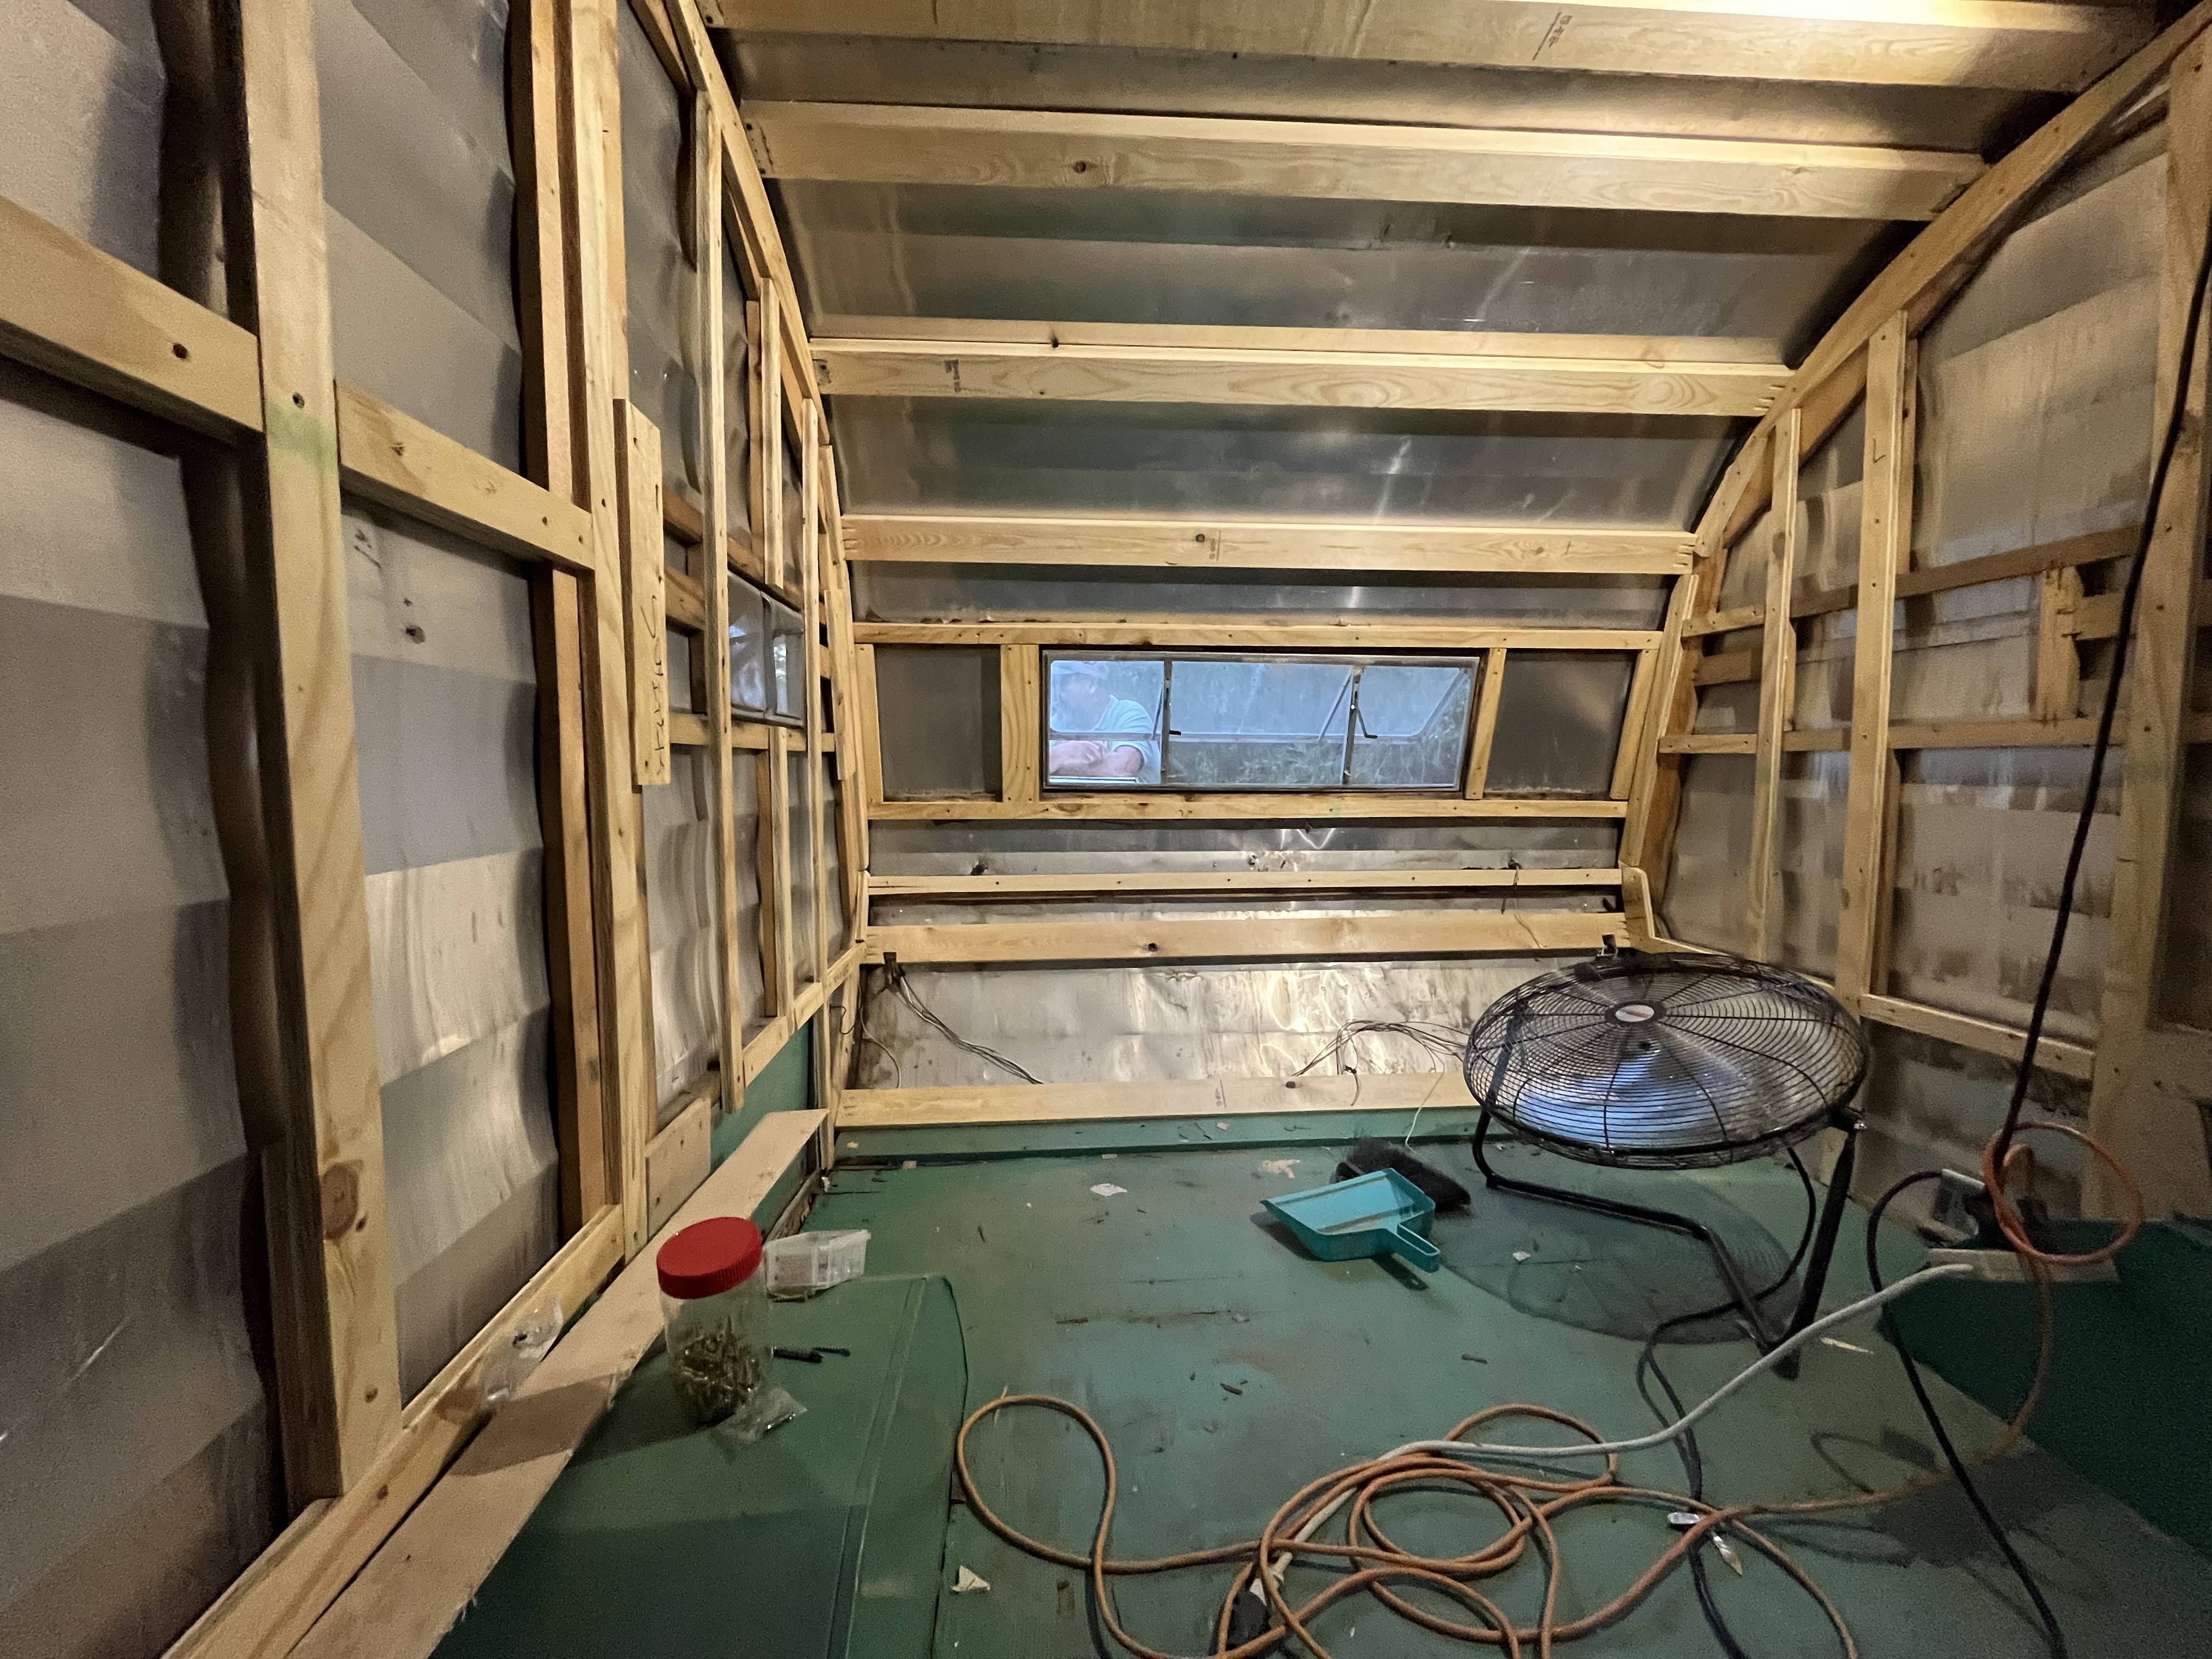
    Down to the bones, then new studs and ribs everywhere the old wood had rotted.

    Down to the original frame

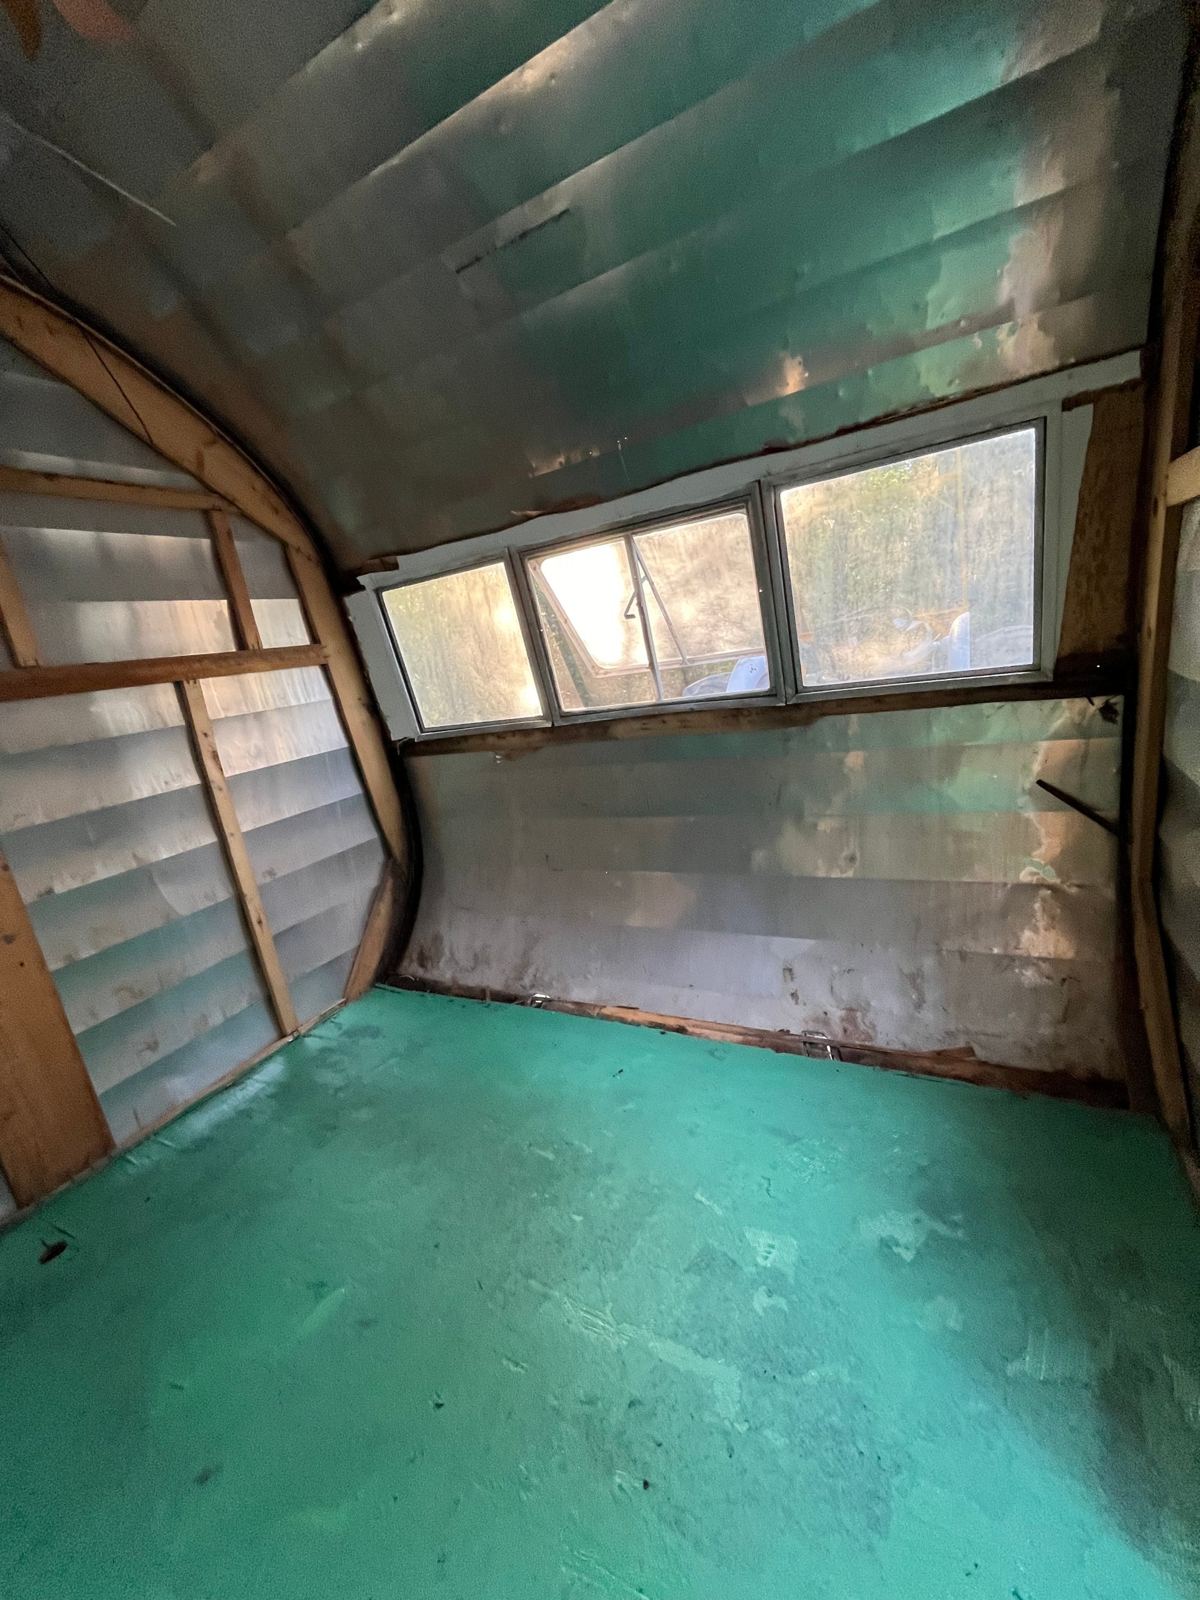
    With the paneling out, Midge was down to her 1954 wood frame and the inside of her aluminum skin. The floor got a coat of teal-green paint to seal it before the new wood went in.
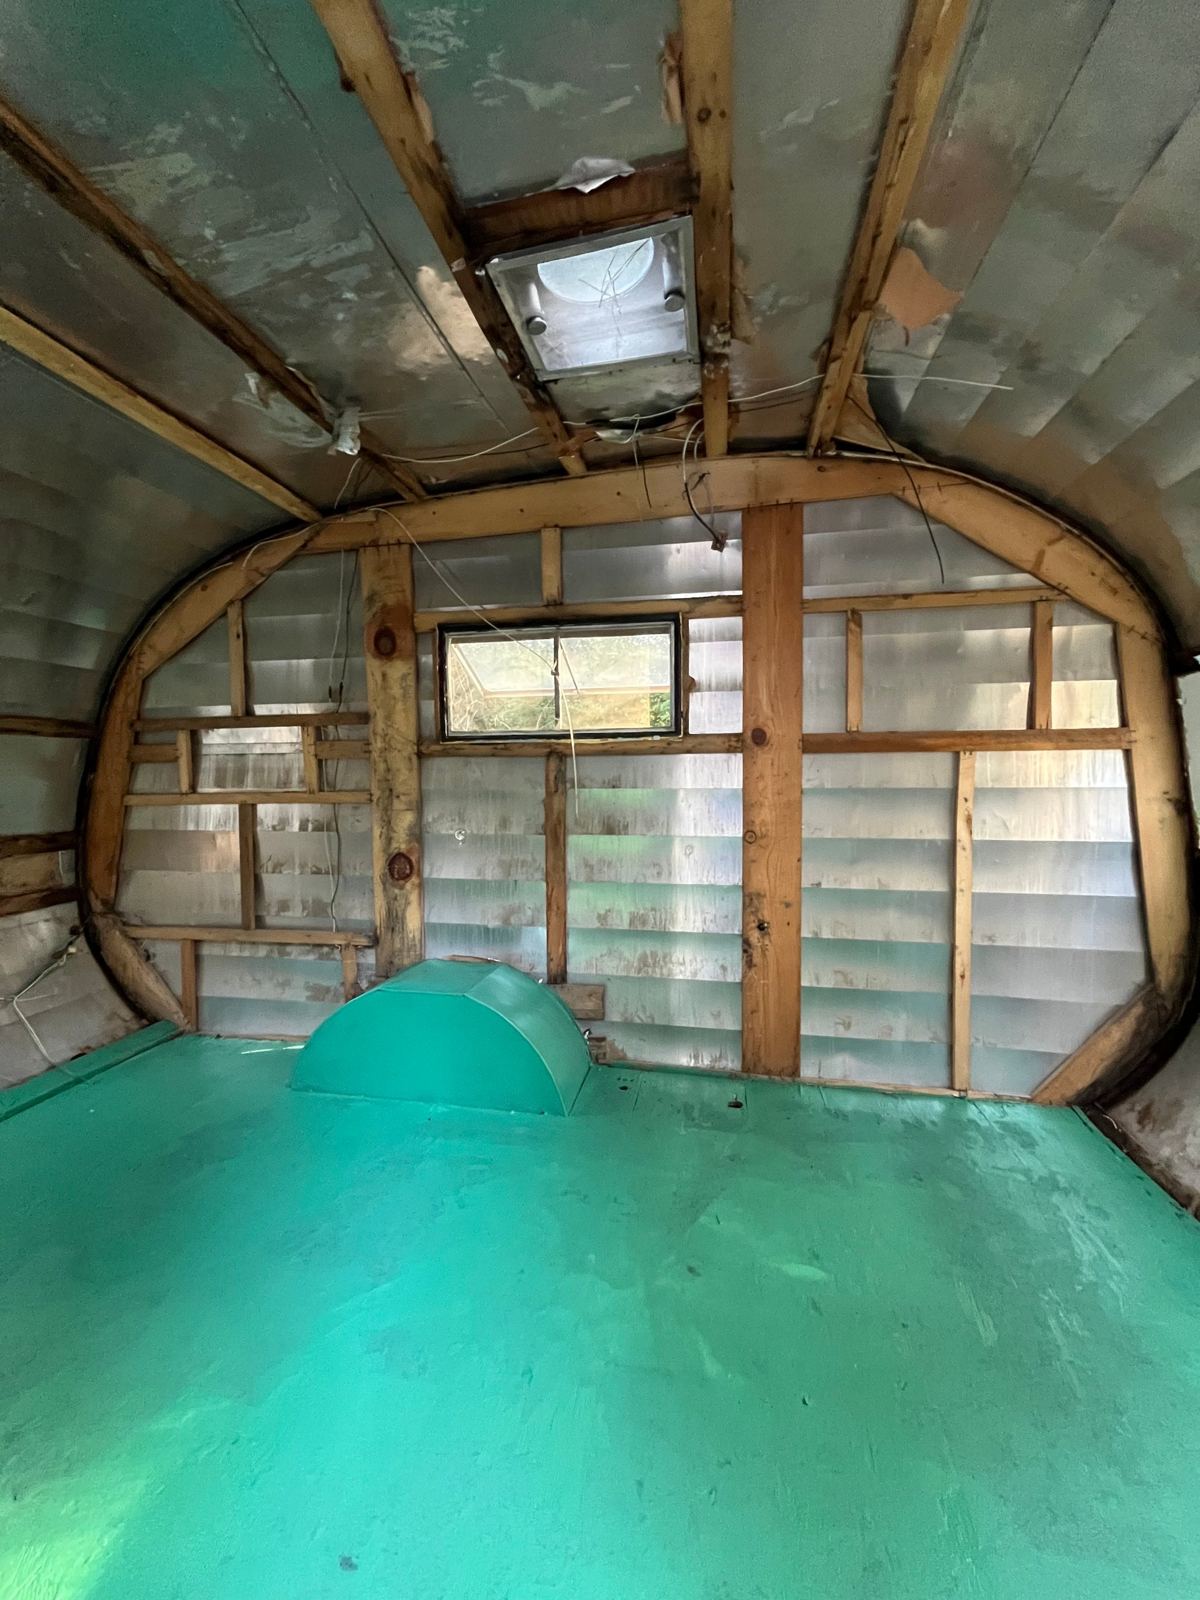
    The rear wall stripped to the original wood frame, with the green-painted floor and wheel well
    The rear wall, original frame
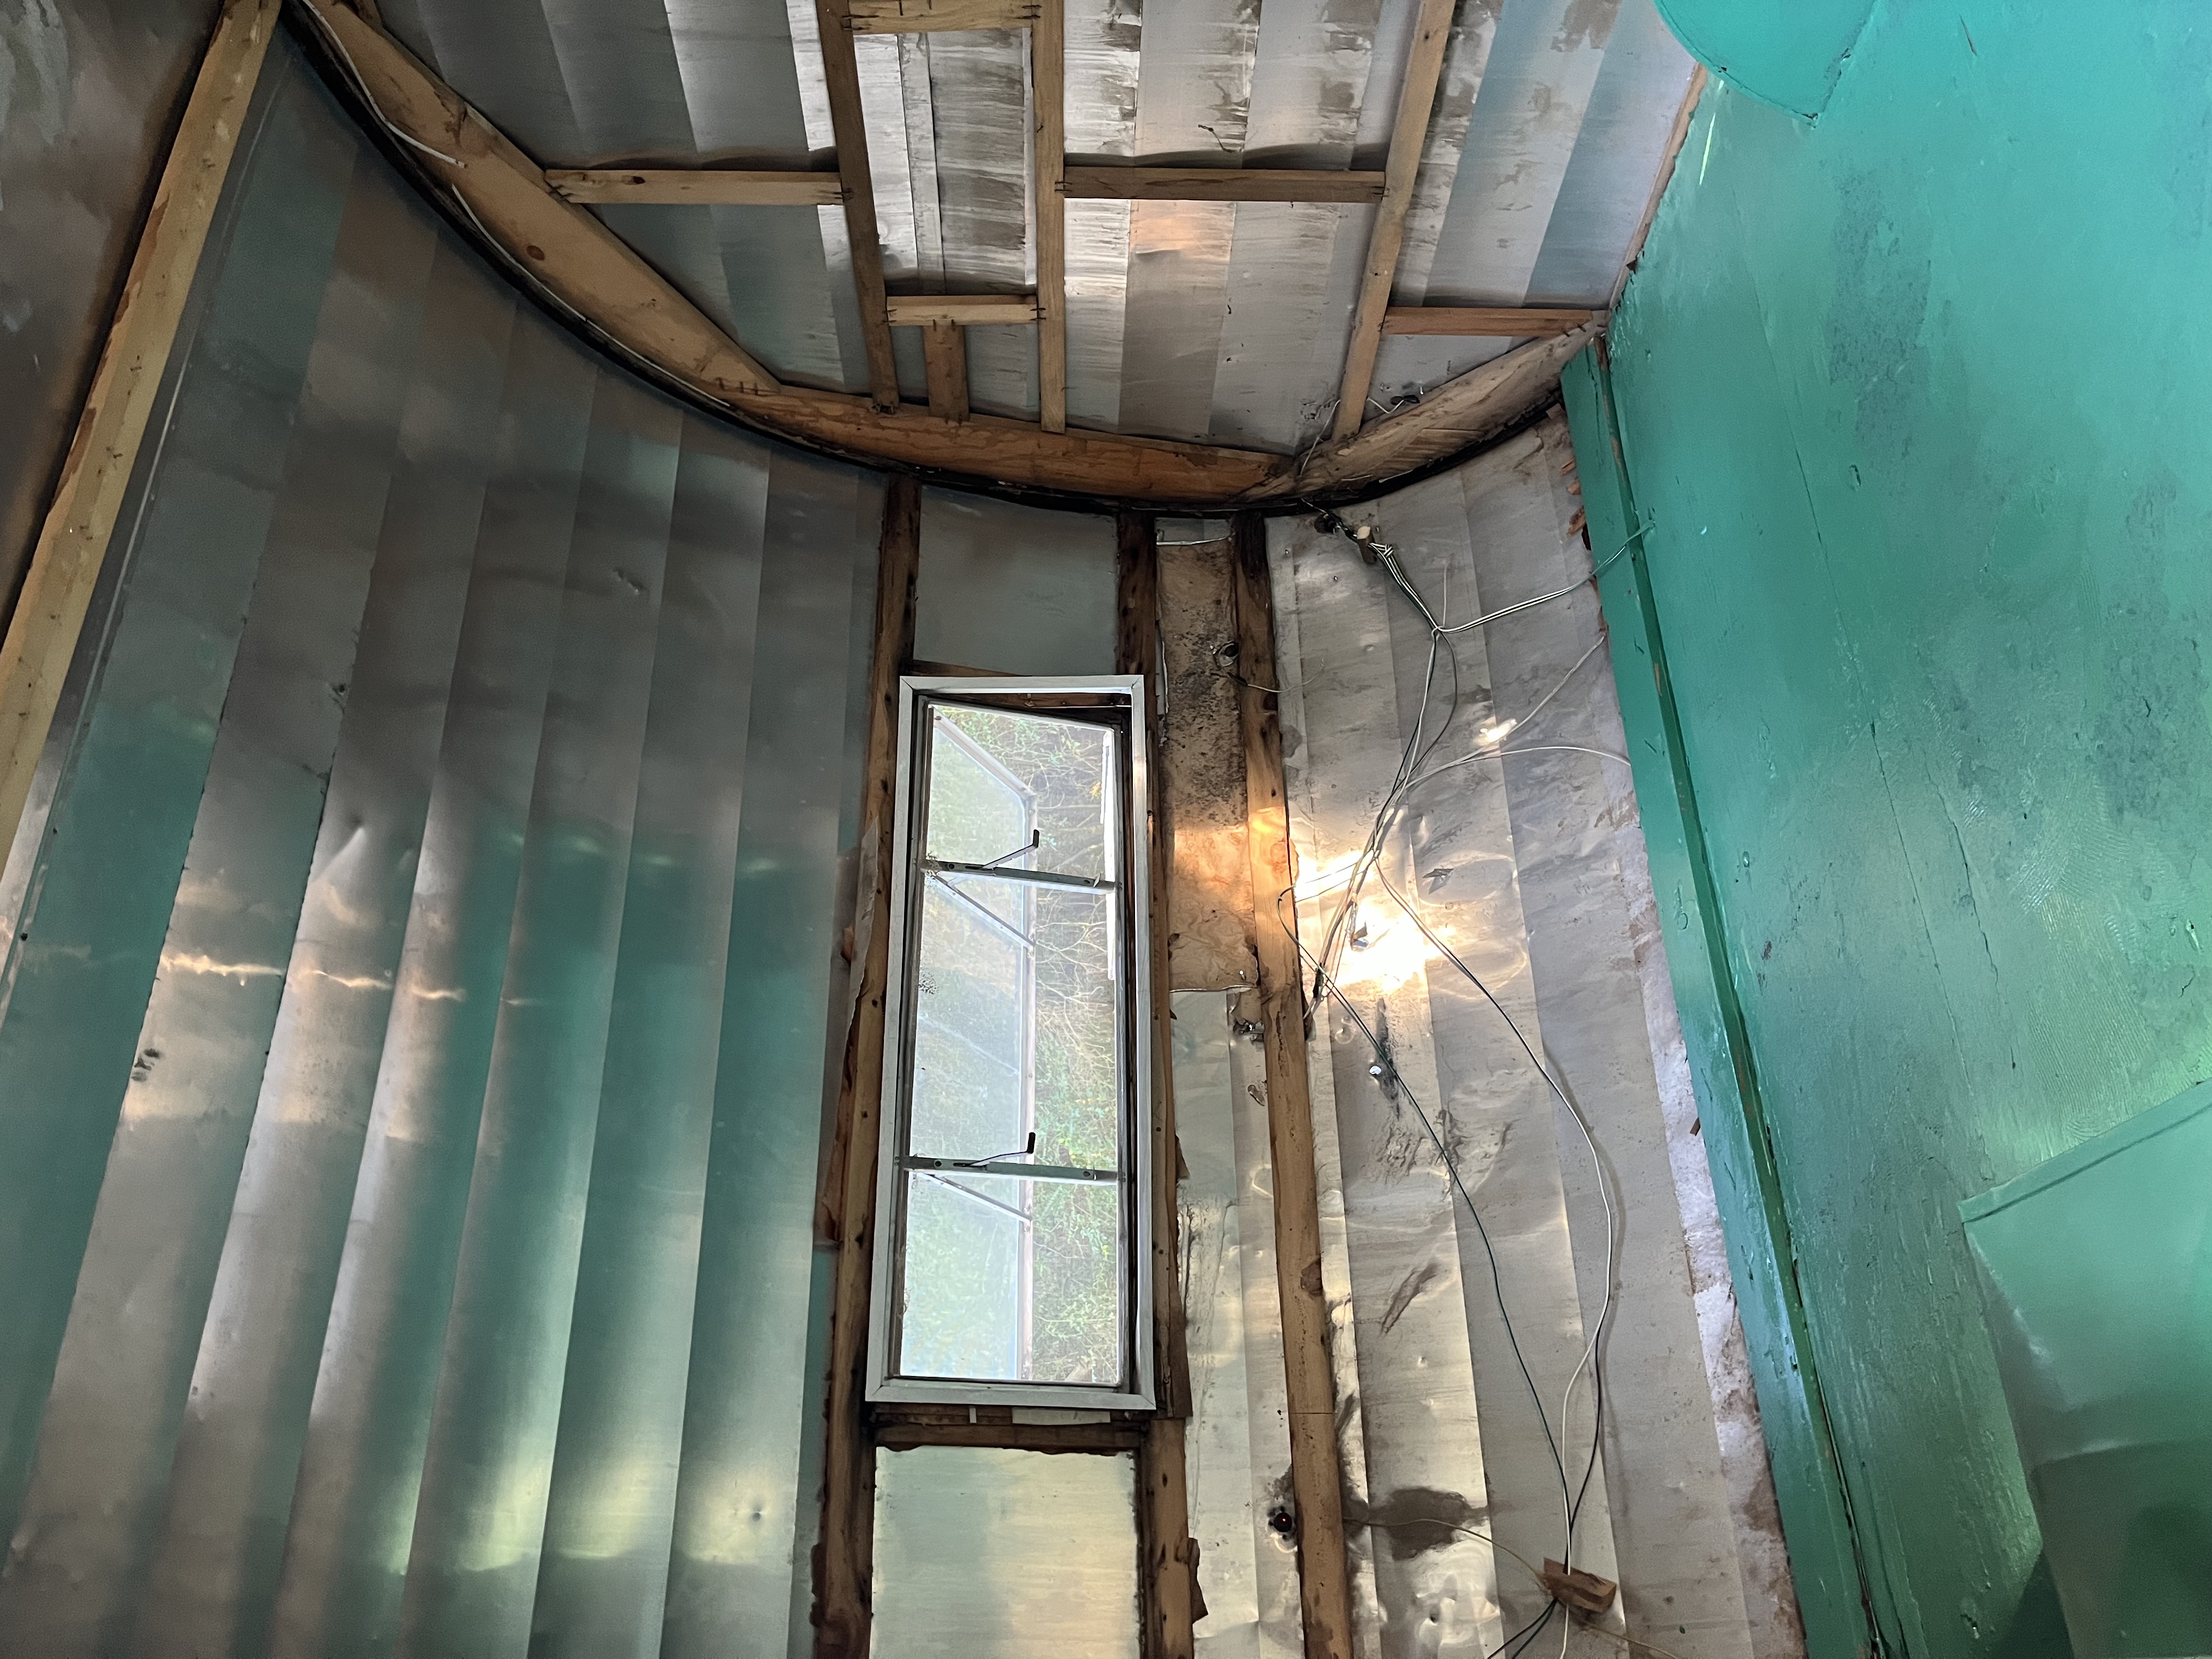
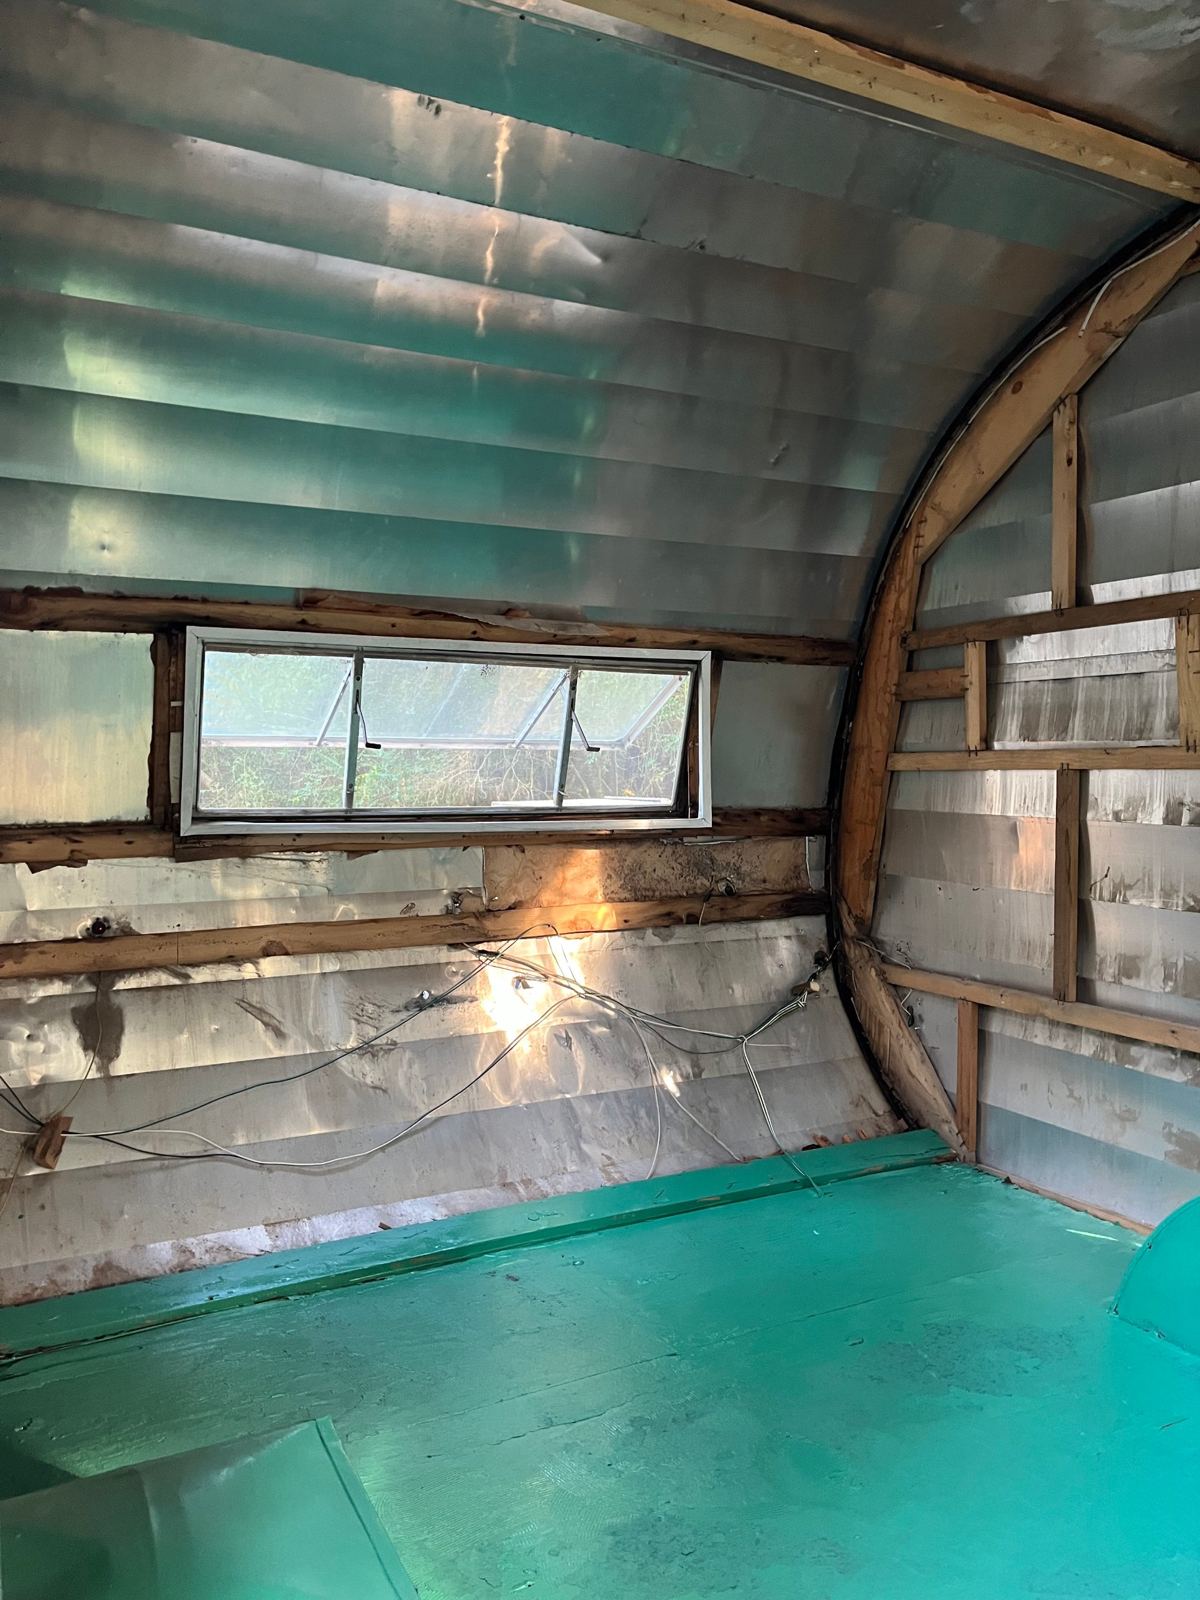
    The front wall stripped to aluminum, with the old front windows and the green floor
    The front wall, stripped
    The side wall and rear corner stripped to the original framing and aluminum skin
    Side wall and rear corner
    A side window in the stripped wall, with old wiring and the original curved rib
    Old wiring and the curved rib

    New studs going in

    Front wall reframed in new lumber around the window and wheel well
    Front wall, reframed · Aug 16, 2024
    Rear of the camper reframed in new lumber with the long rear window
    Rear wall and roof ribs · Aug 16, 2024
    In photos
  3. Phase 3

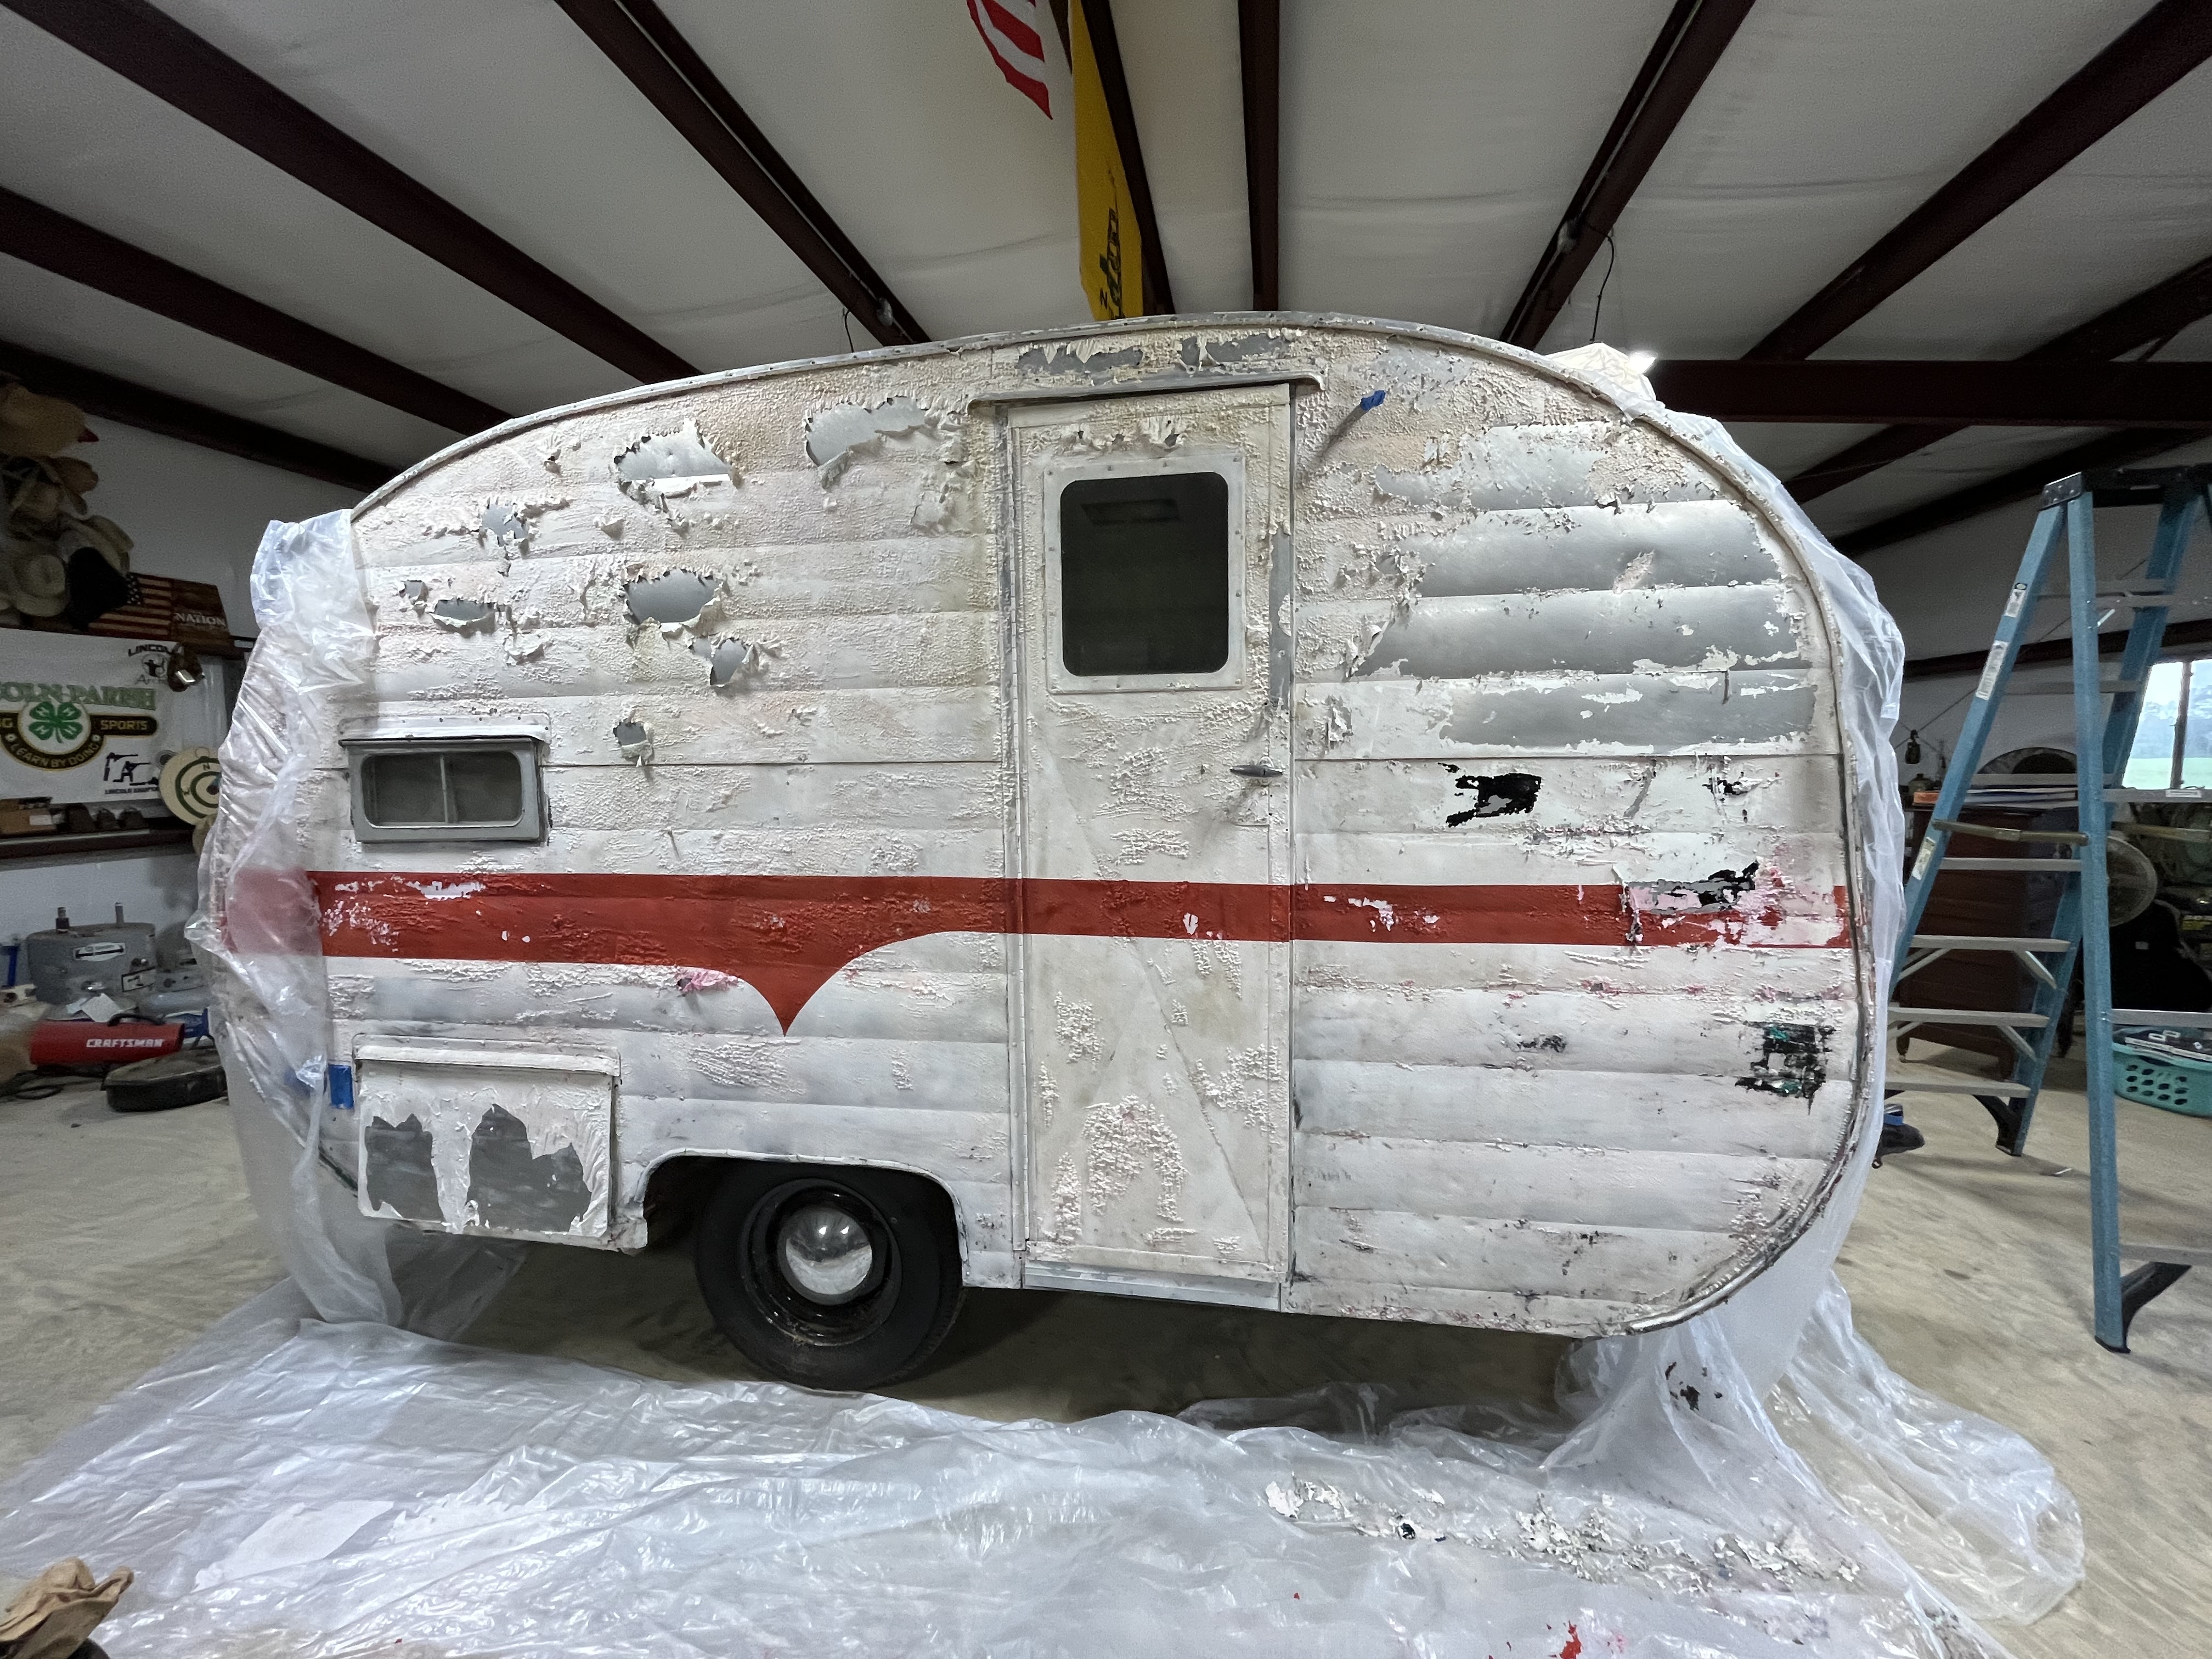
    Stripping the paint

    I coated her in stripper and wrapped her in plastic to keep it working. When the plastic came off, the white and red started lifting away to bare aluminum. I'm watching for the ghost of the old EMPIRE decal as it goes. Next comes Lunar Rock with black trim.
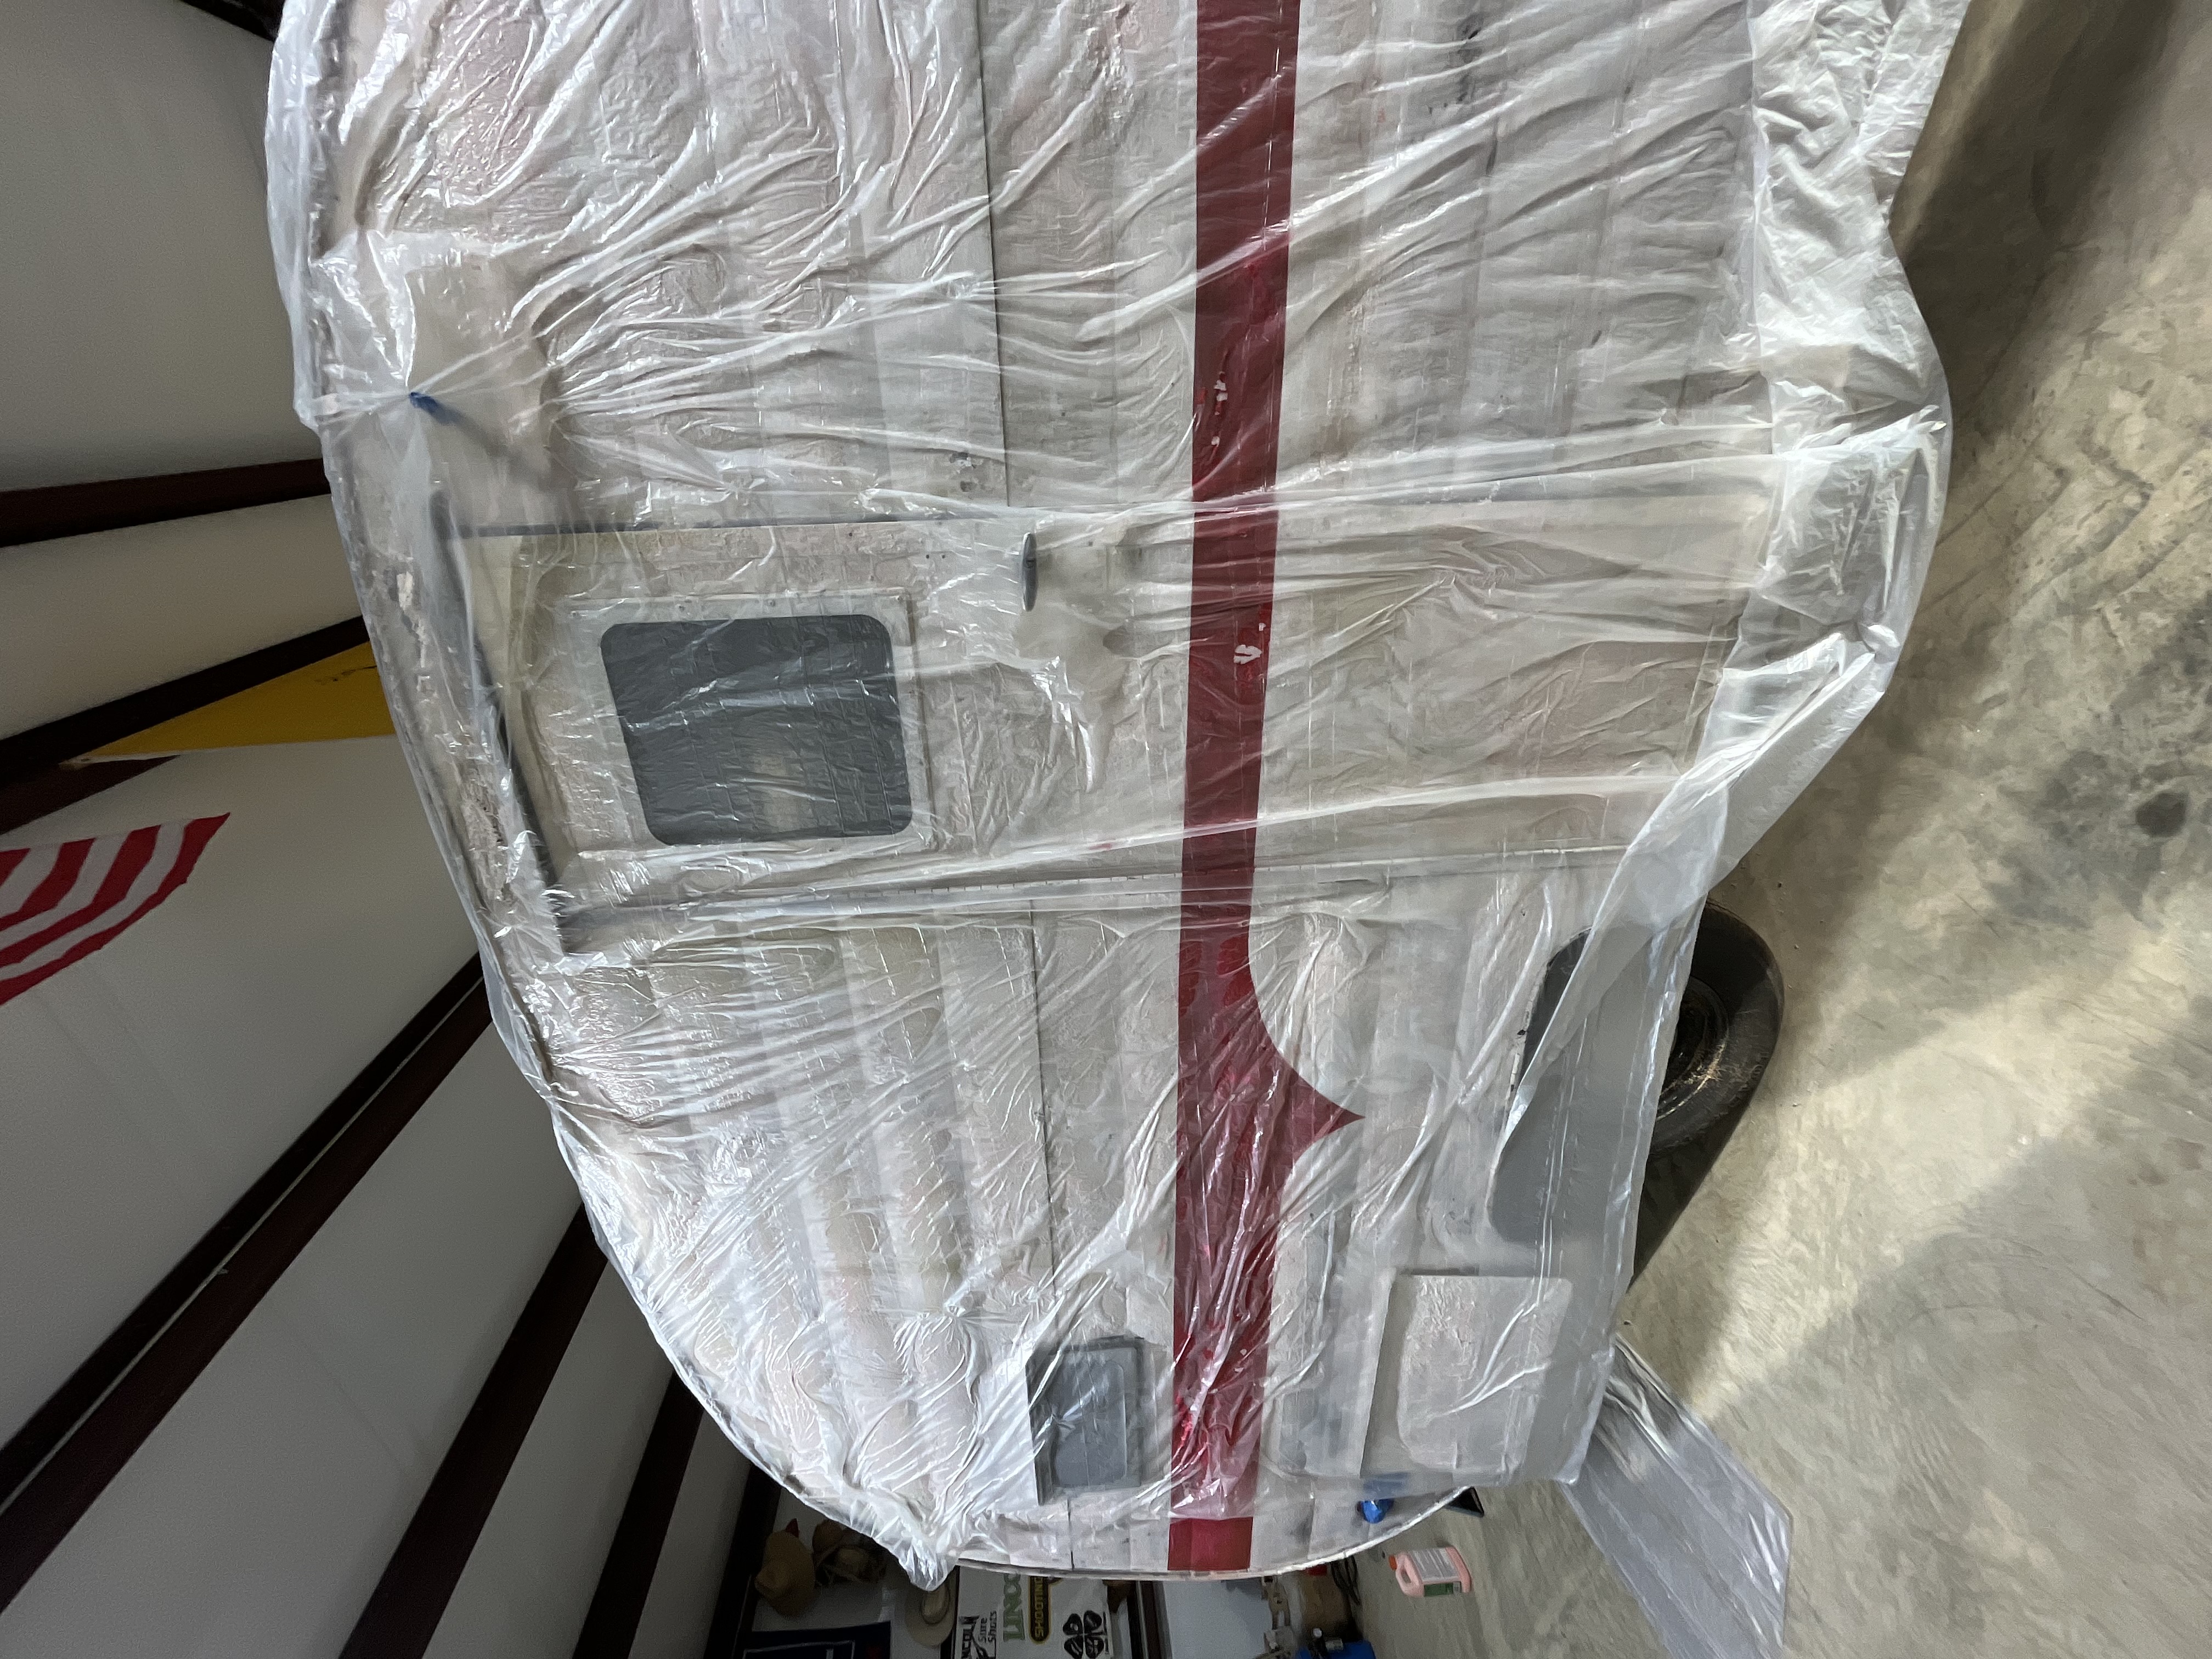
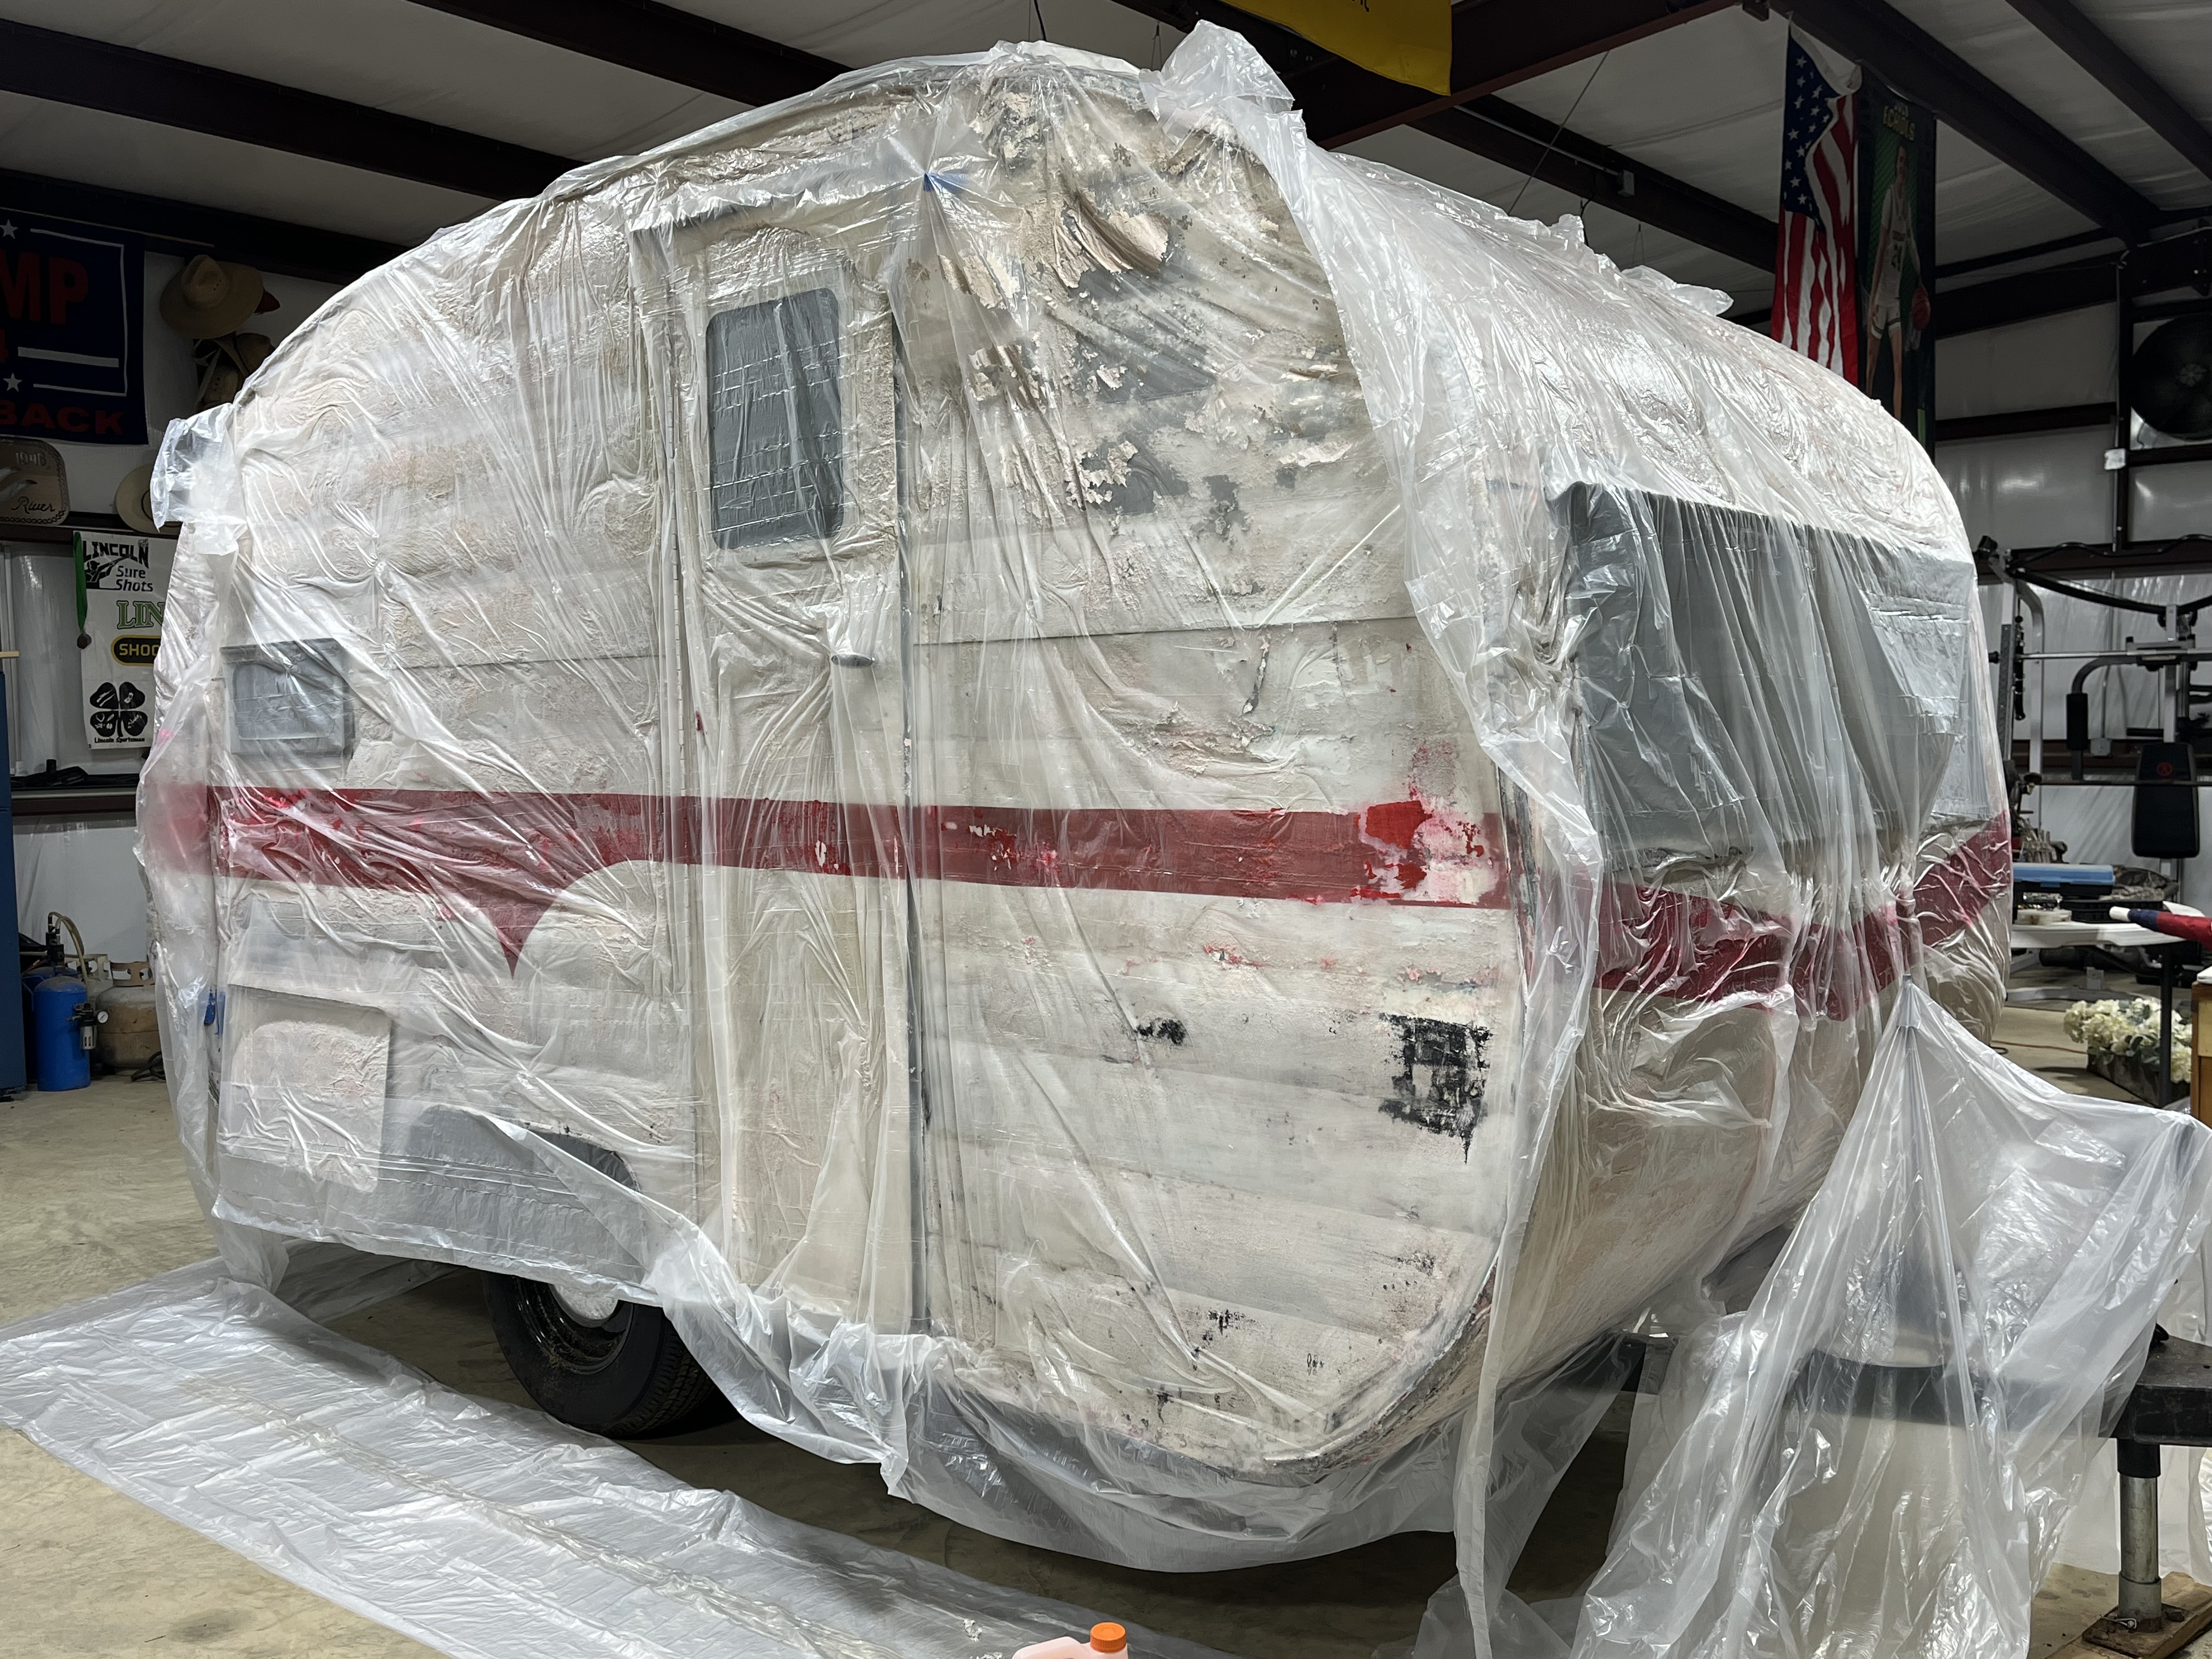
    Day one, before the stripper went on
    Midge's door side coated in paint stripper and wrapped in clear plastic
    Stripper on, wrapped in plastic
    Midge fully wrapped in plastic in the shop, paint starting to bubble underneath
    Bubbling under the wrap
    Plastic pulled back, white paint peeling off in patches to show bare aluminum, red stripe still on
    Plastic off and the paint lifting

    Walkaround: what was under the white

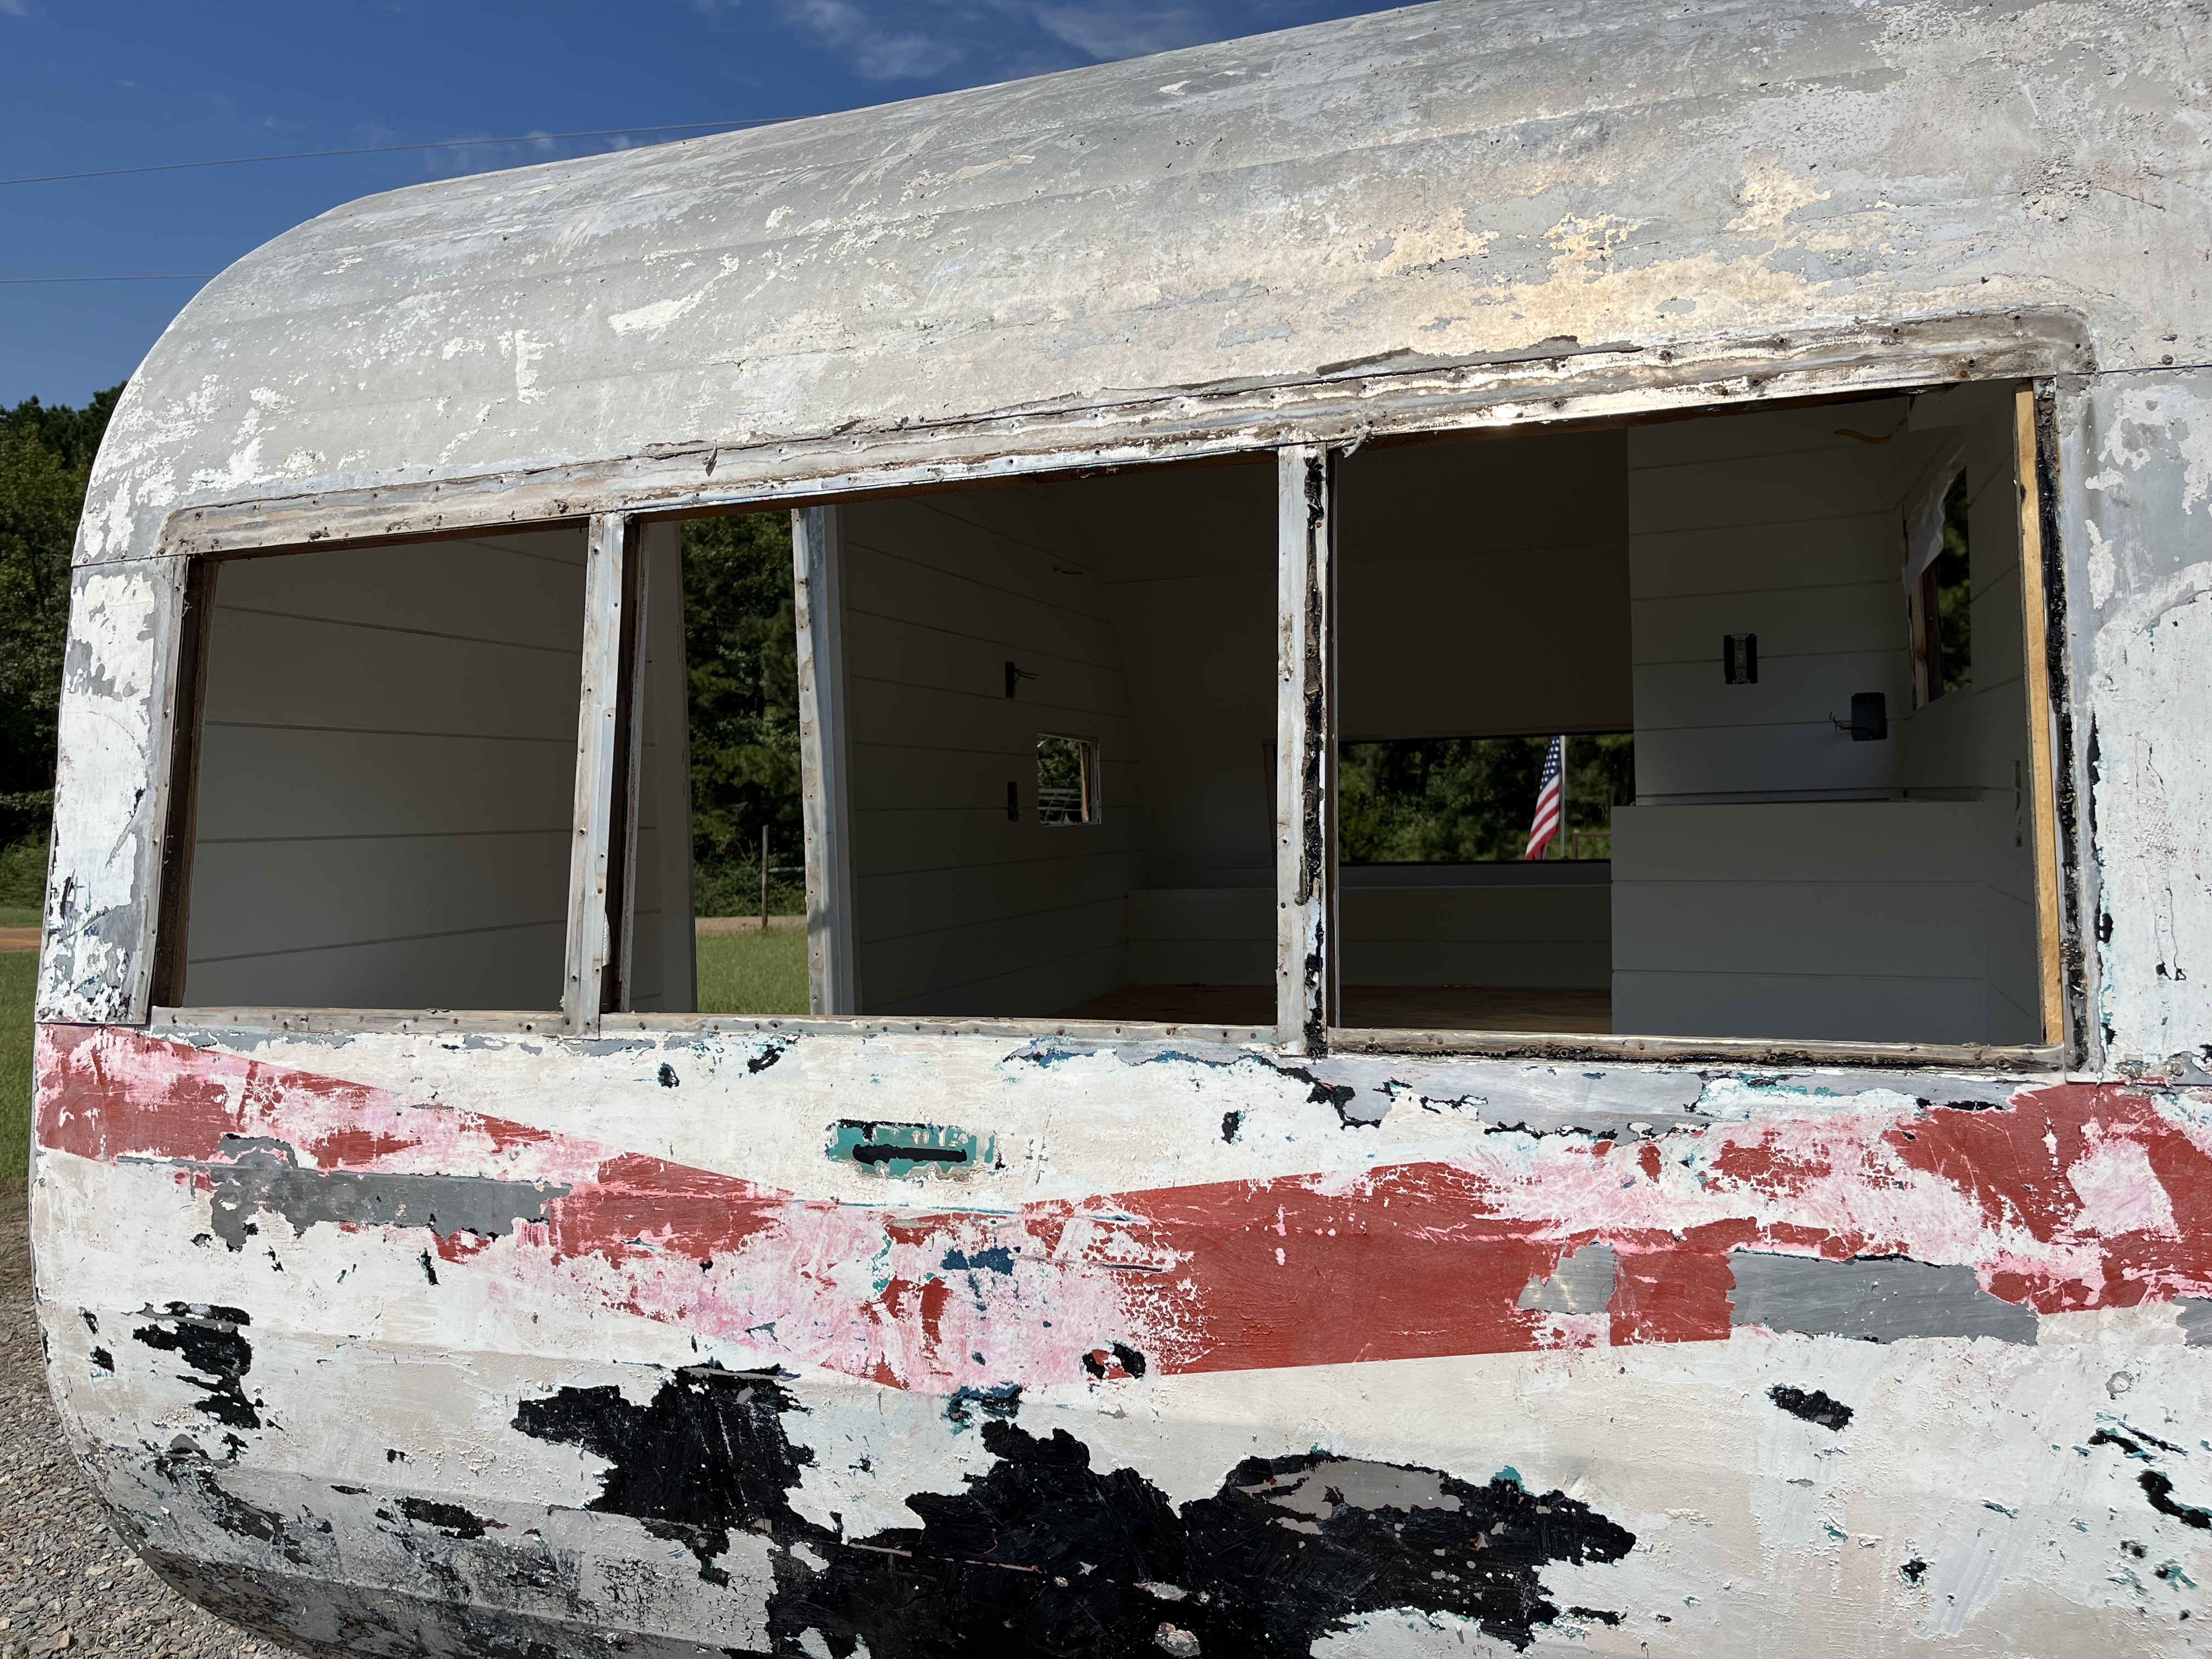
    As the white came off, older paint showed through: pink, black, and a red swoosh on the rear corner that looks like an earlier stripe.

    Door side, stripe still on
    Rear corner and the old red swoosh
    Window side, pink and black showing
    Down to the metal around the window

    After the first scrape

    The top half is mostly bare aluminum now, the floor is covered in paint chips, and the stripe and the older layers below it are next.
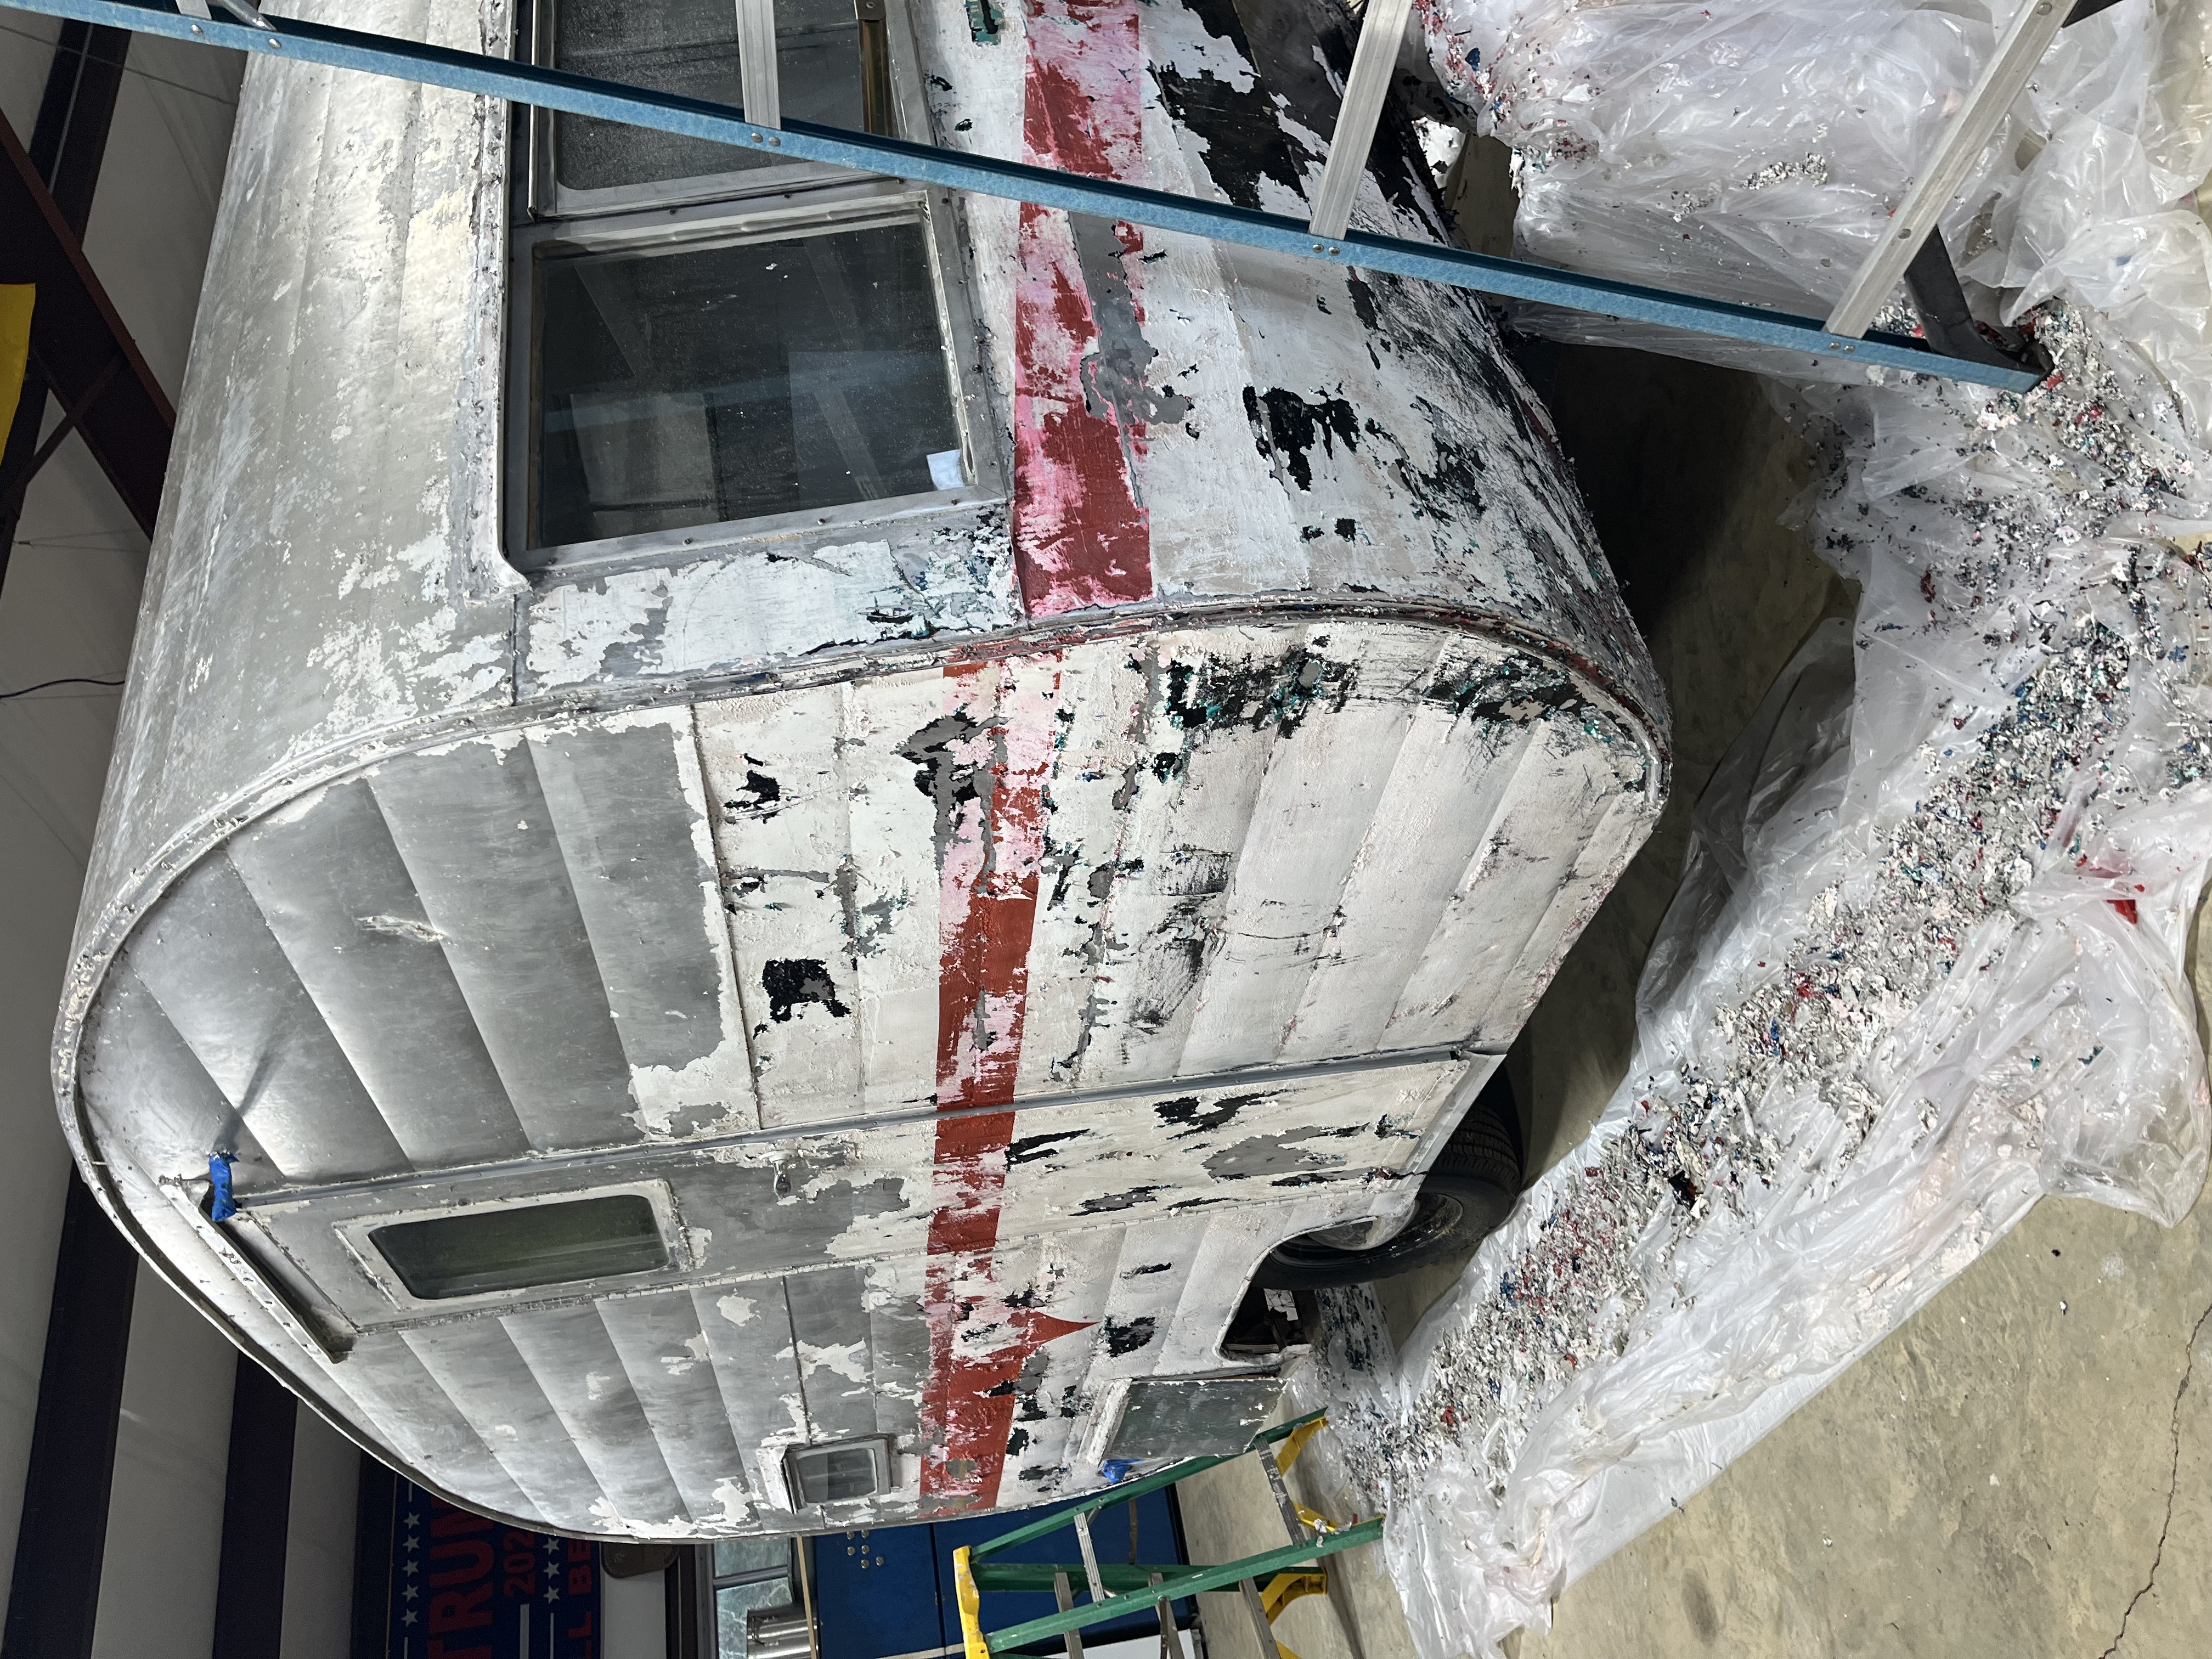
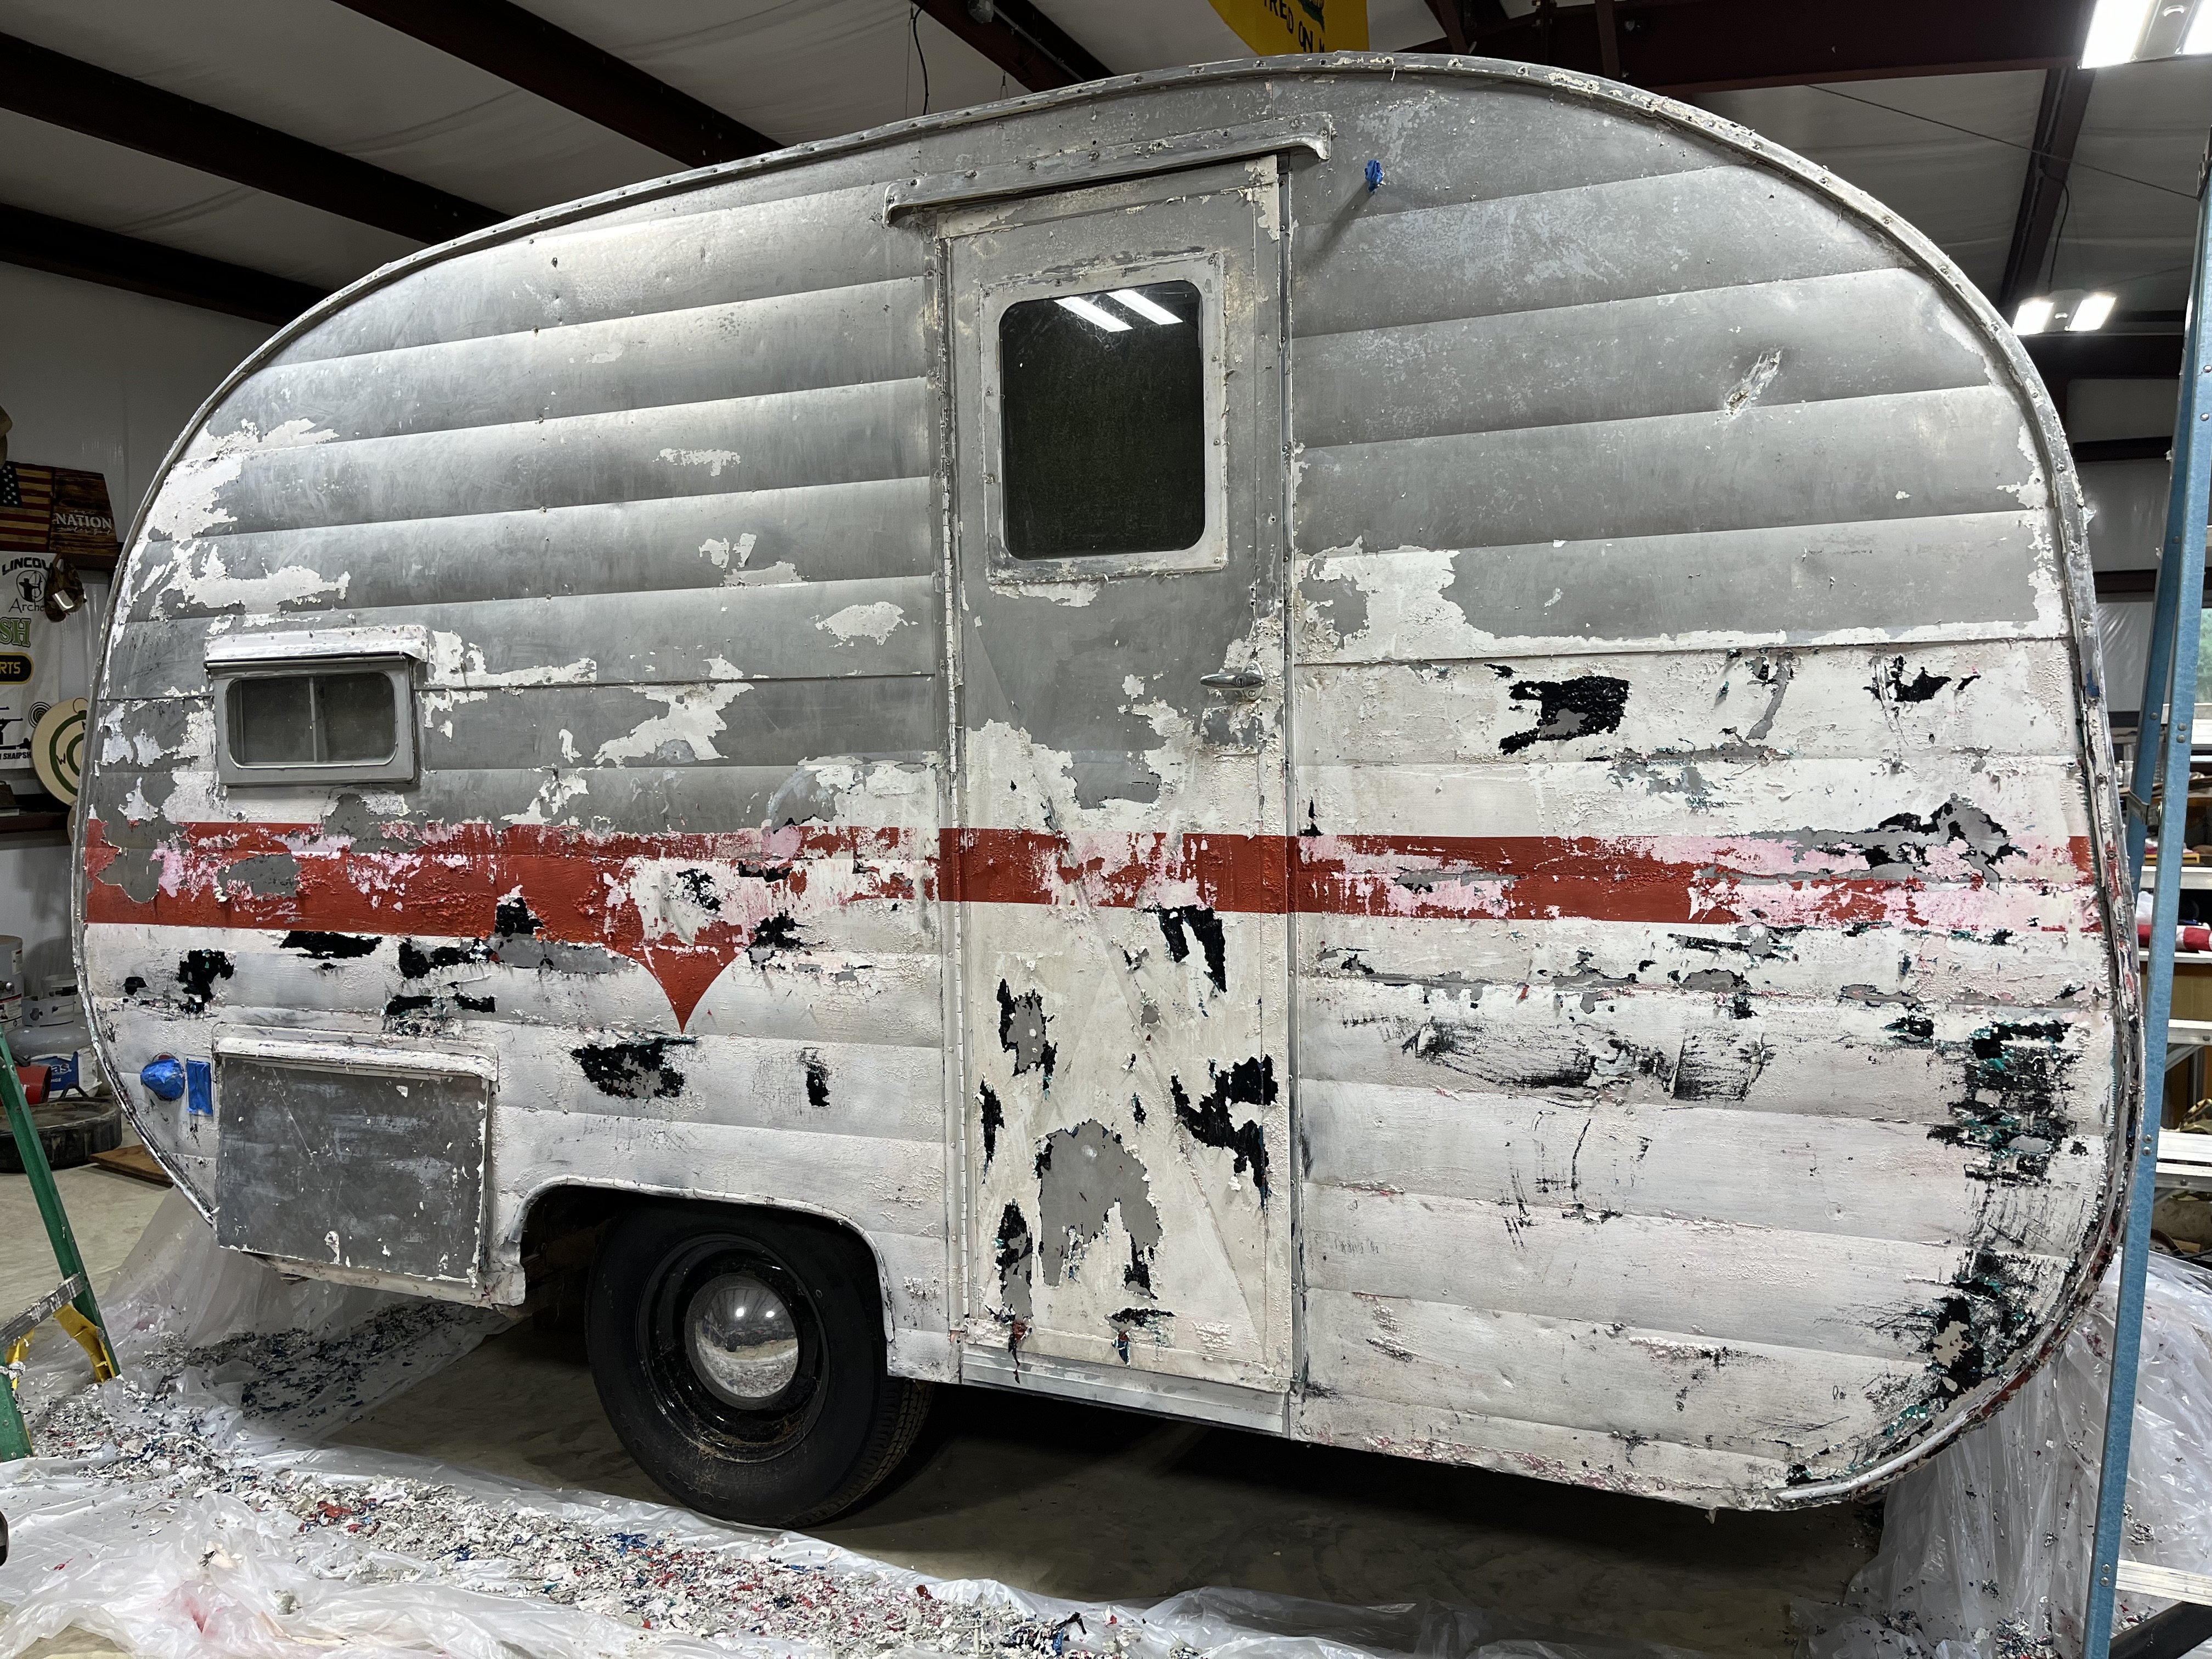
    Front corner after scraping, bare aluminum above and patches of red, pink, black, and white below
    Front corner and big window
    Door side after scraping, bare aluminum on top and layers of old paint around the red stripe
    Door side, top half bare
    All the way around, part one
    All the way around, part two

    Down to the oldest layer · Nov 11, 2024

    The stripe is gone and the top half is bare metal. Under the black on the lower half, a teal-green layer turned up. It may be the oldest paint on her, and maybe even her original color.
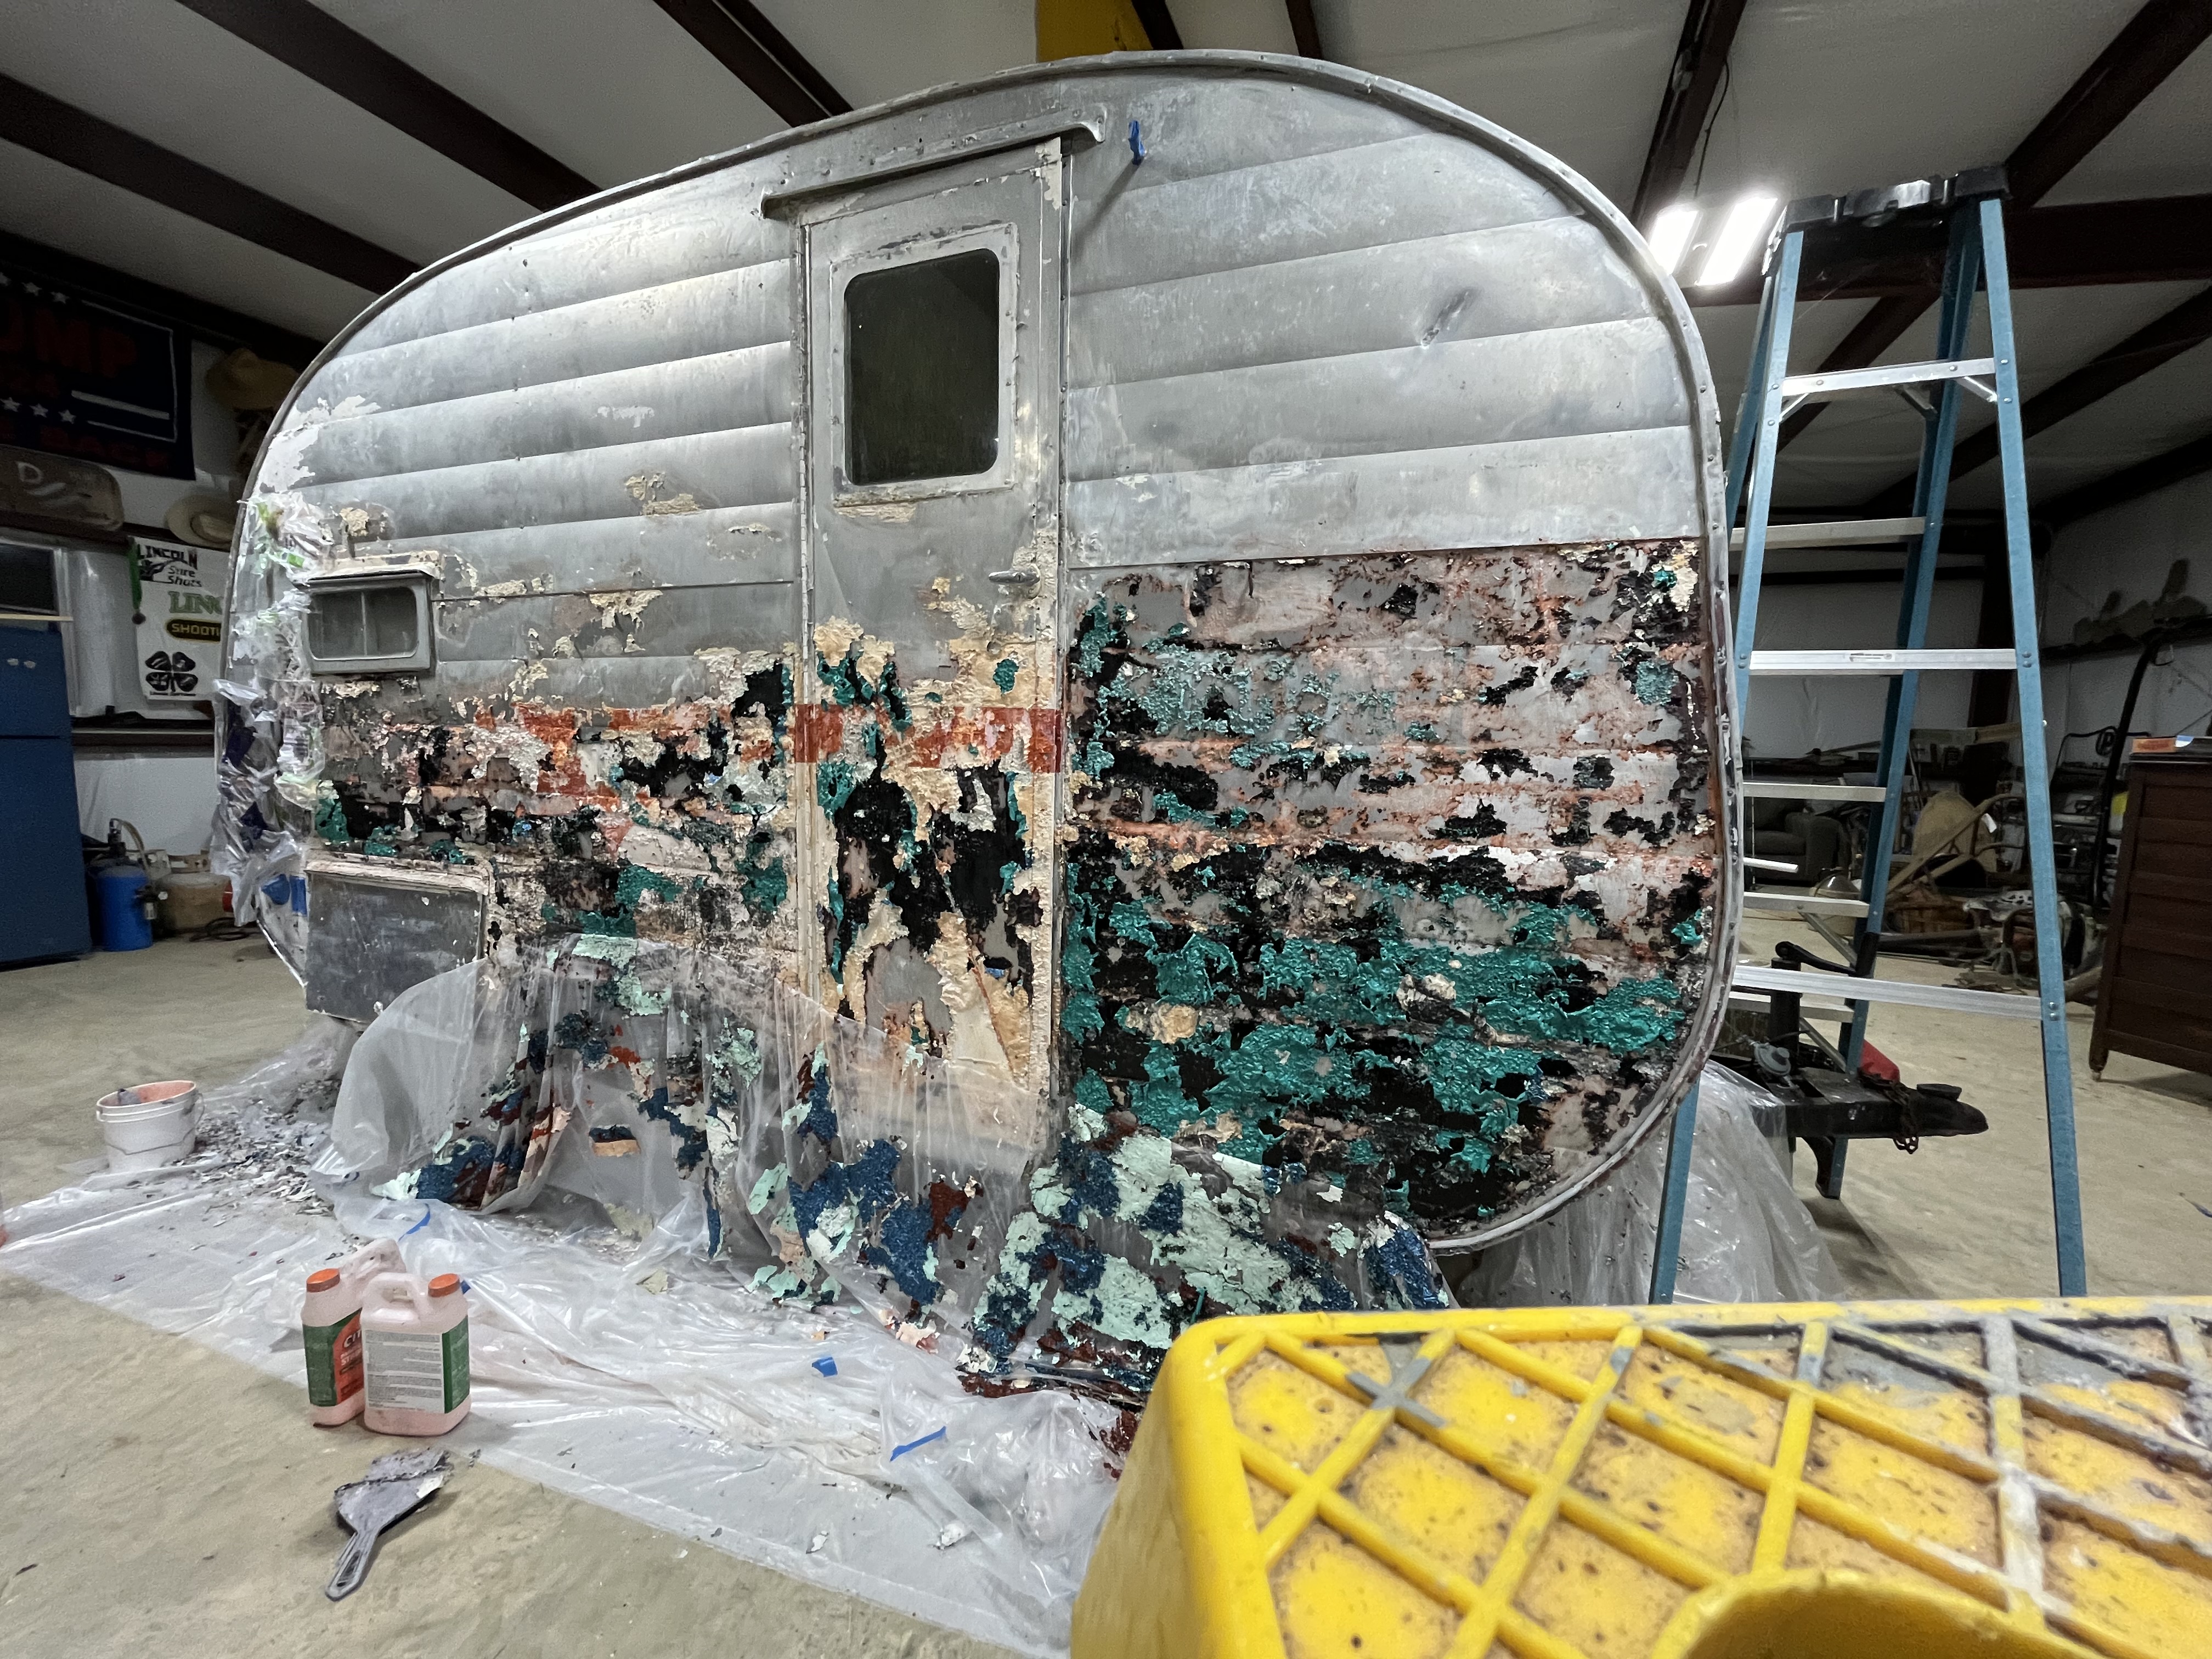
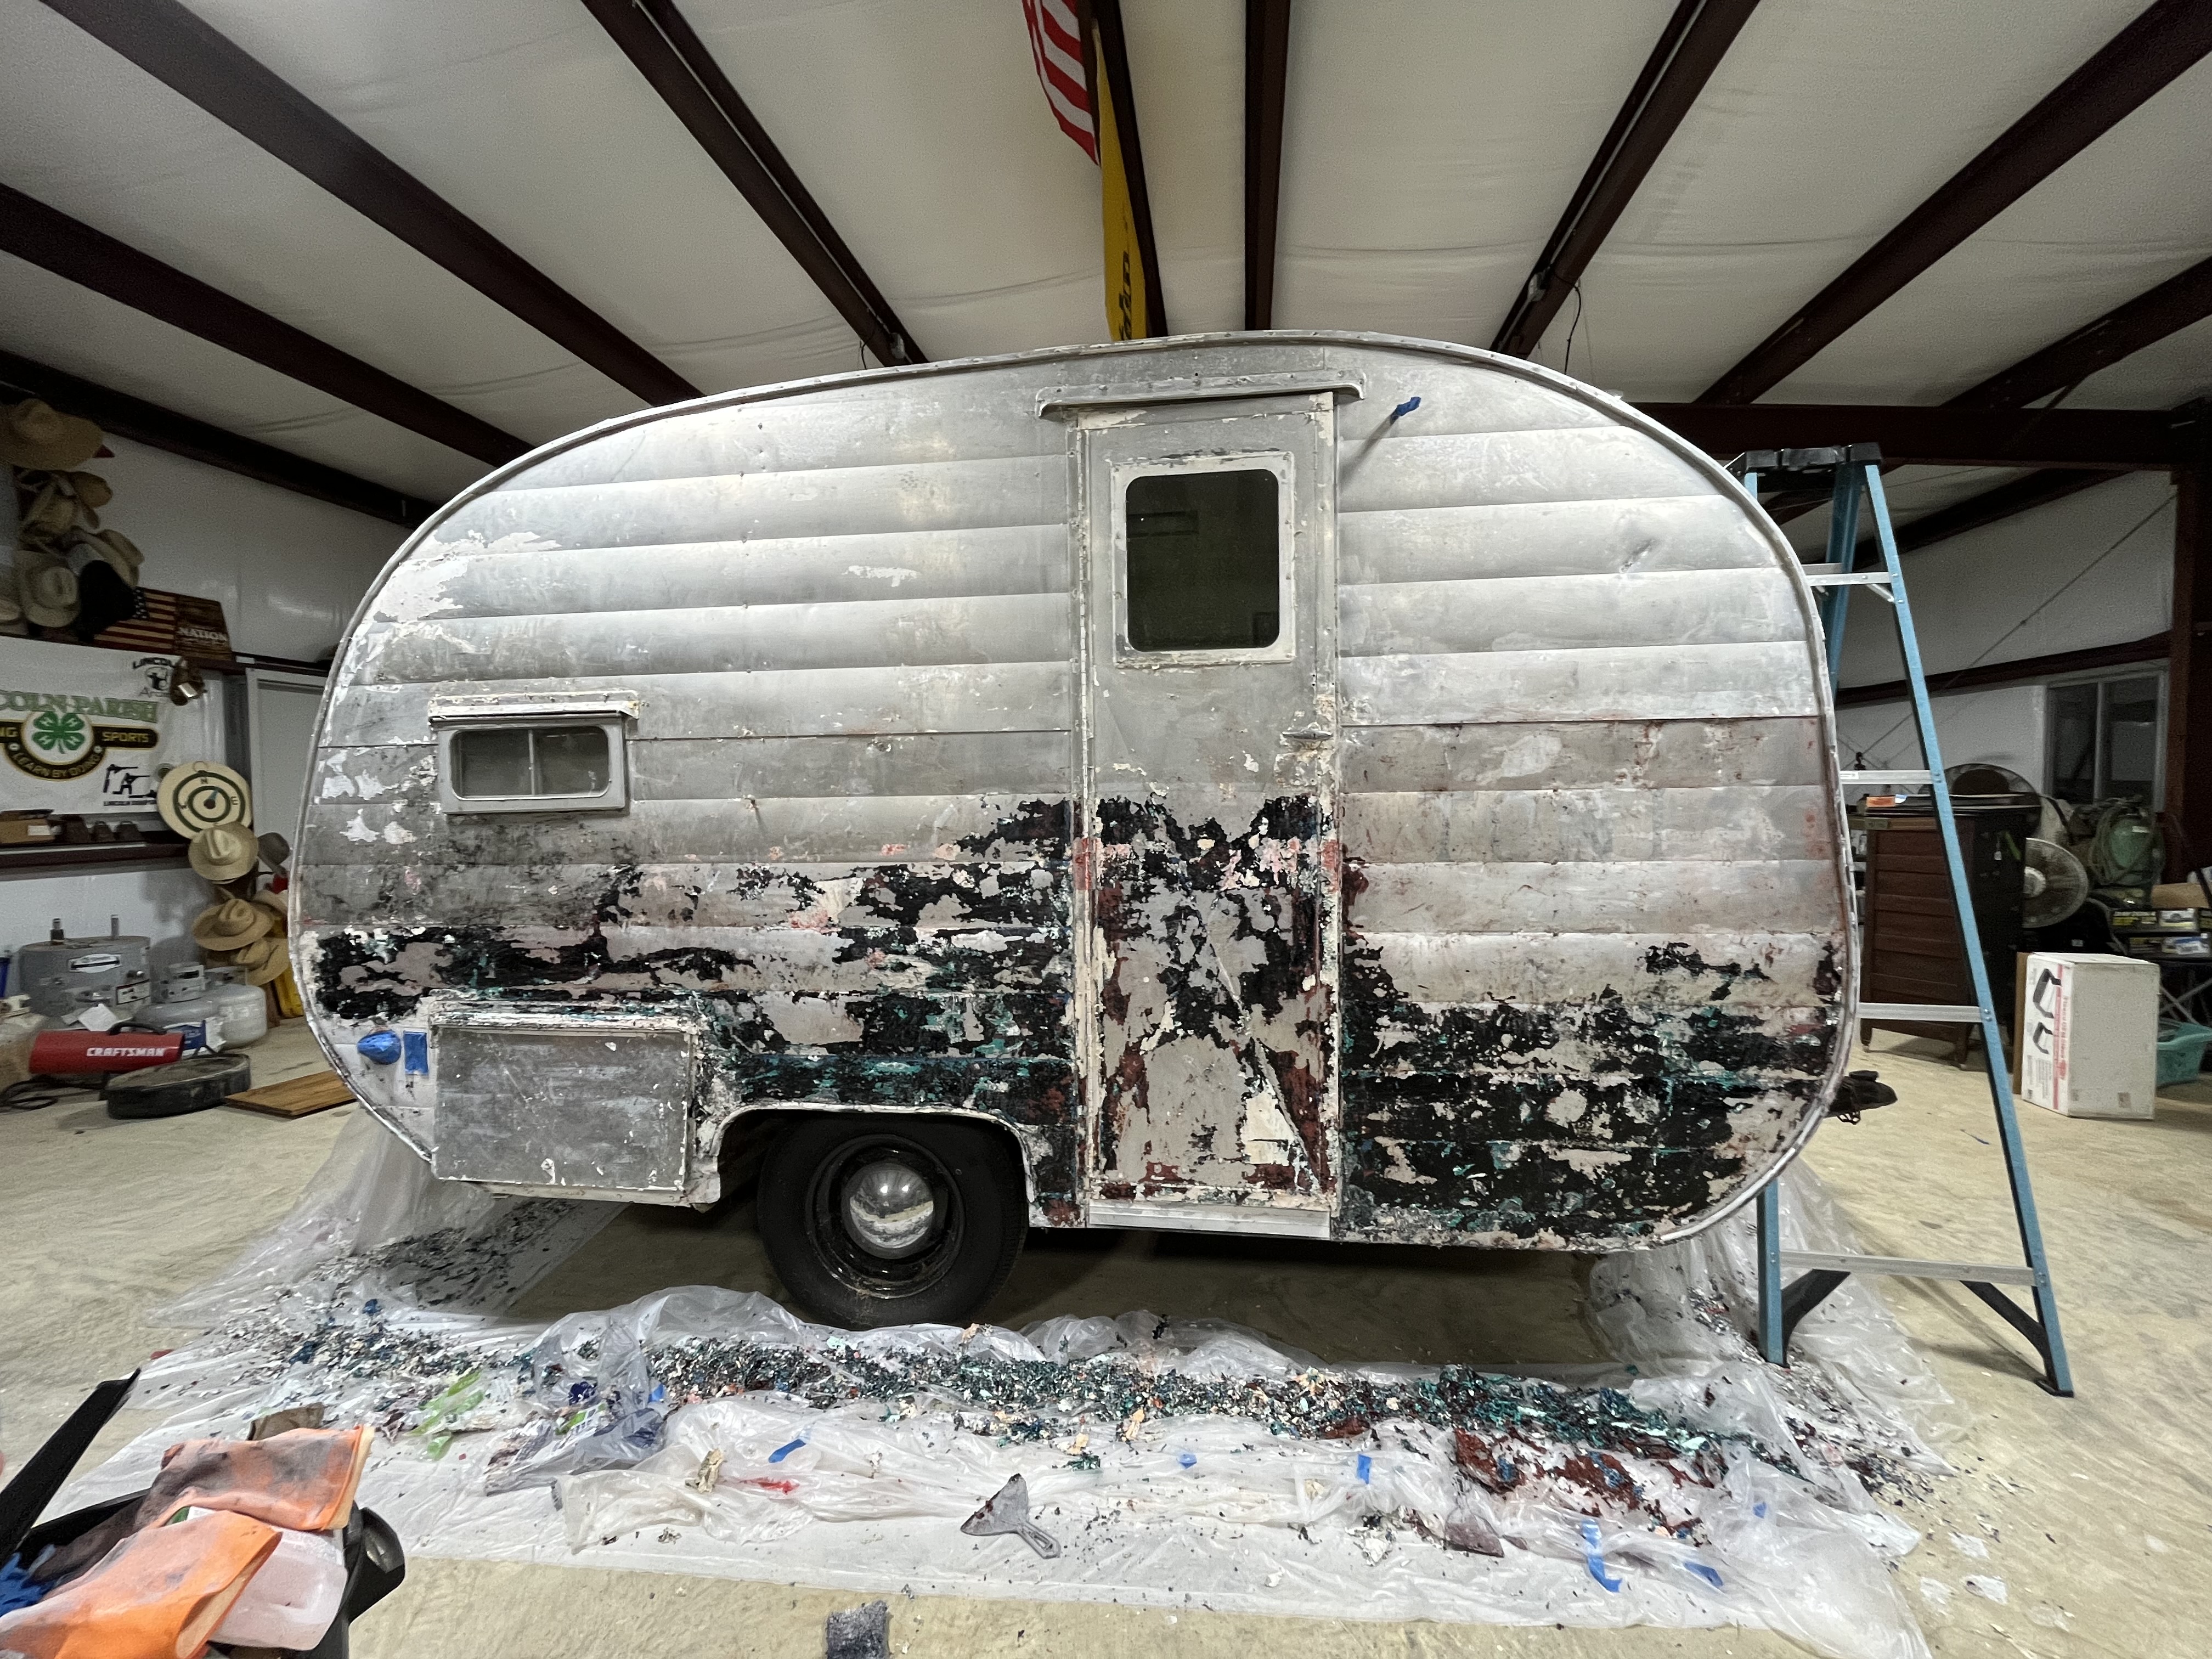
    Lower half of the camper showing patches of teal-green paint under black and pink layers
    Teal-green showing through · Nov 11, 2024
    Door side with the top half bare aluminum and dark old paint left on the lower half
    Top half bare, bottom half next · Nov 11, 2024
    Door side in November with the stripe gone and the top half bare Door side after the first scrape, with the red stripe still on First scrapeNov 11

    The stripe coming off. Drag to compare.

    Out in the sun, windows out

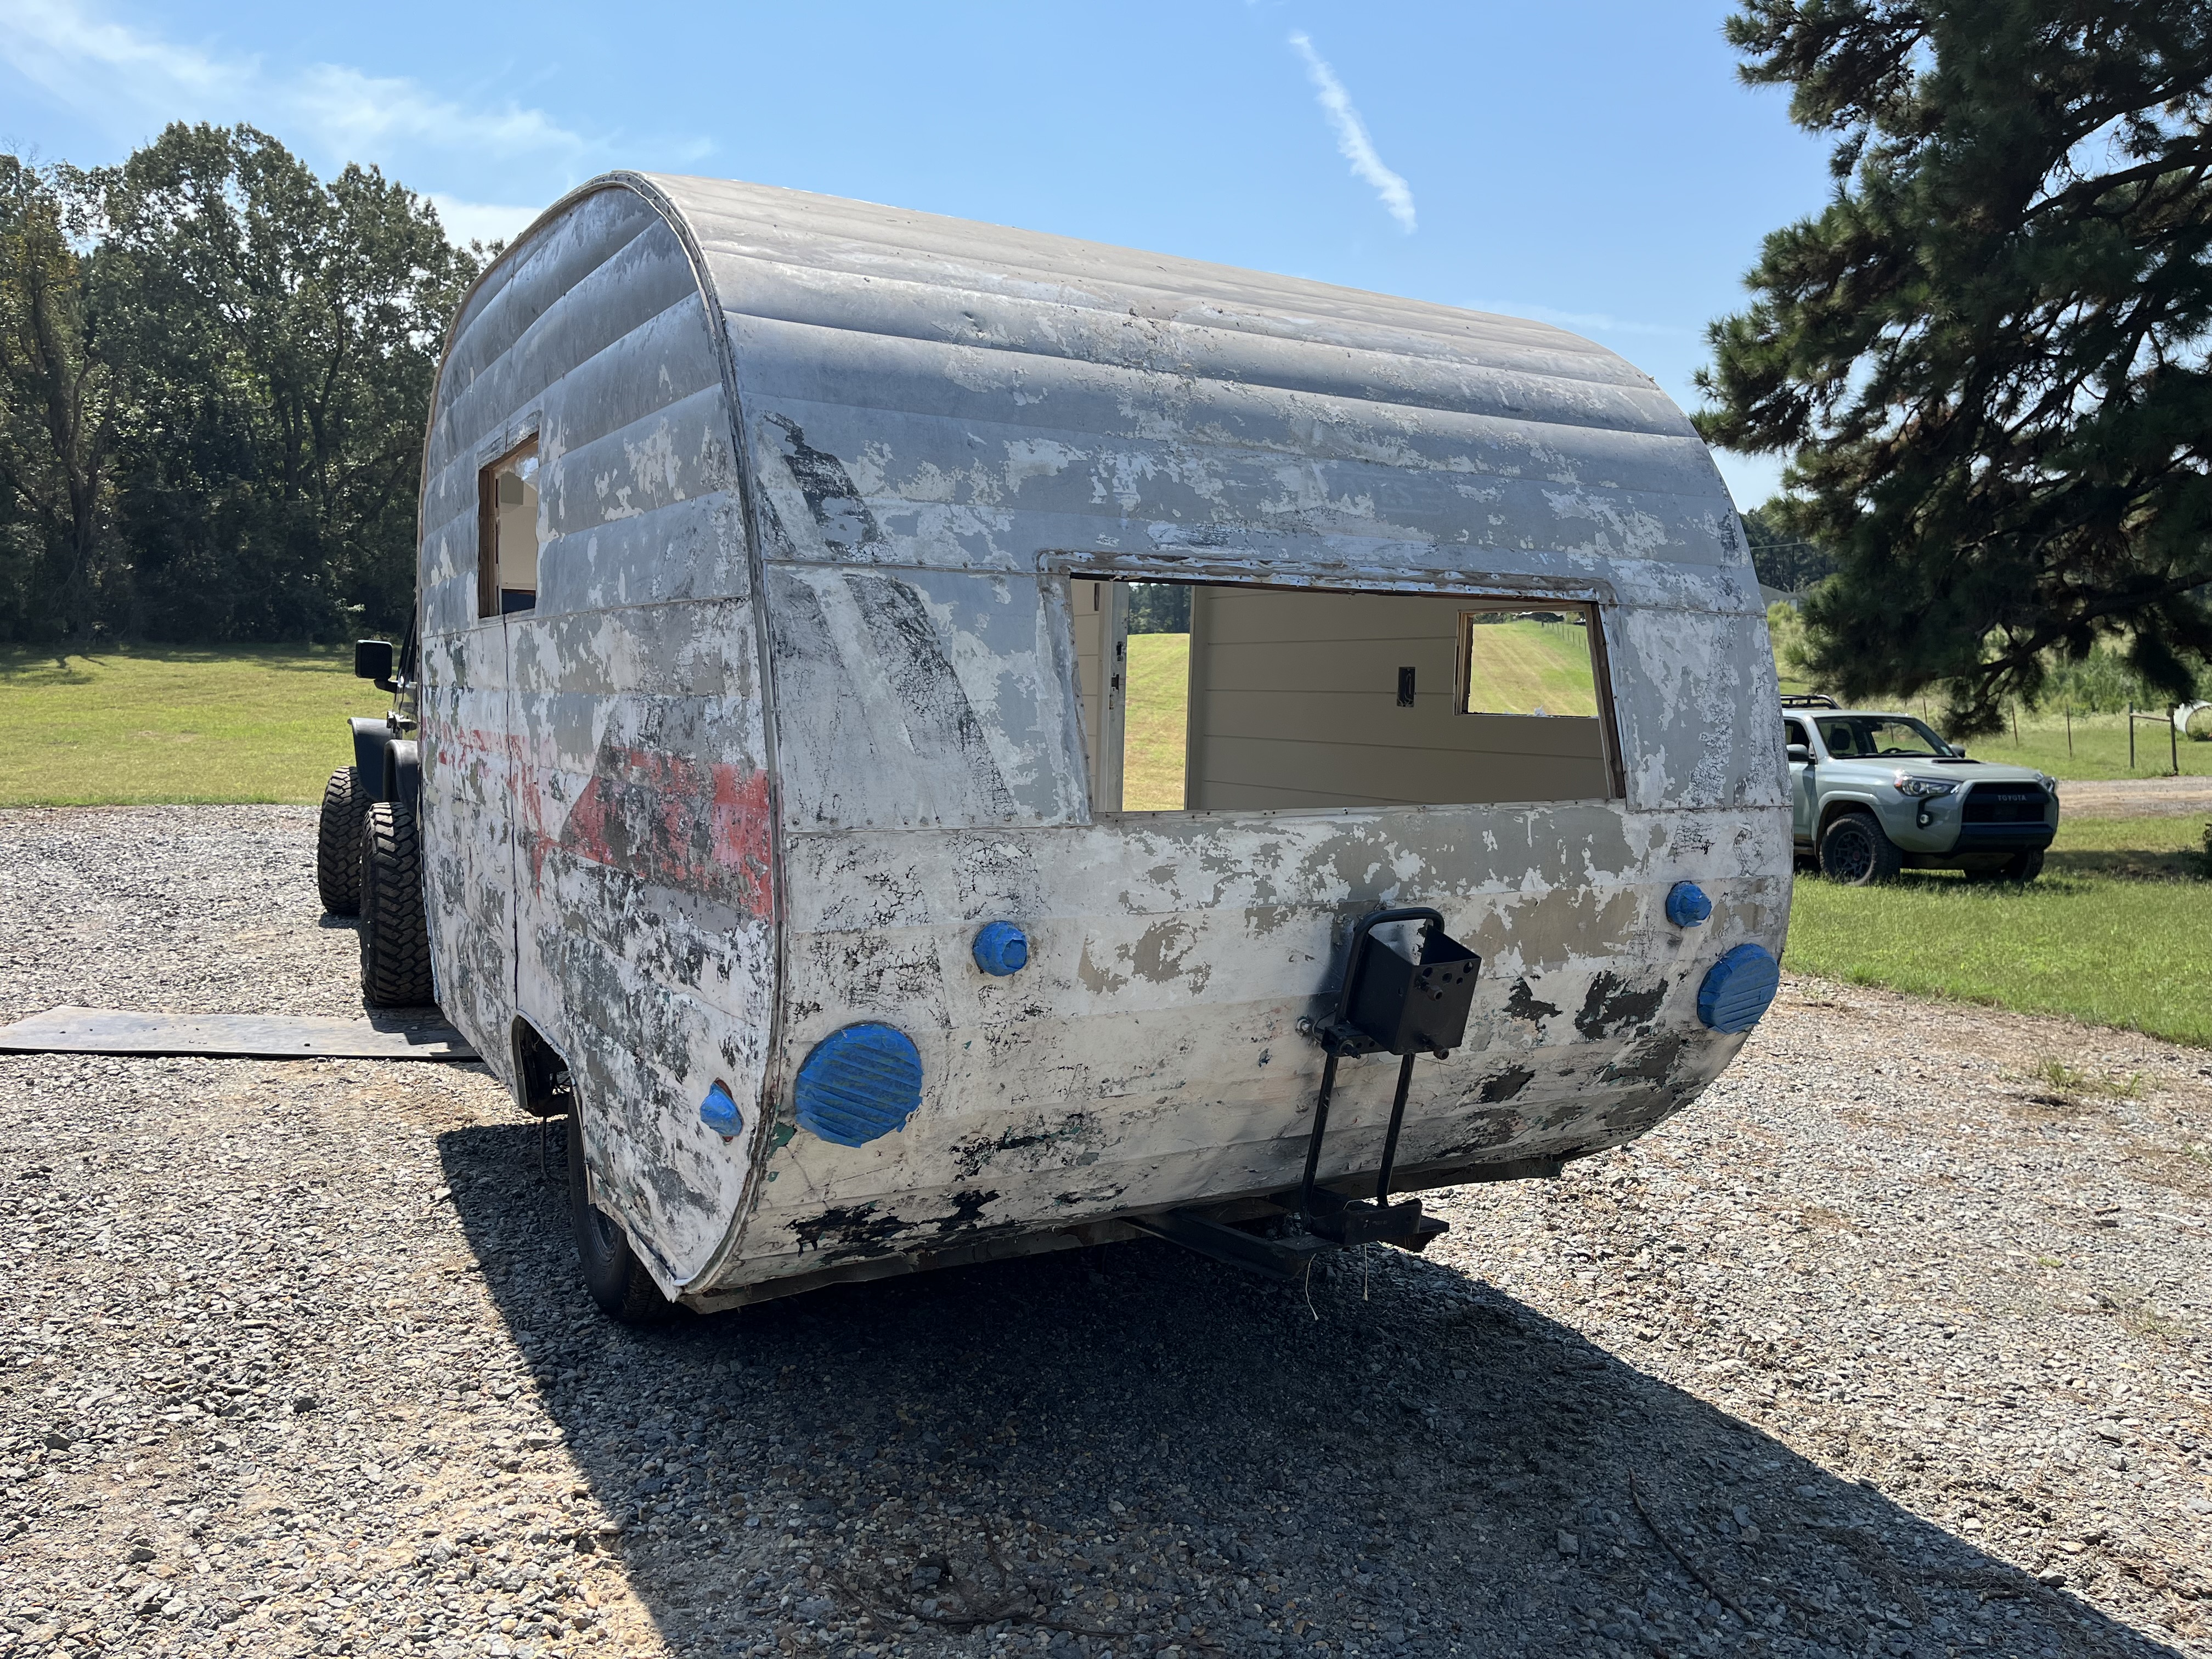
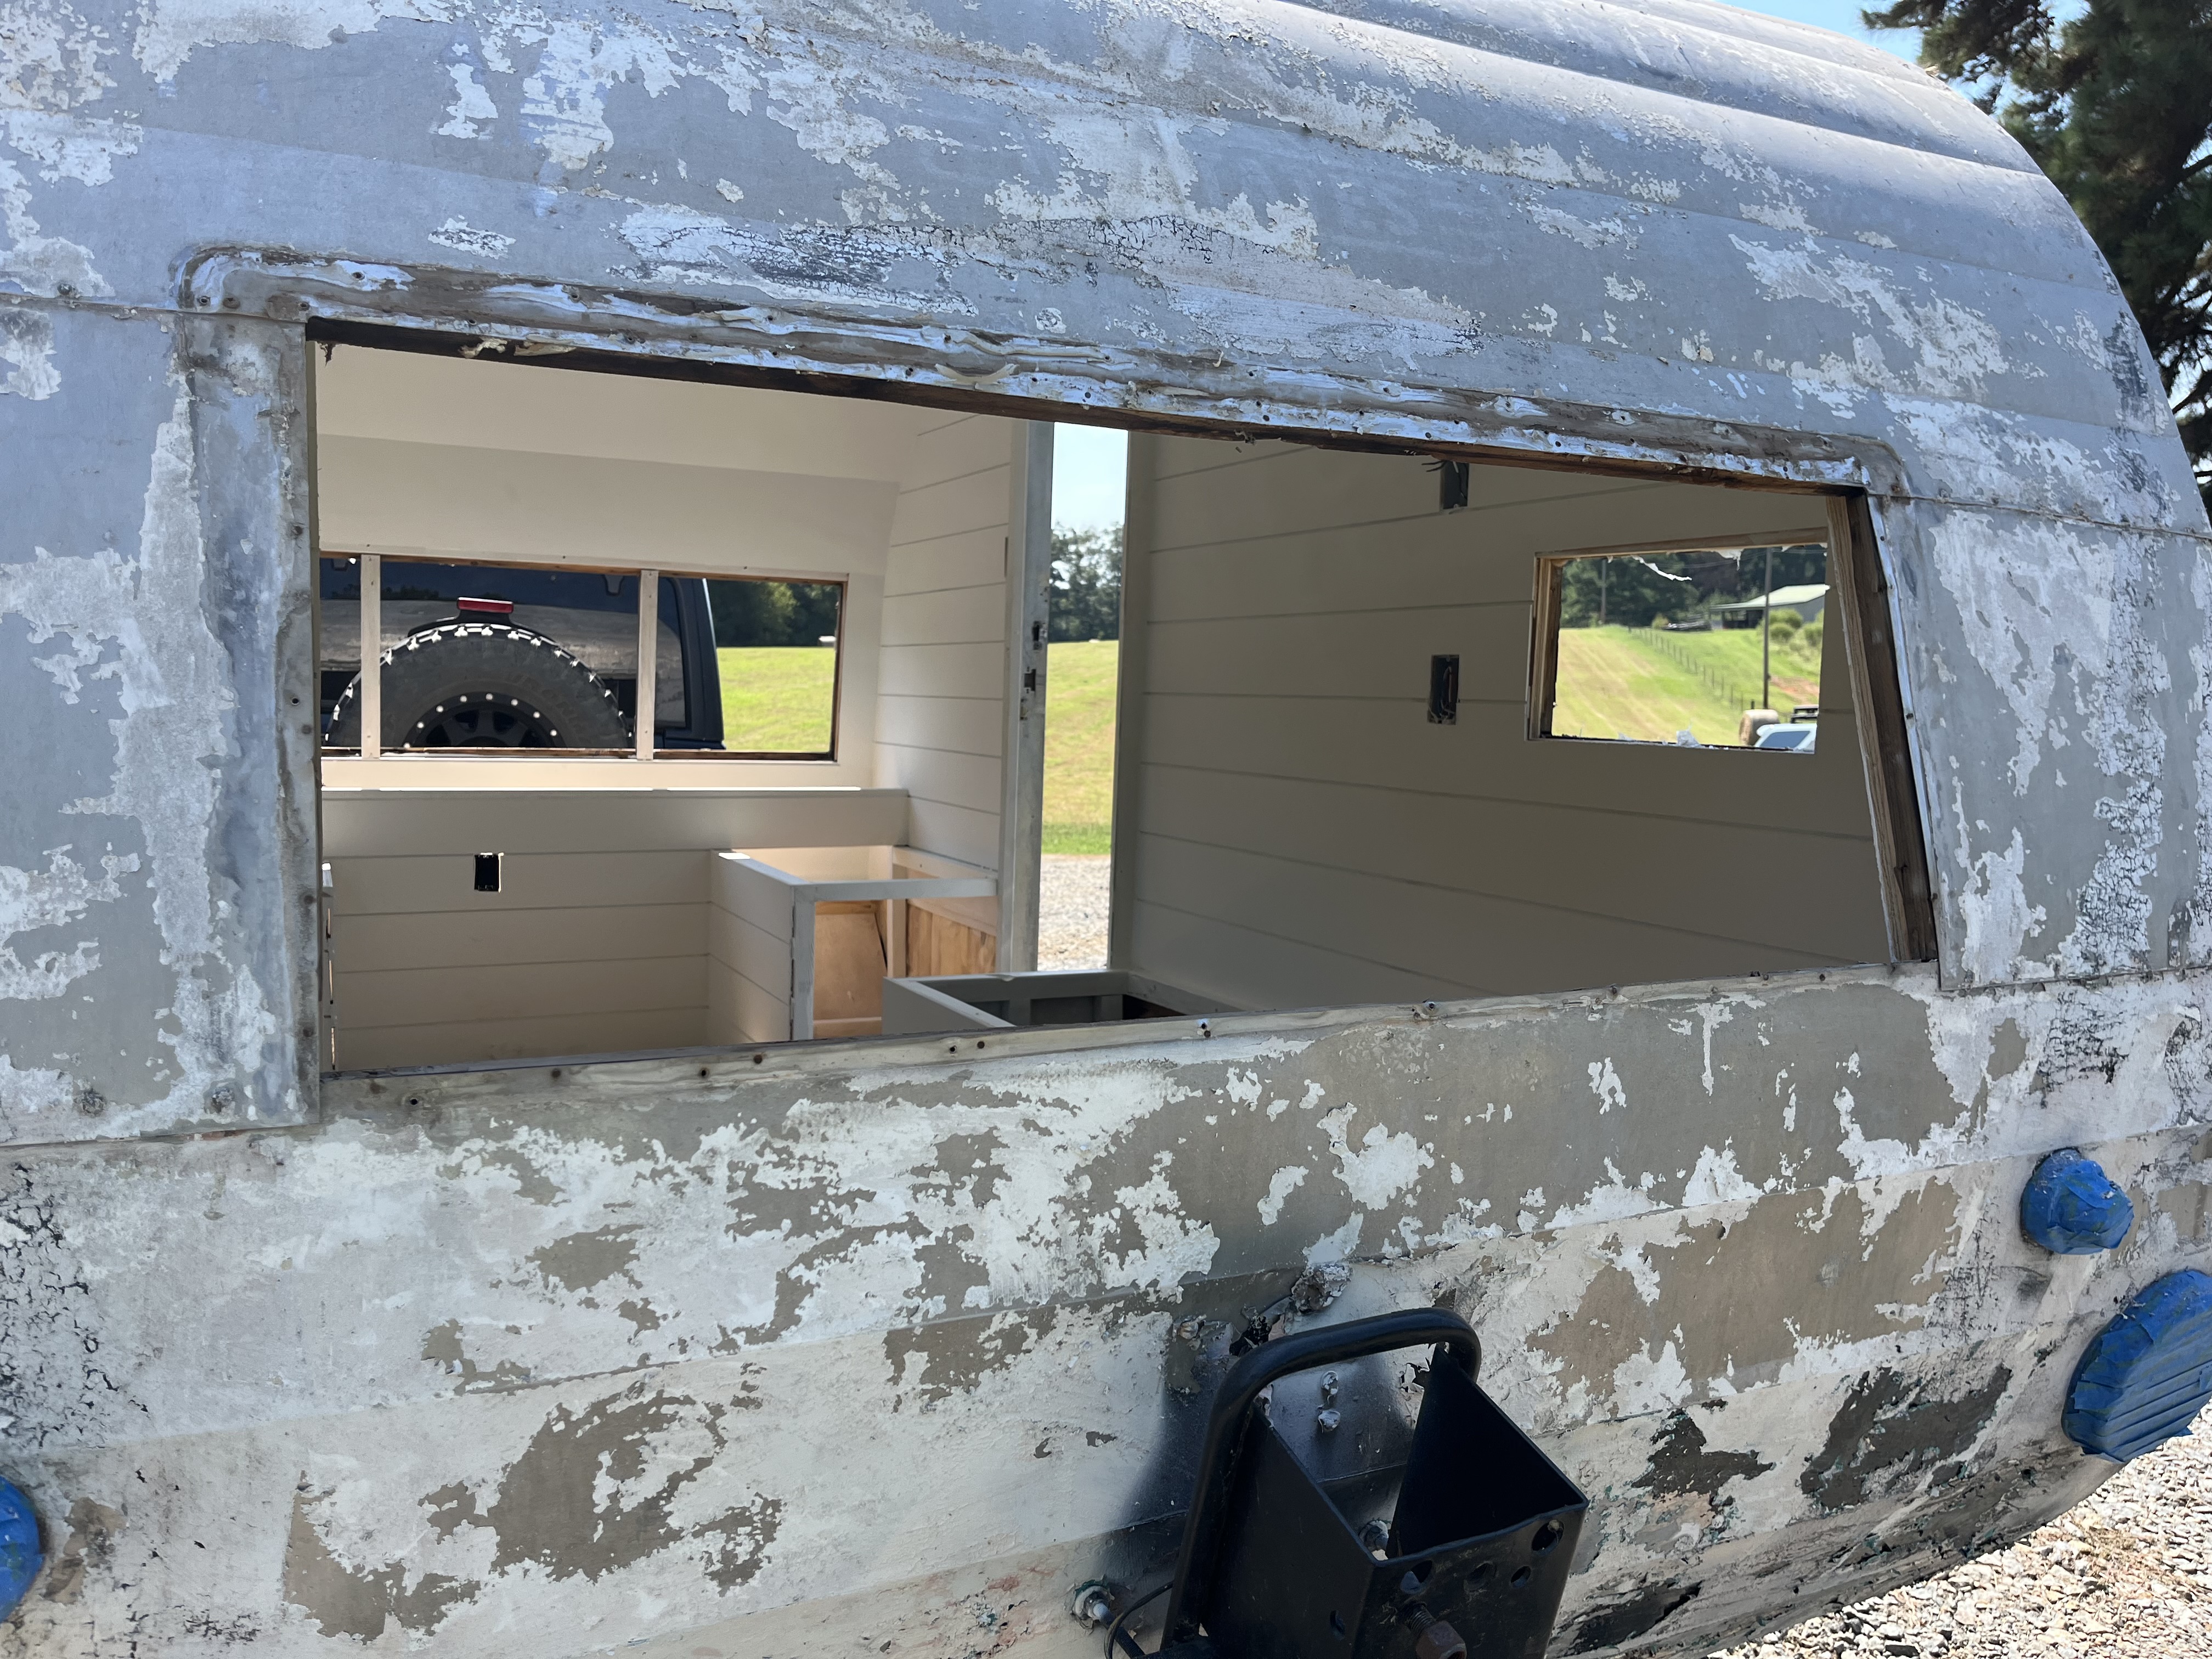
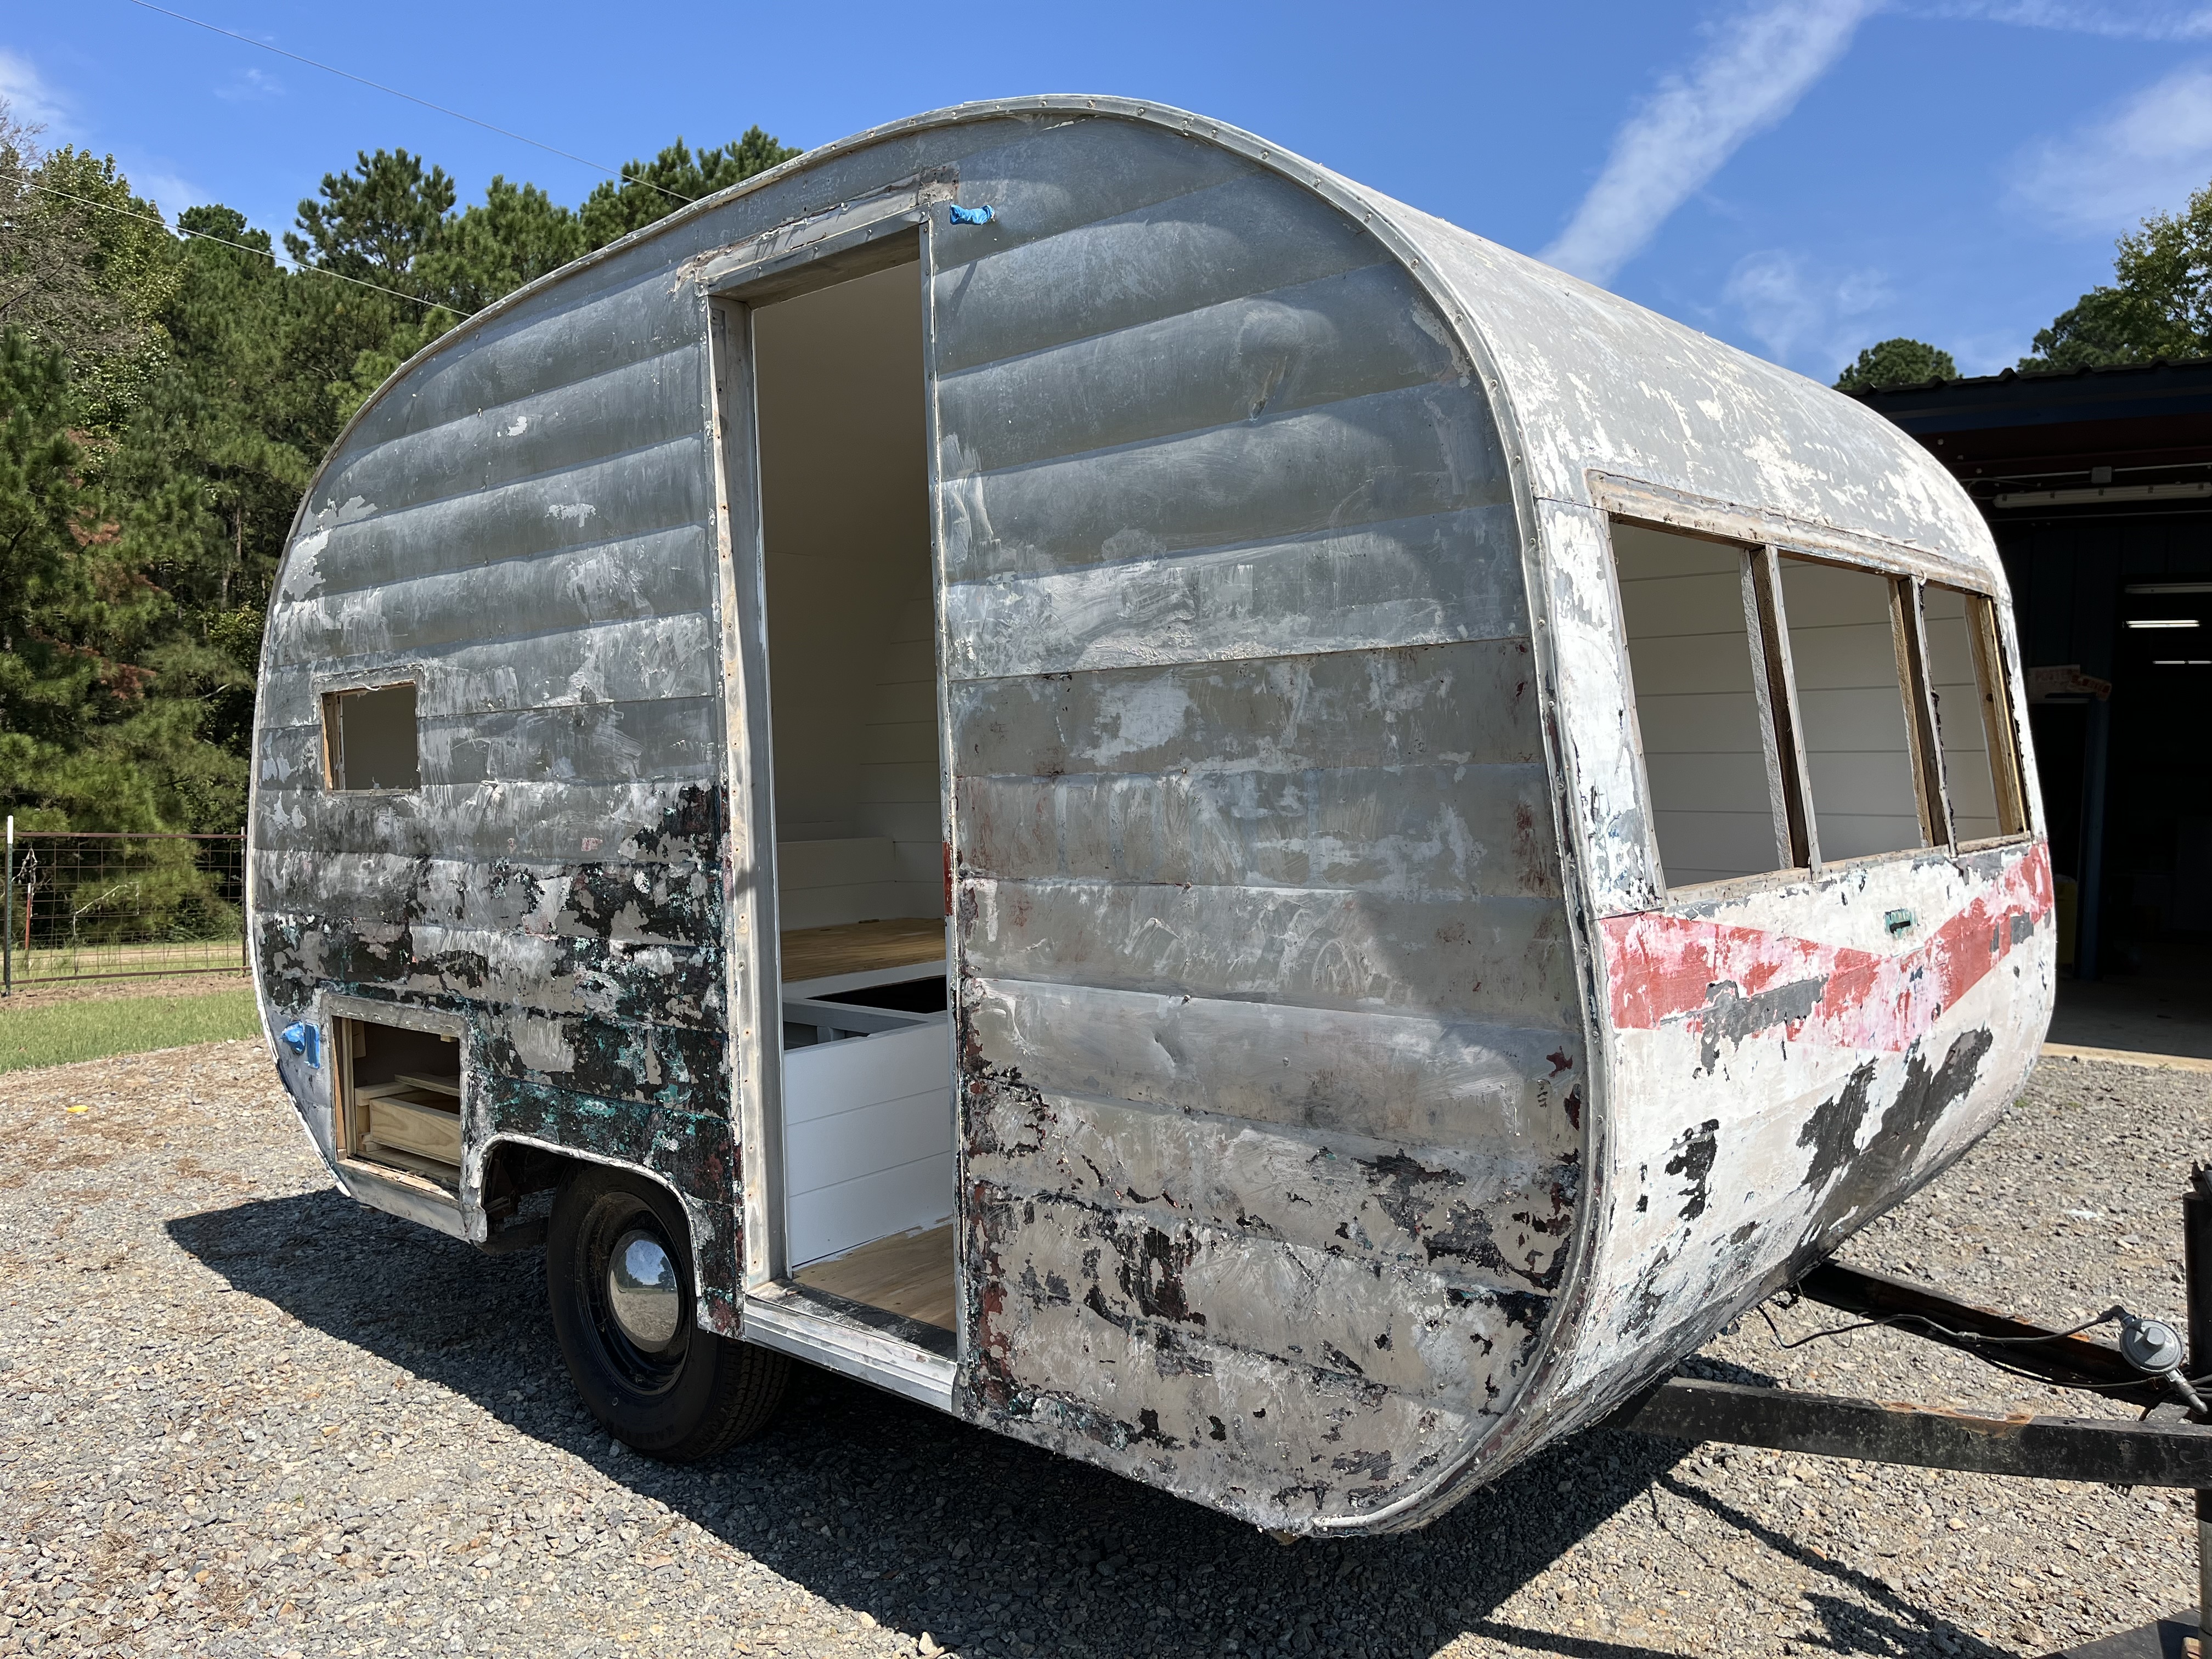
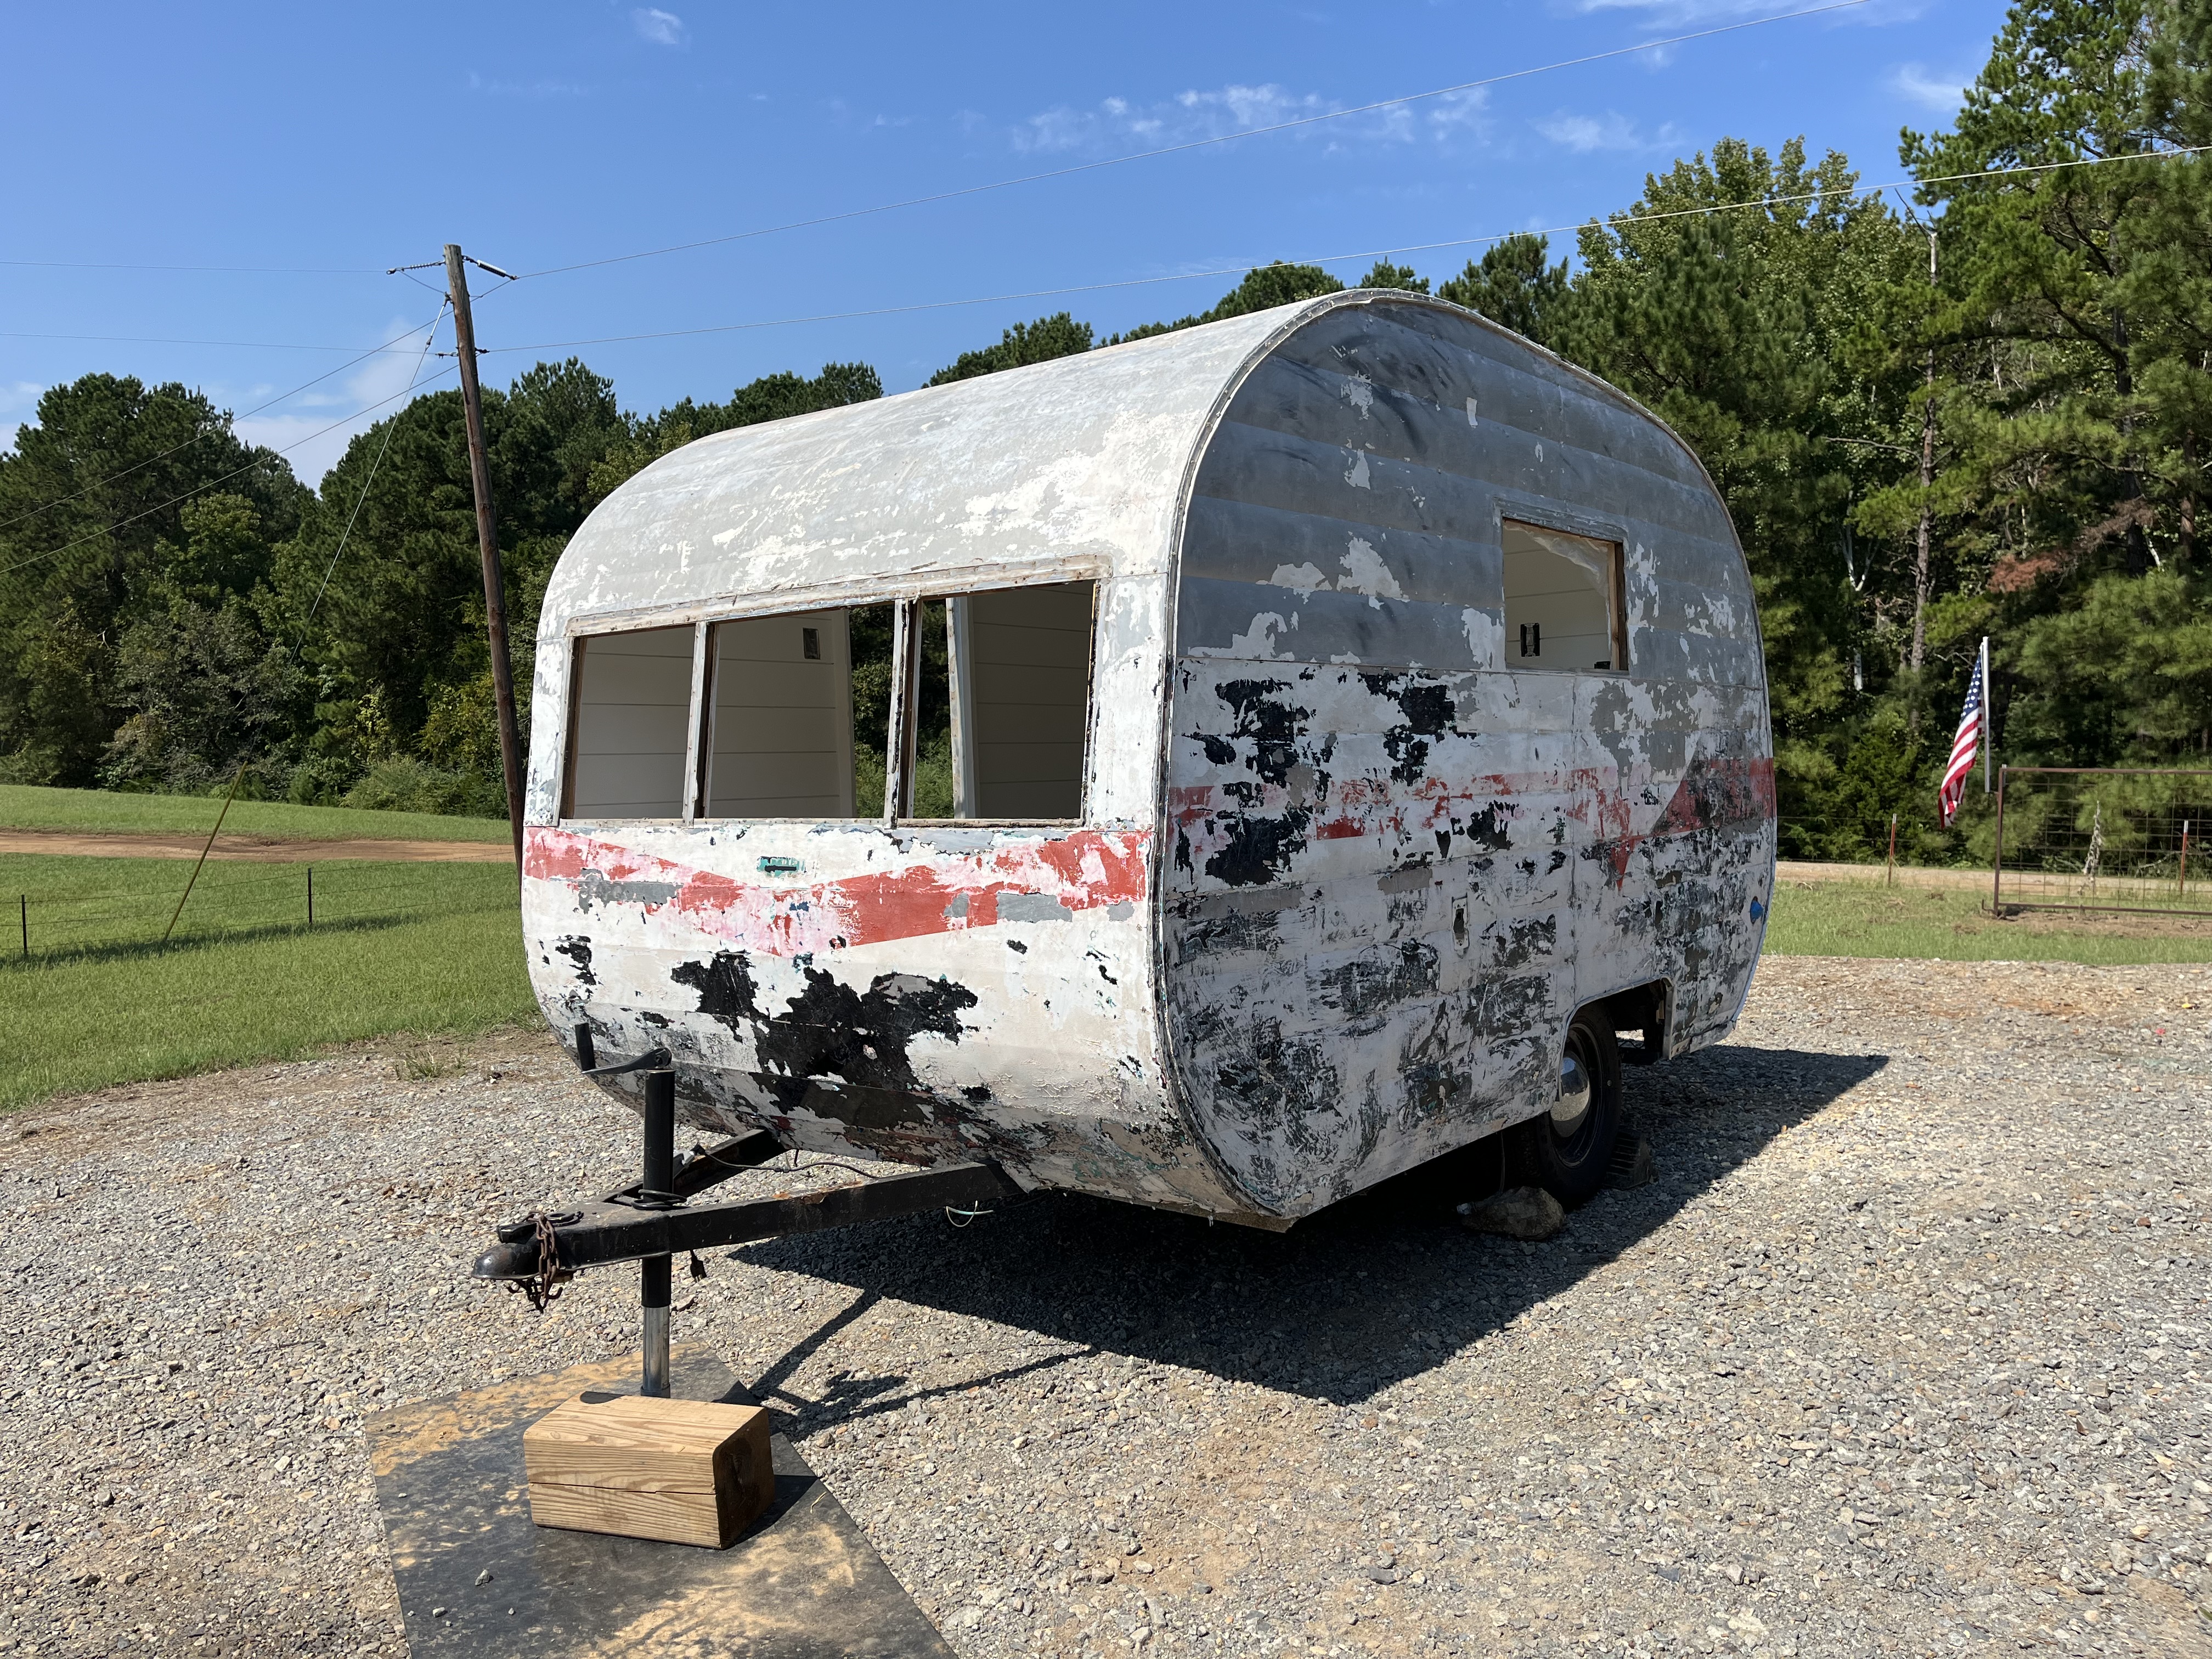
    With the windows and door pulled, you can see straight through to the new shiplap inside. Out here the layers show their shapes: the red swoosh on the street side, a red chevron across the front, and a small teal badge on the front that could be an old maker's plate.
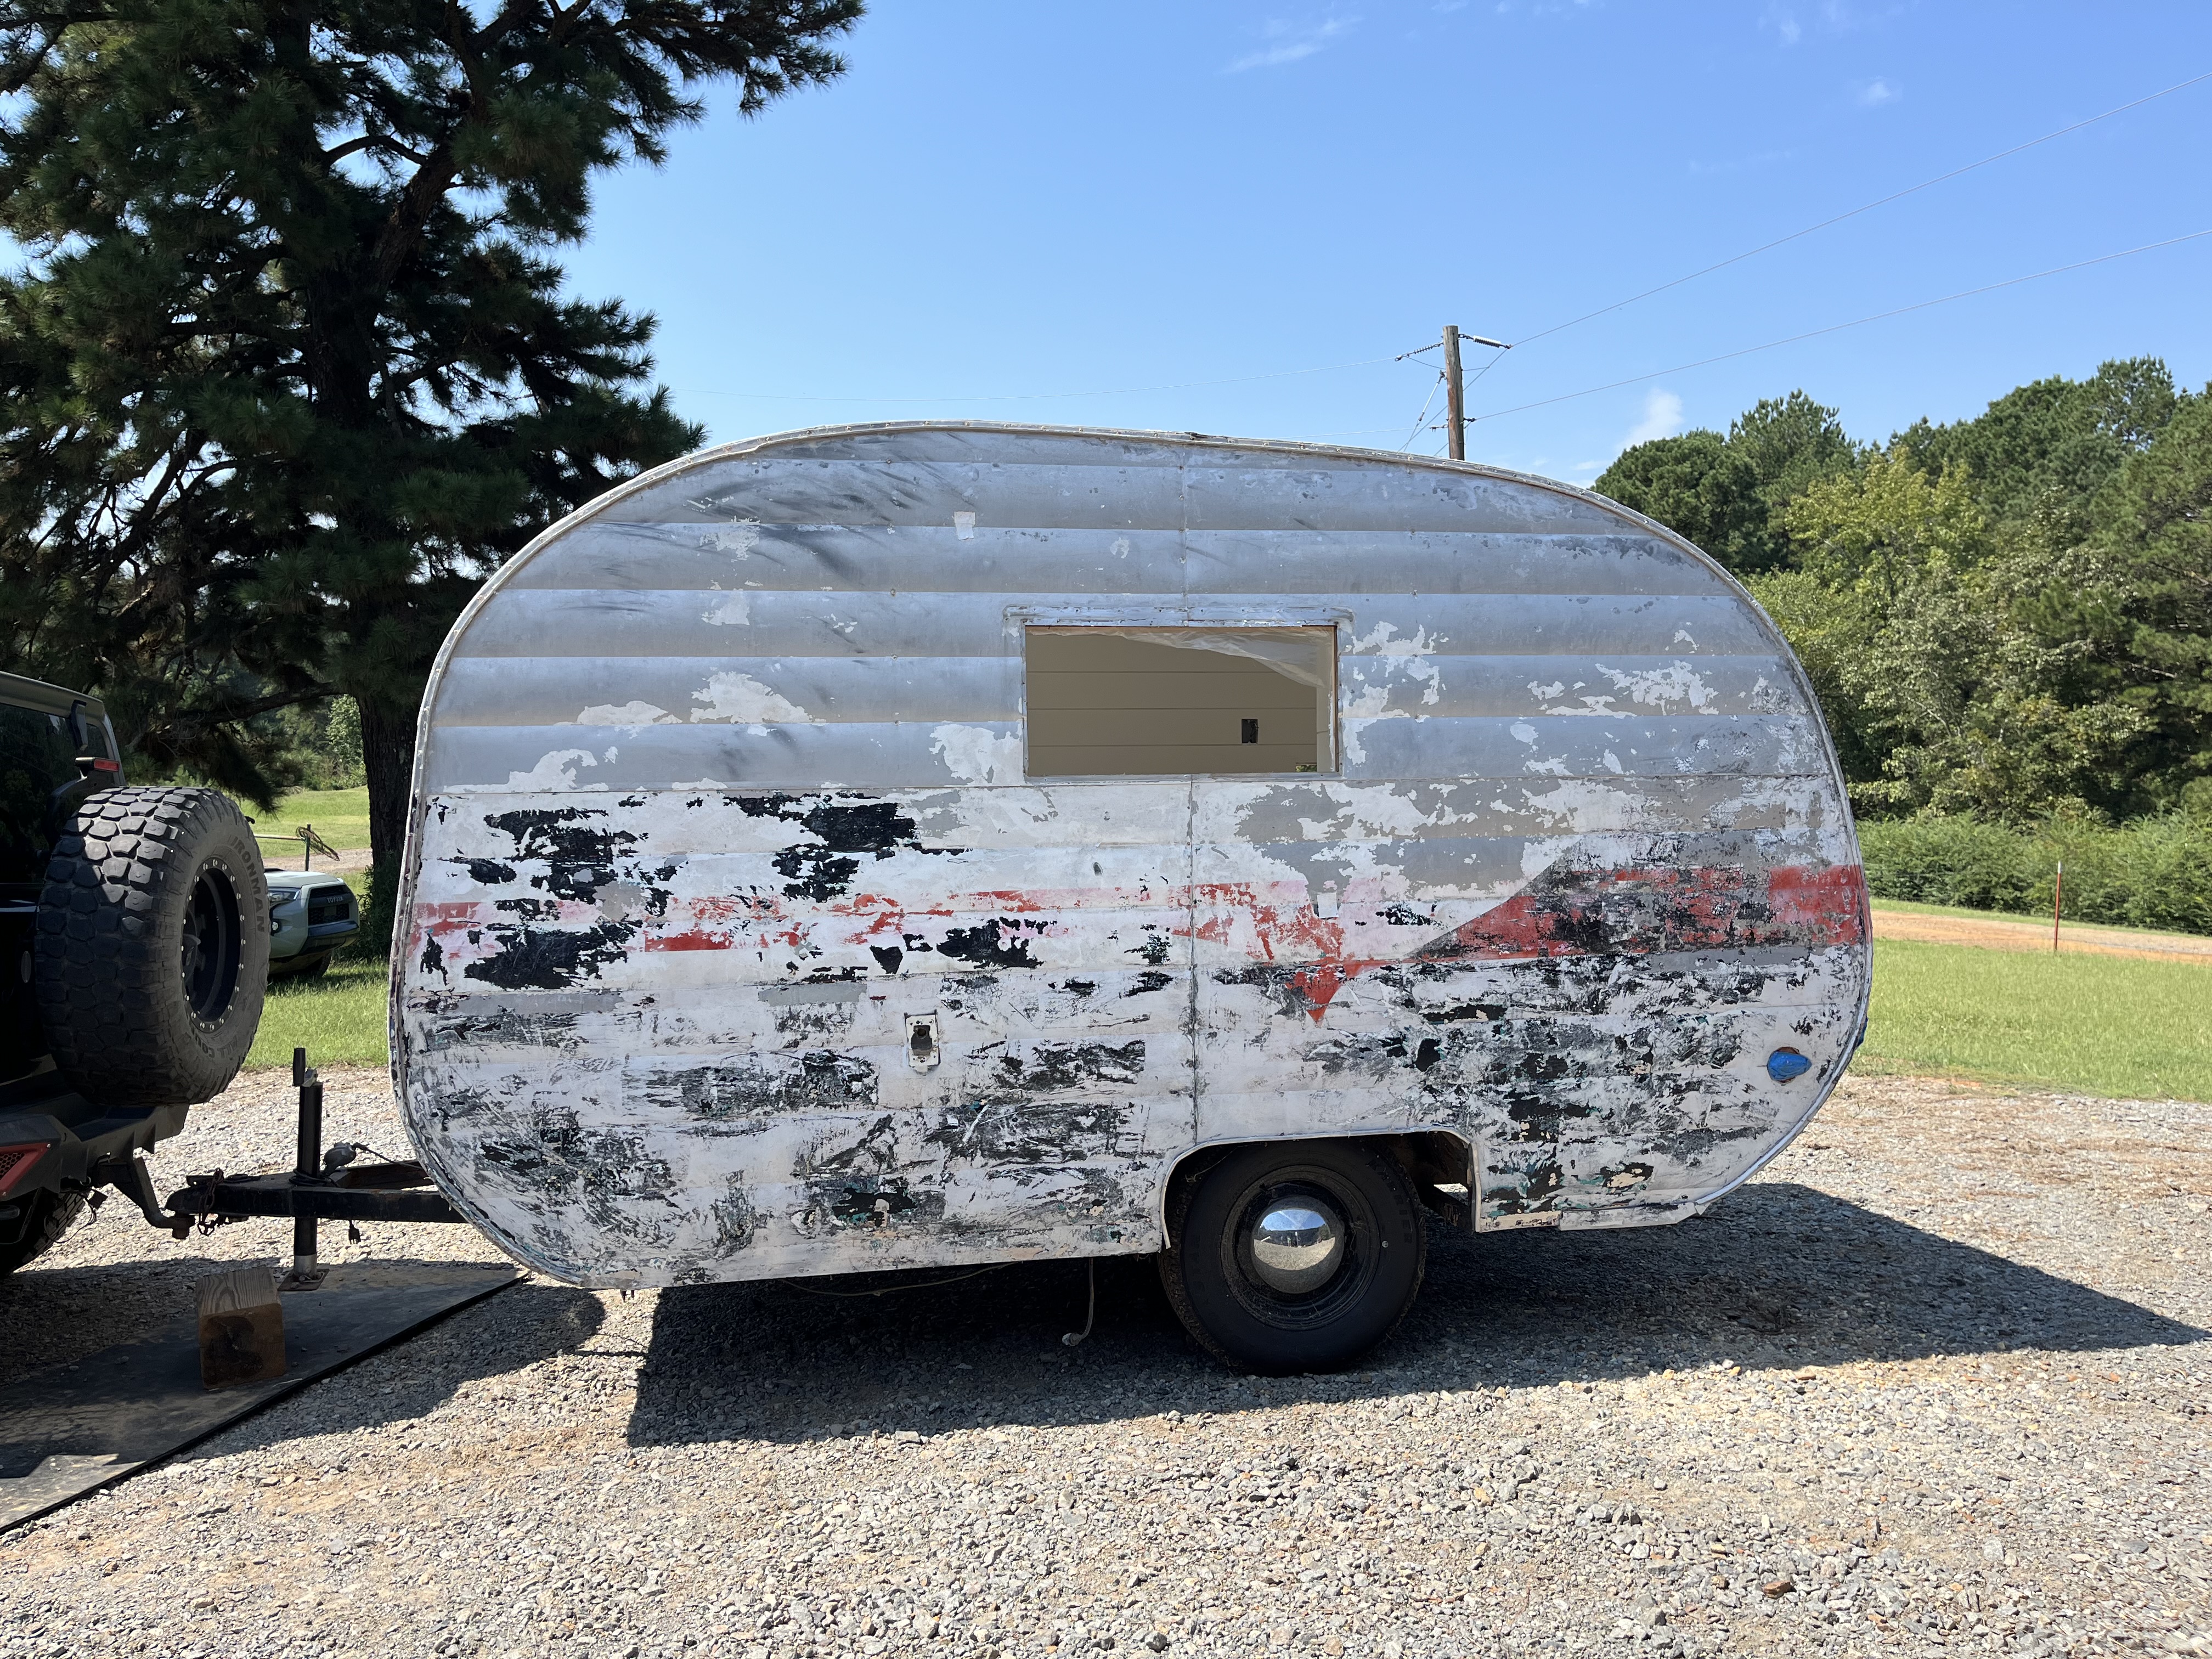
    Street side with the old red swoosh still showing through
    Street side and the old swoosh
    Front three-quarter view, window frames removed, red chevron stripe across the front
    Front, windows out
    Close-up of the empty front window frames, a small teal badge, and the red chevron stripe
    The front chevron and a teal badge
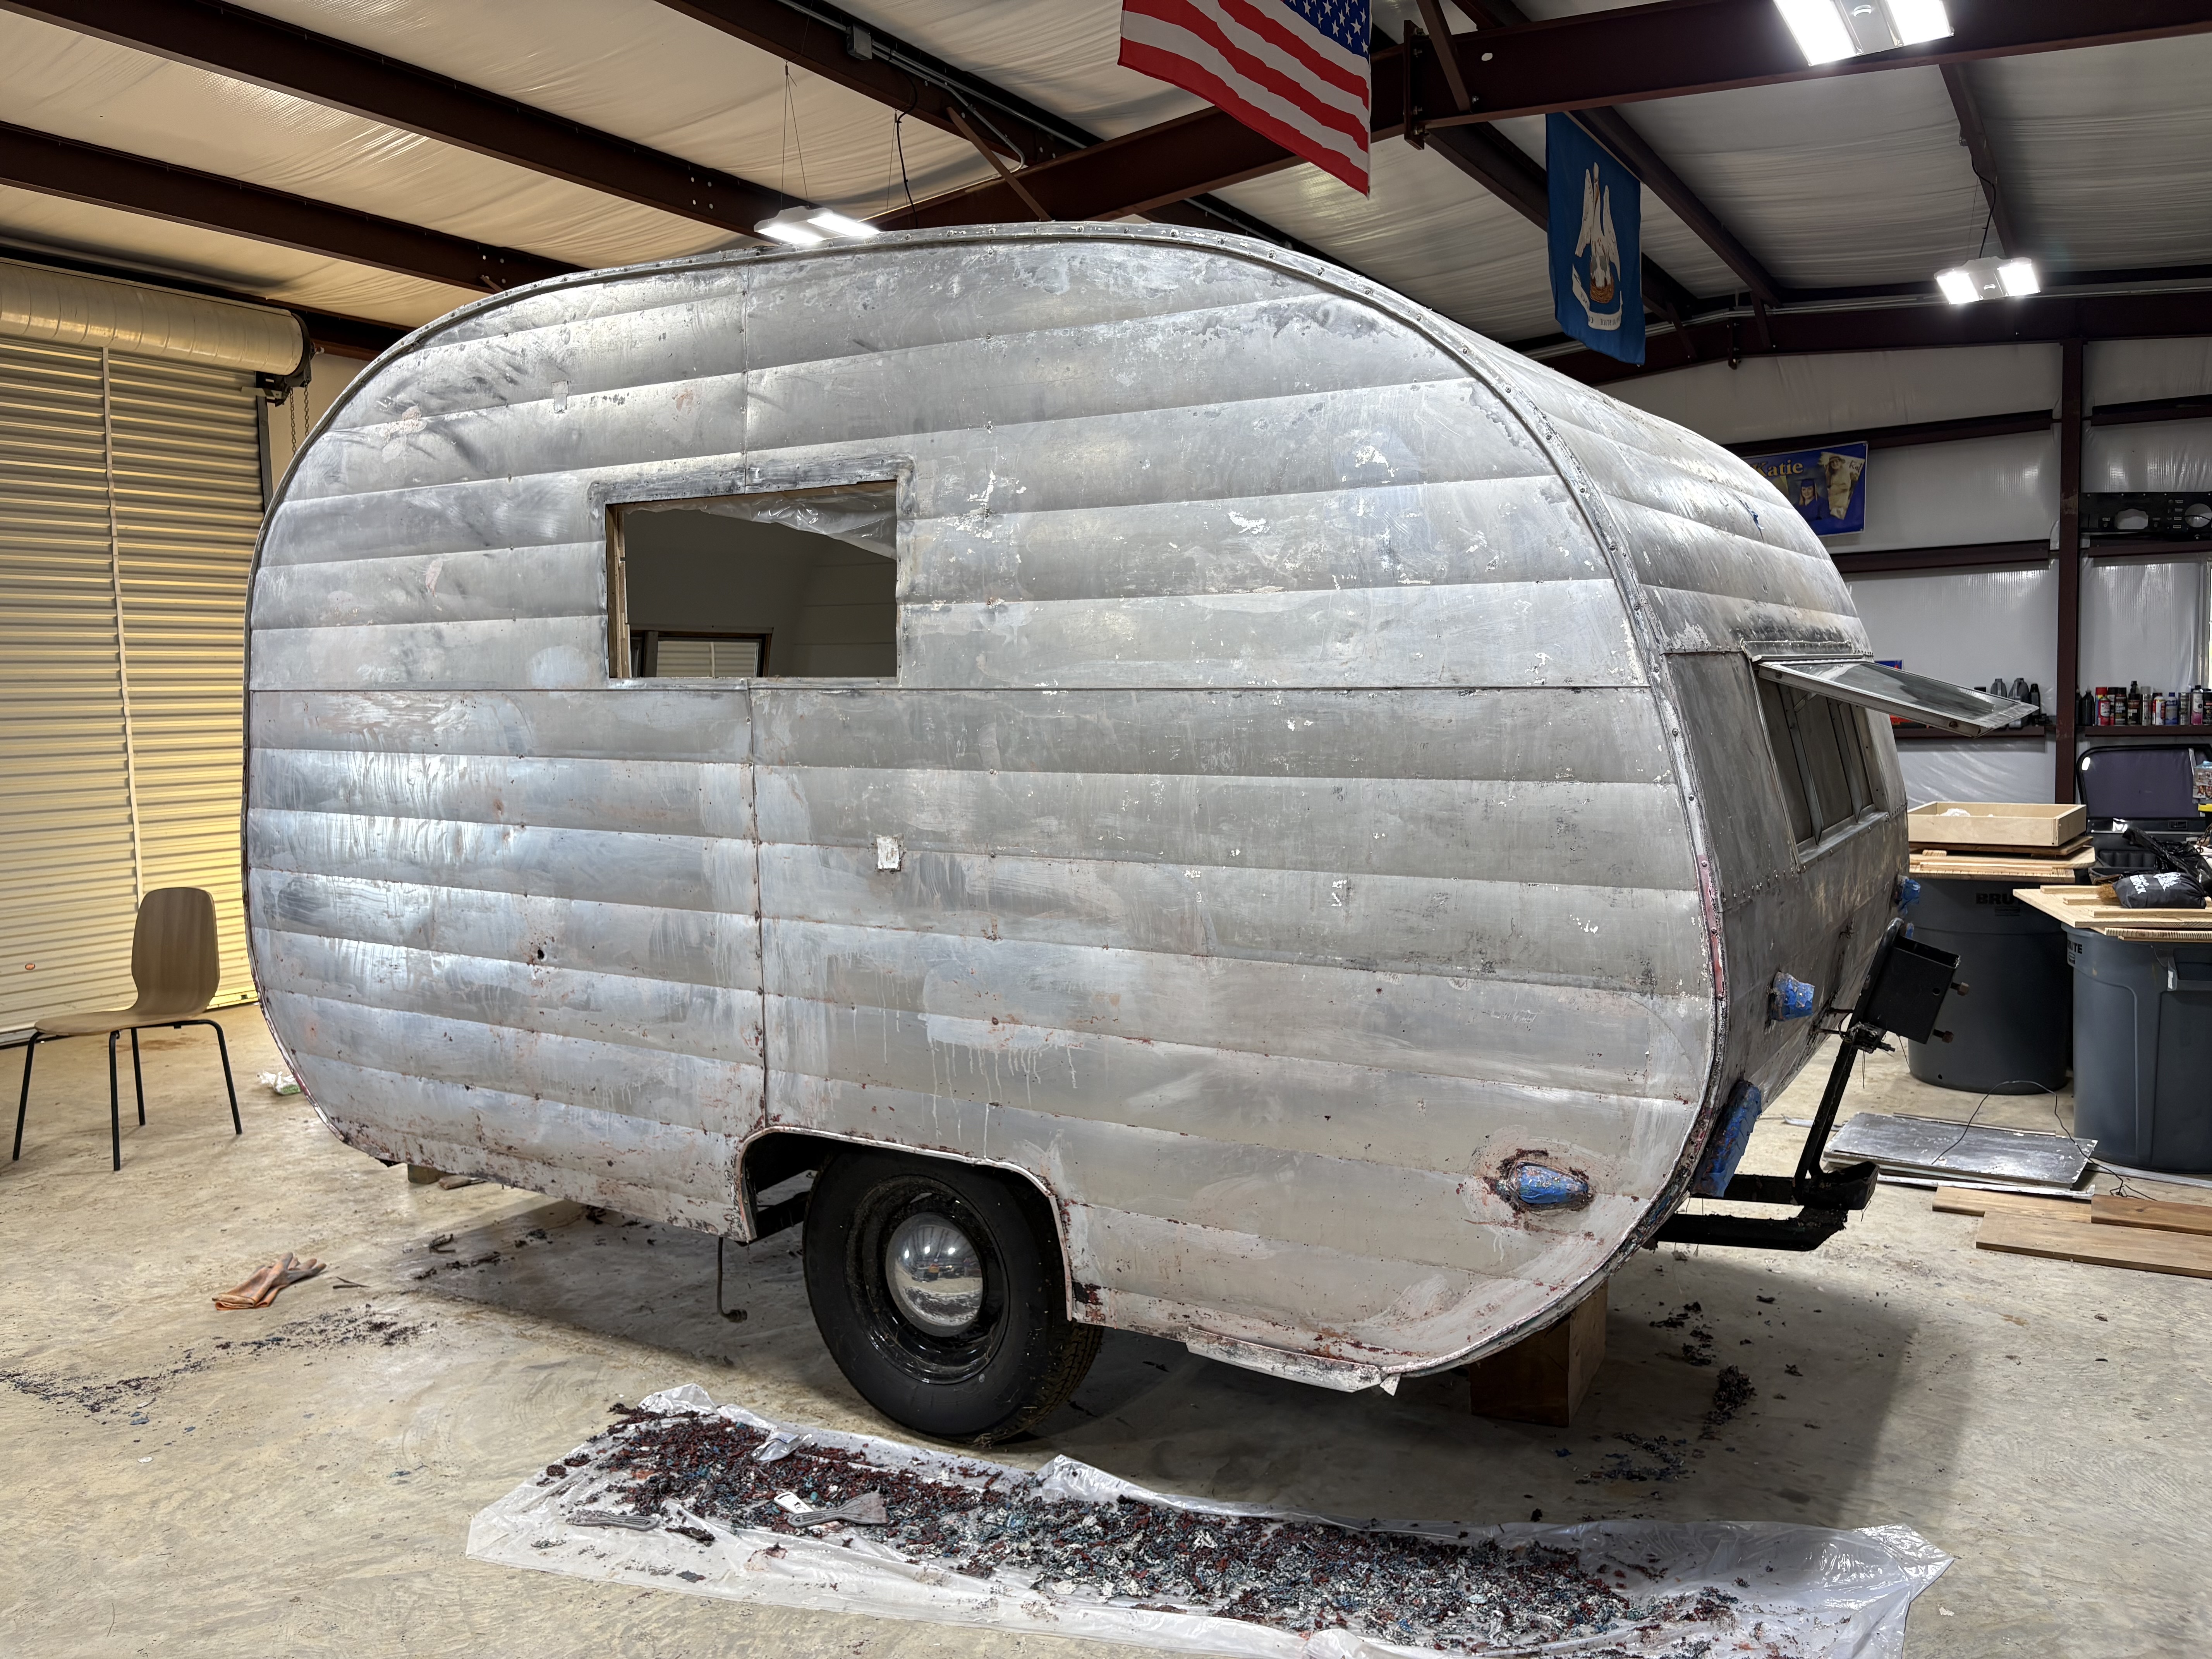
    Rear view with the window out and taillight holes taped over
    Rear, taillights taped
    Looking through the empty rear window to the white shiplap interior
    Looking in through the back
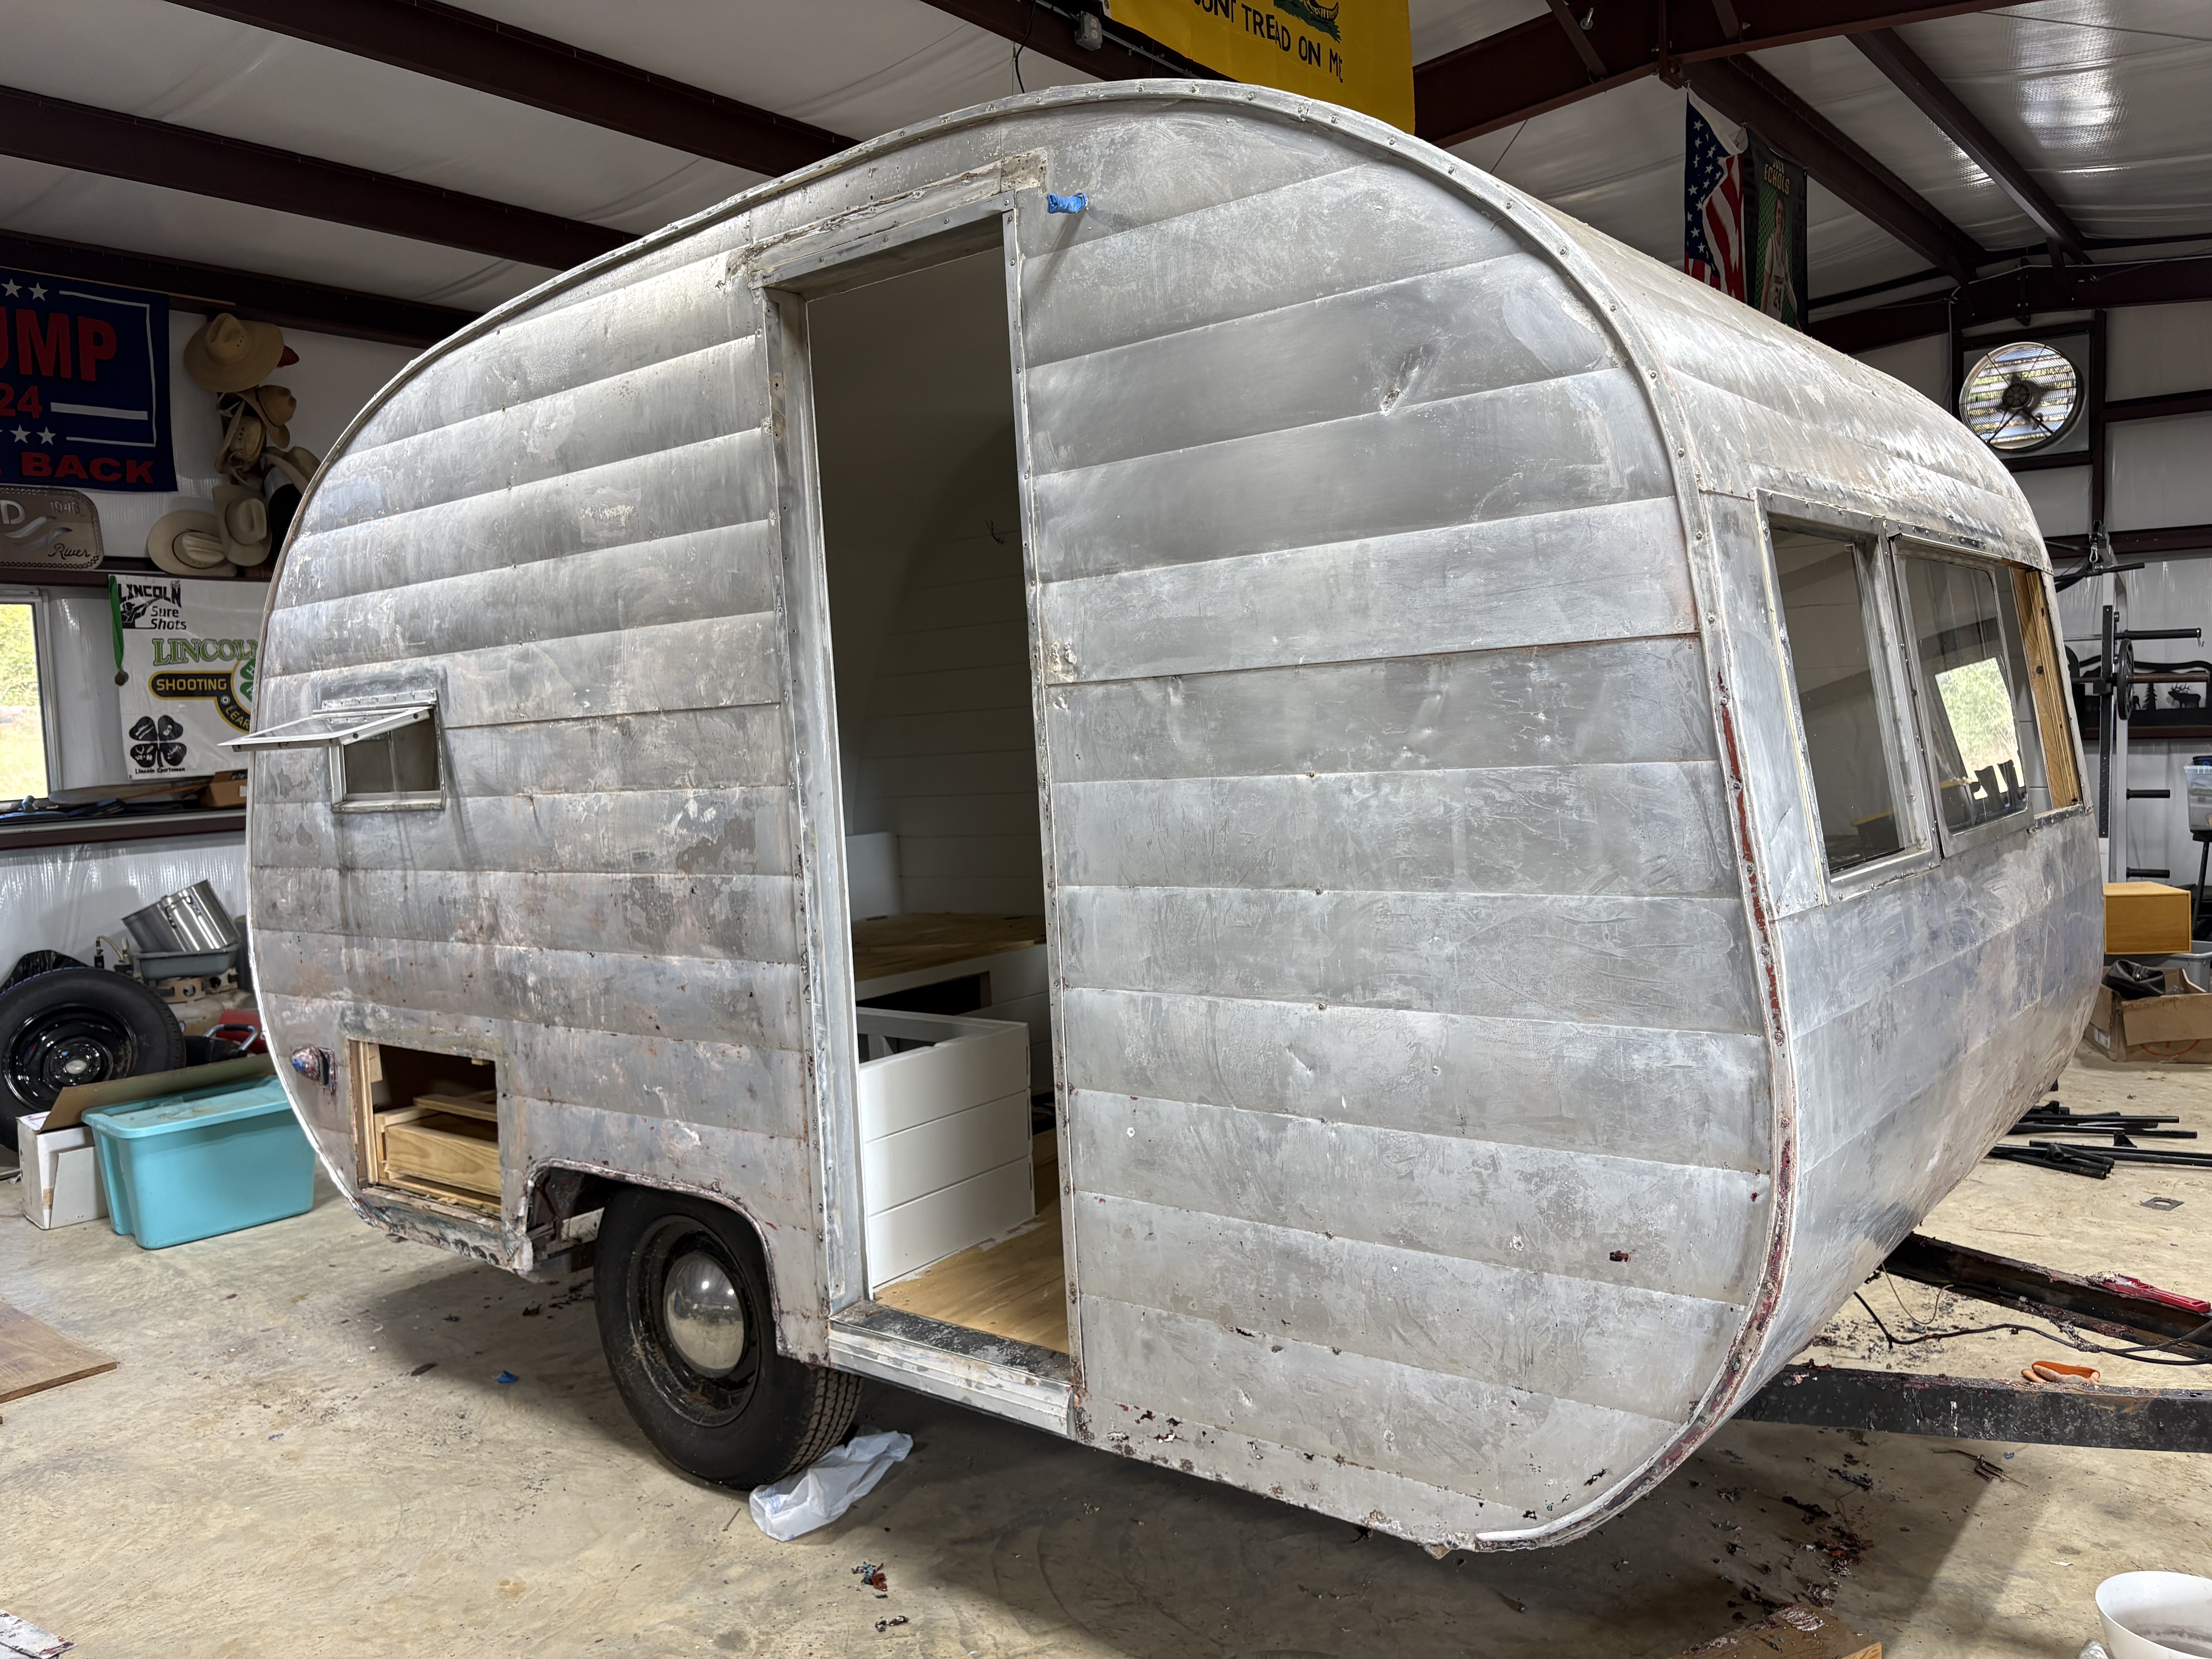
    Door side and front corner with the door off and the new interior visible
    Door off, interior ready

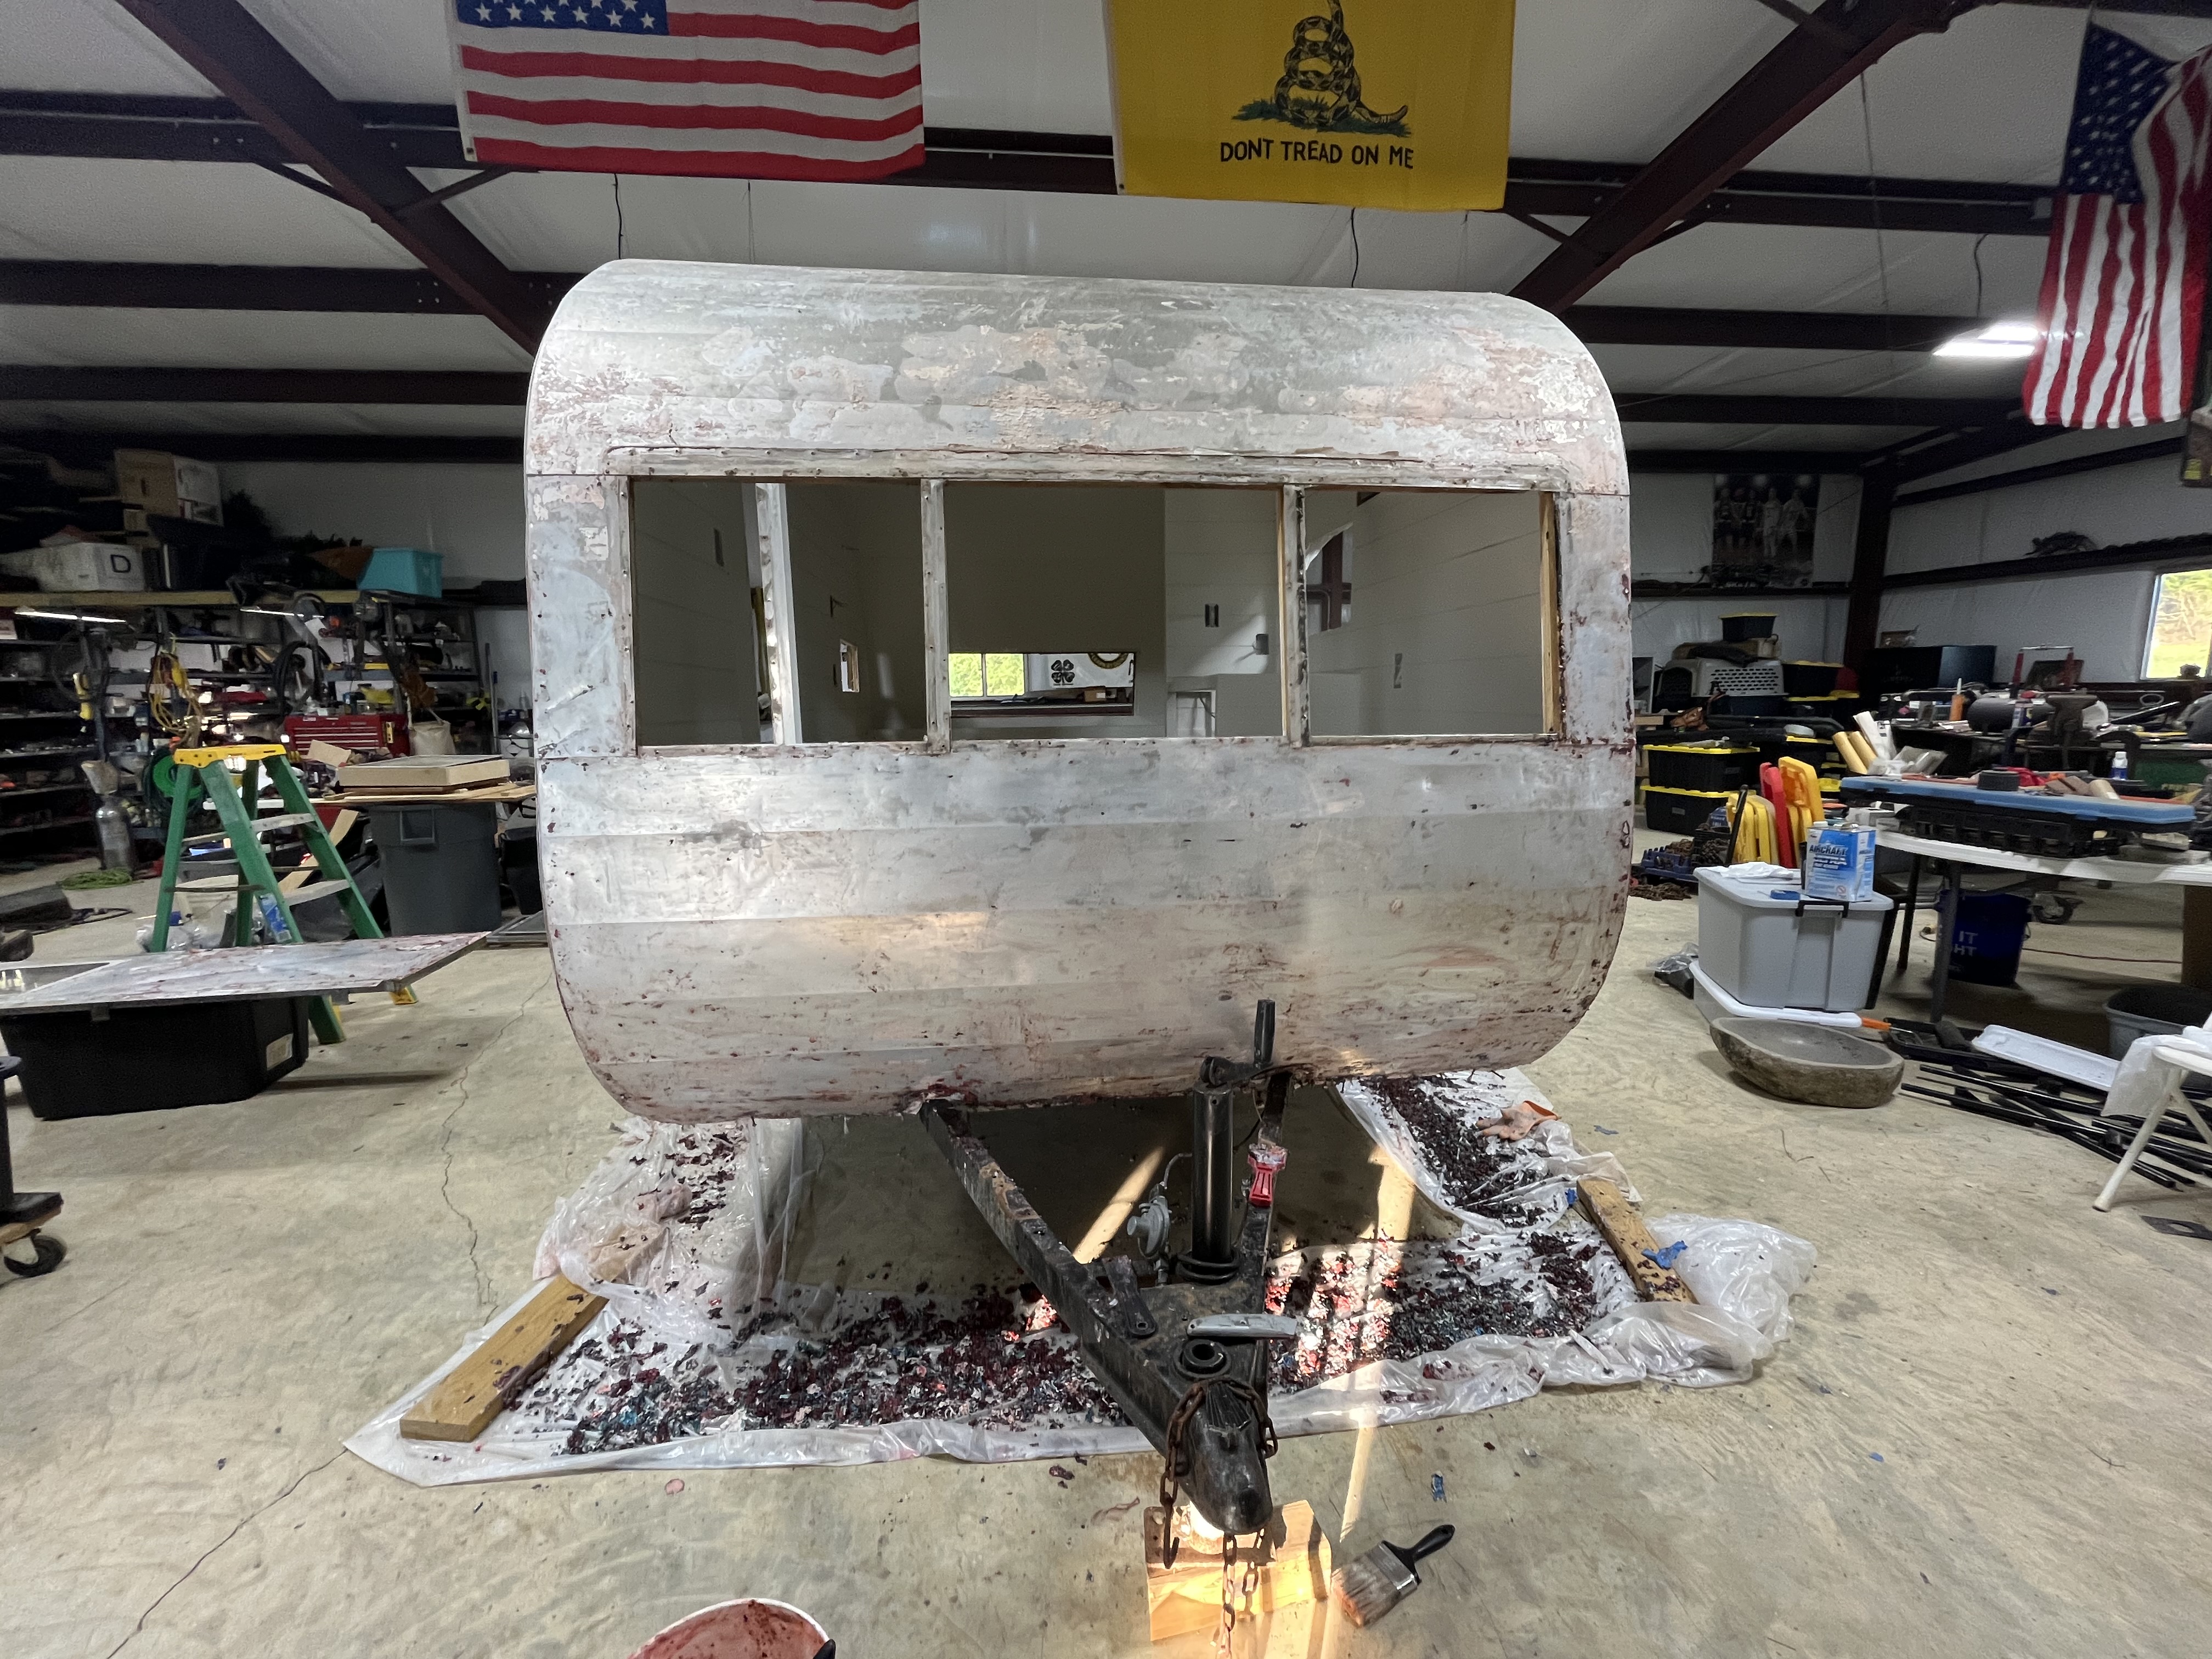
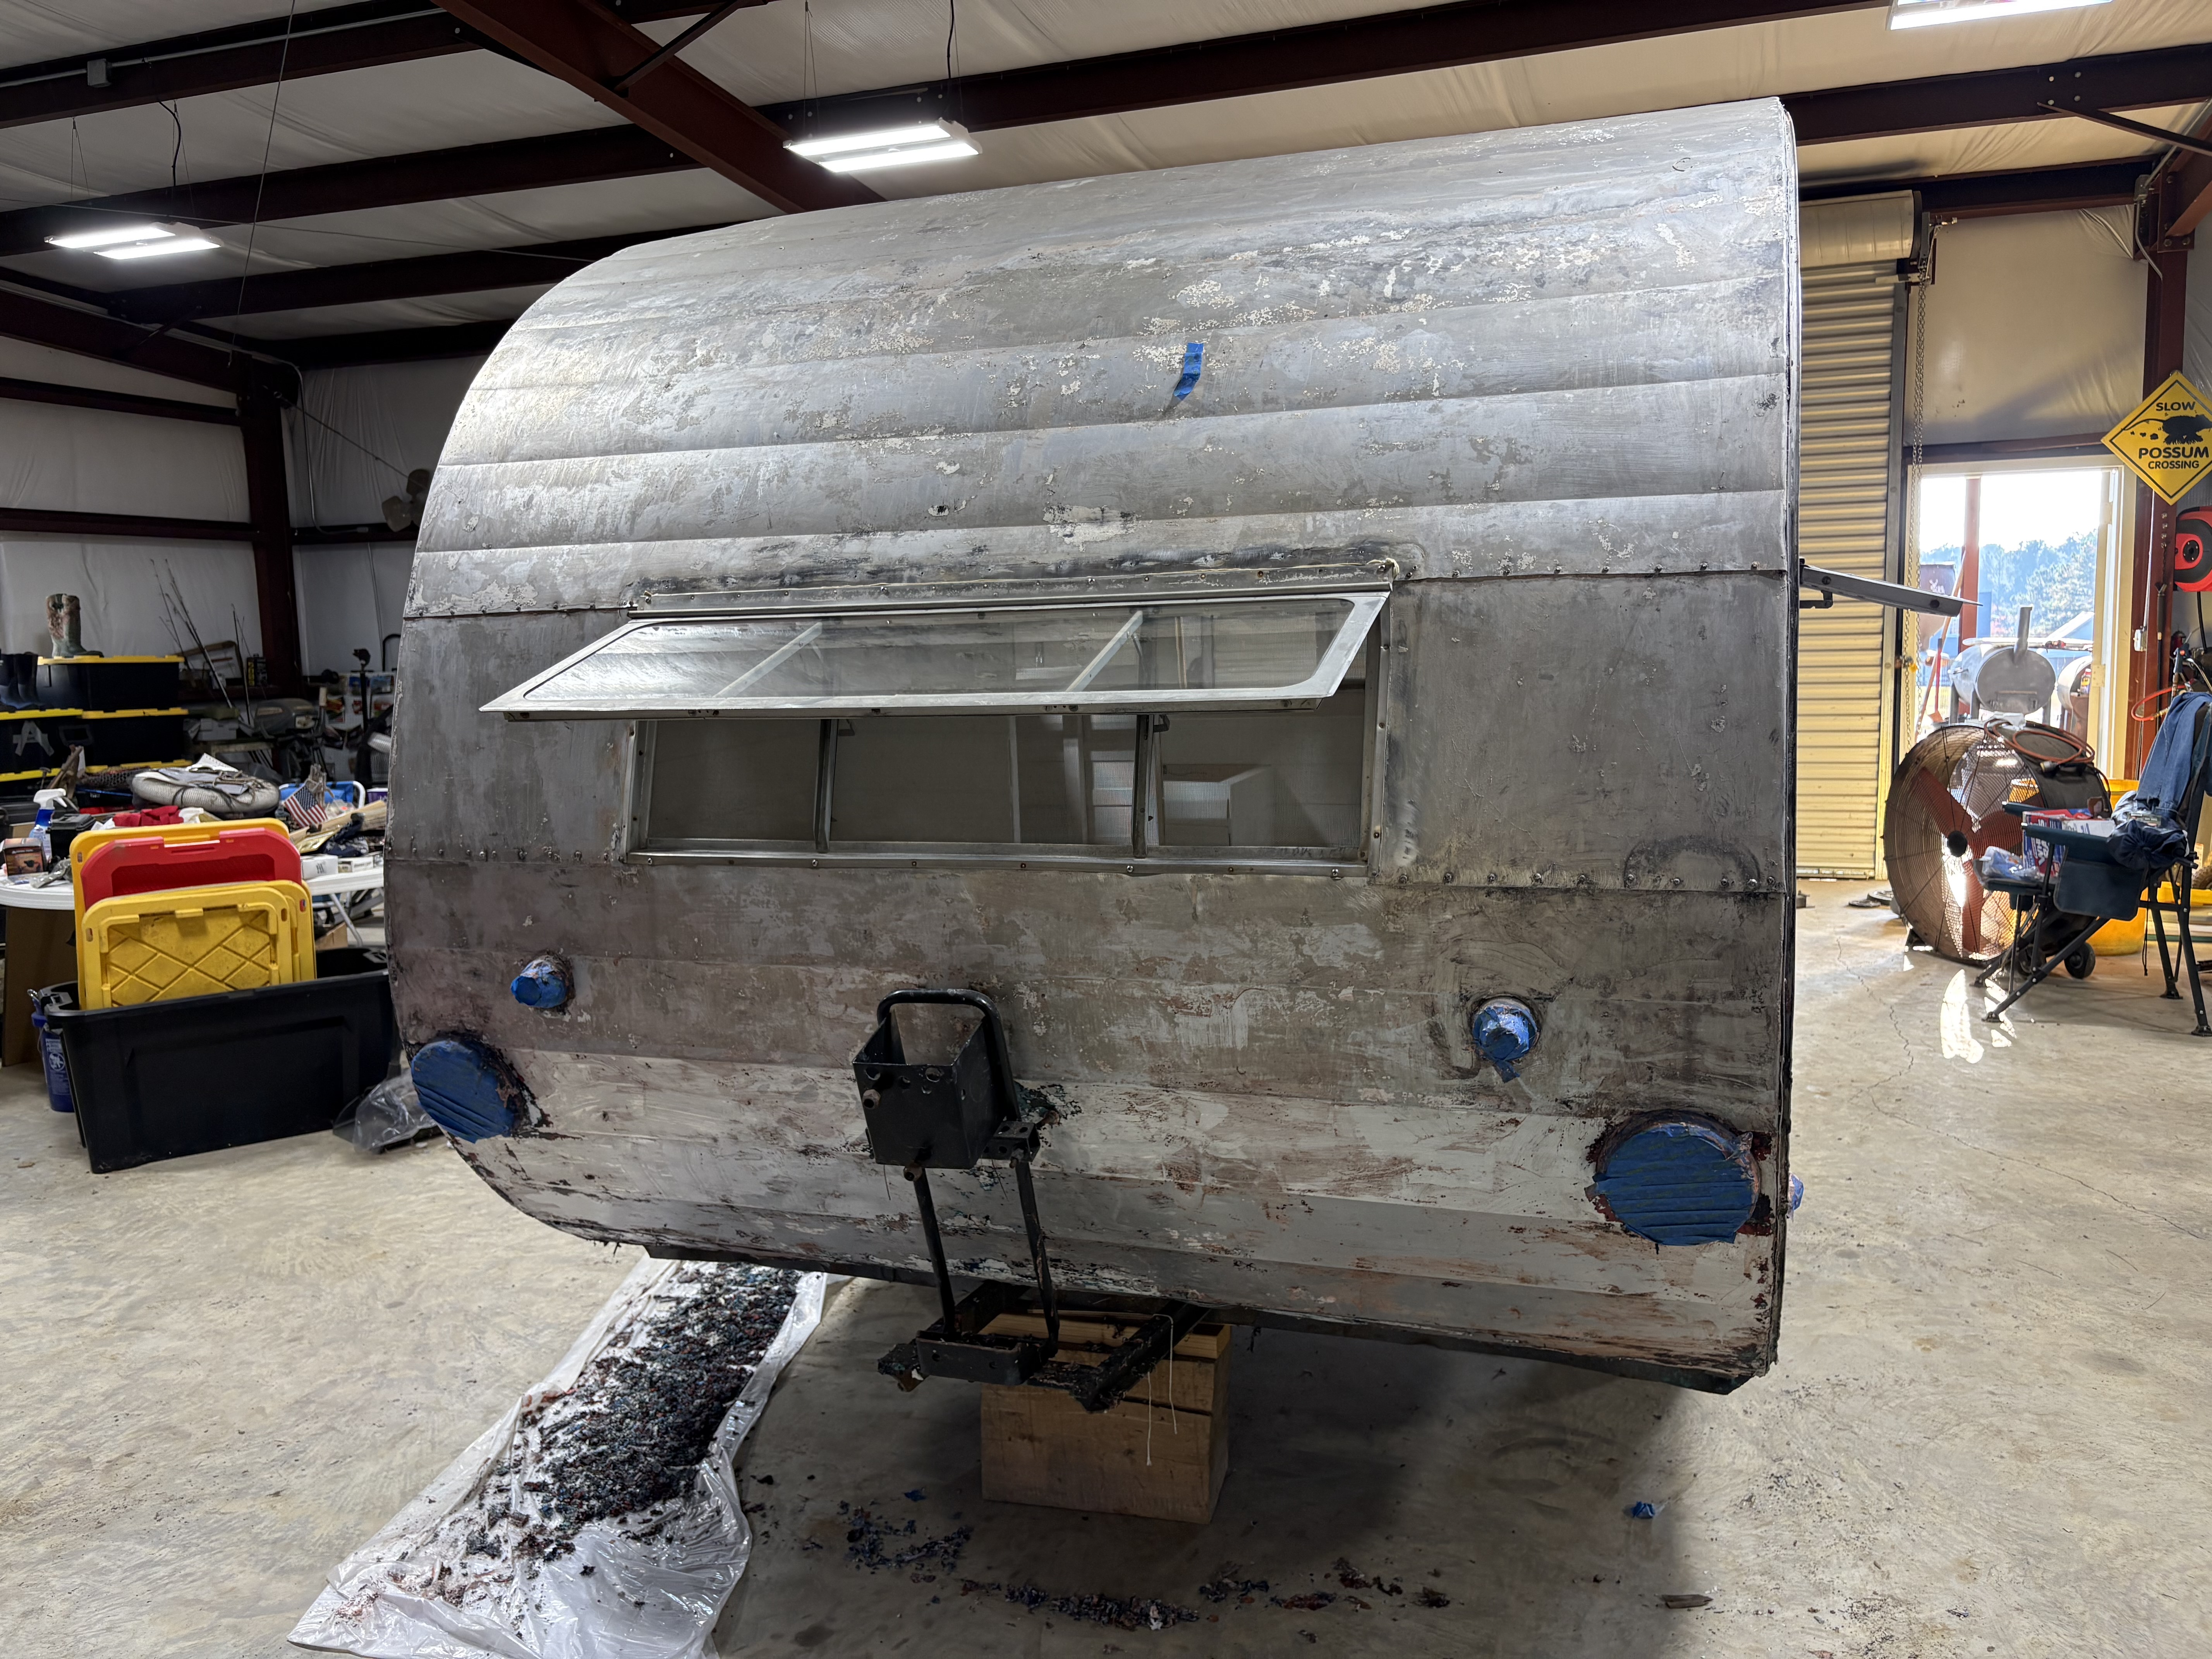
    Bare metal, all the way around

    One more round of stripper took off the last of it. Midge is bare aluminum on every side now, and her windows are going back in. All that's left on her is a little pink in the seams.
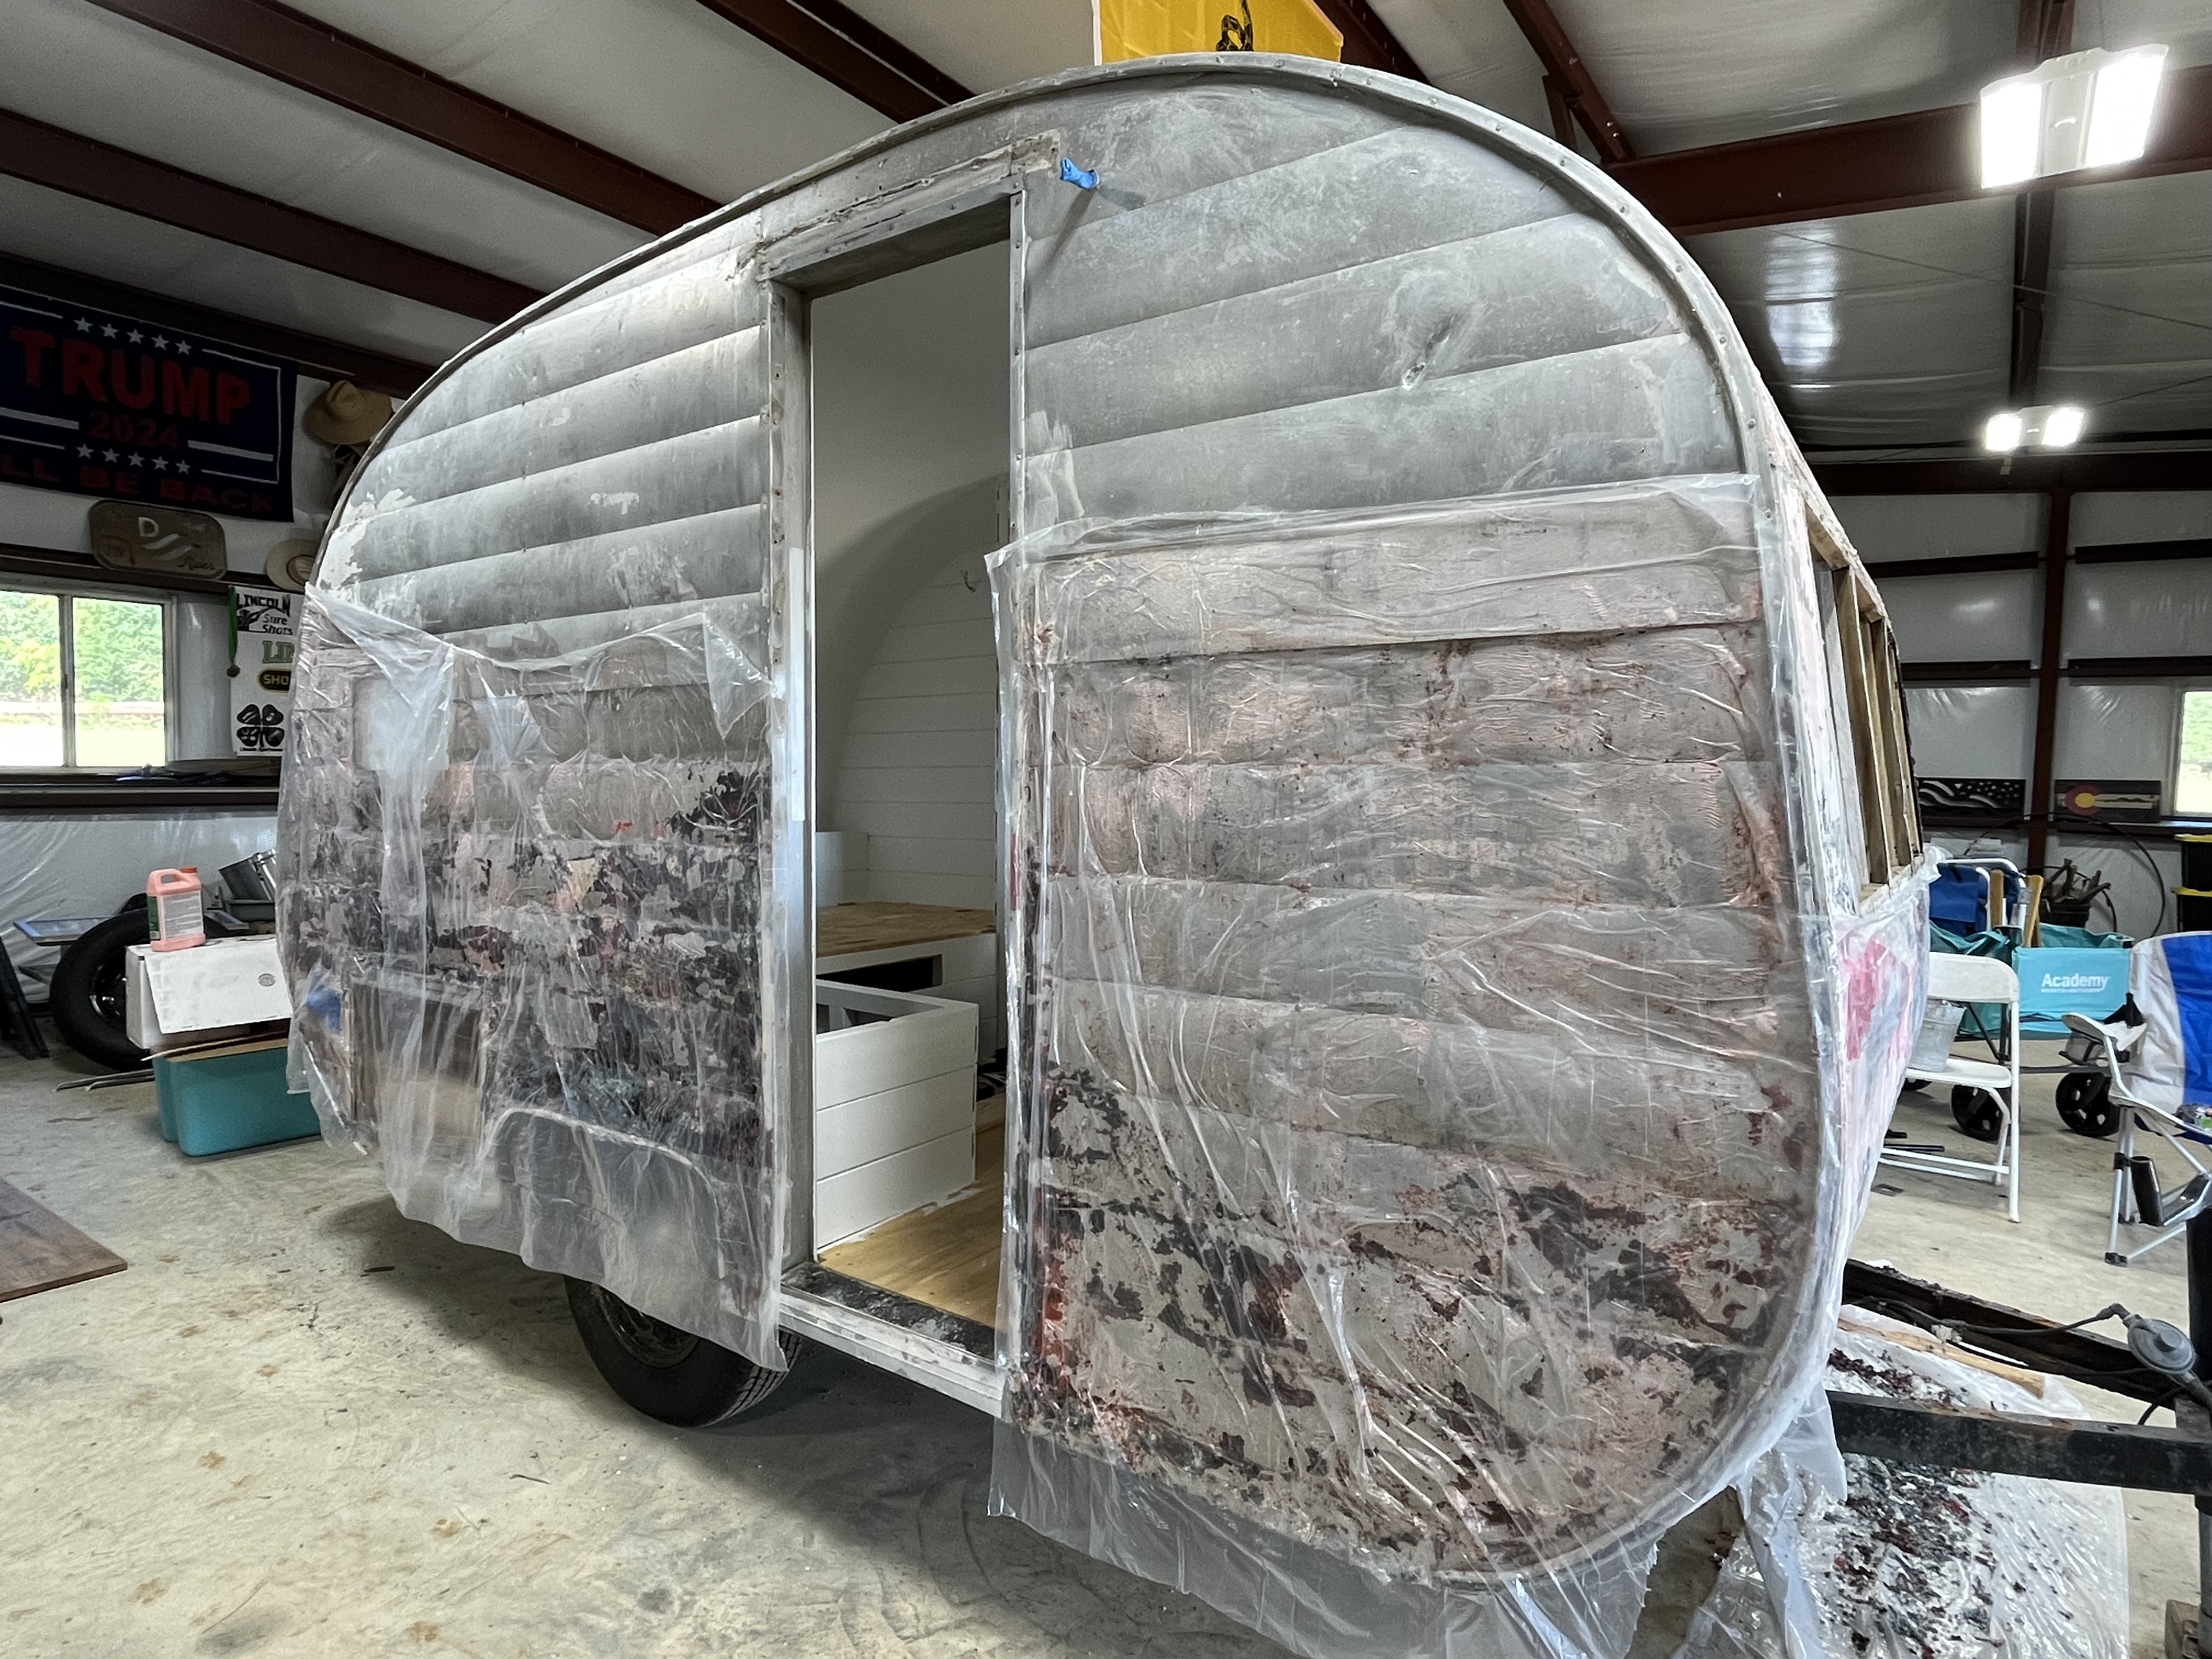
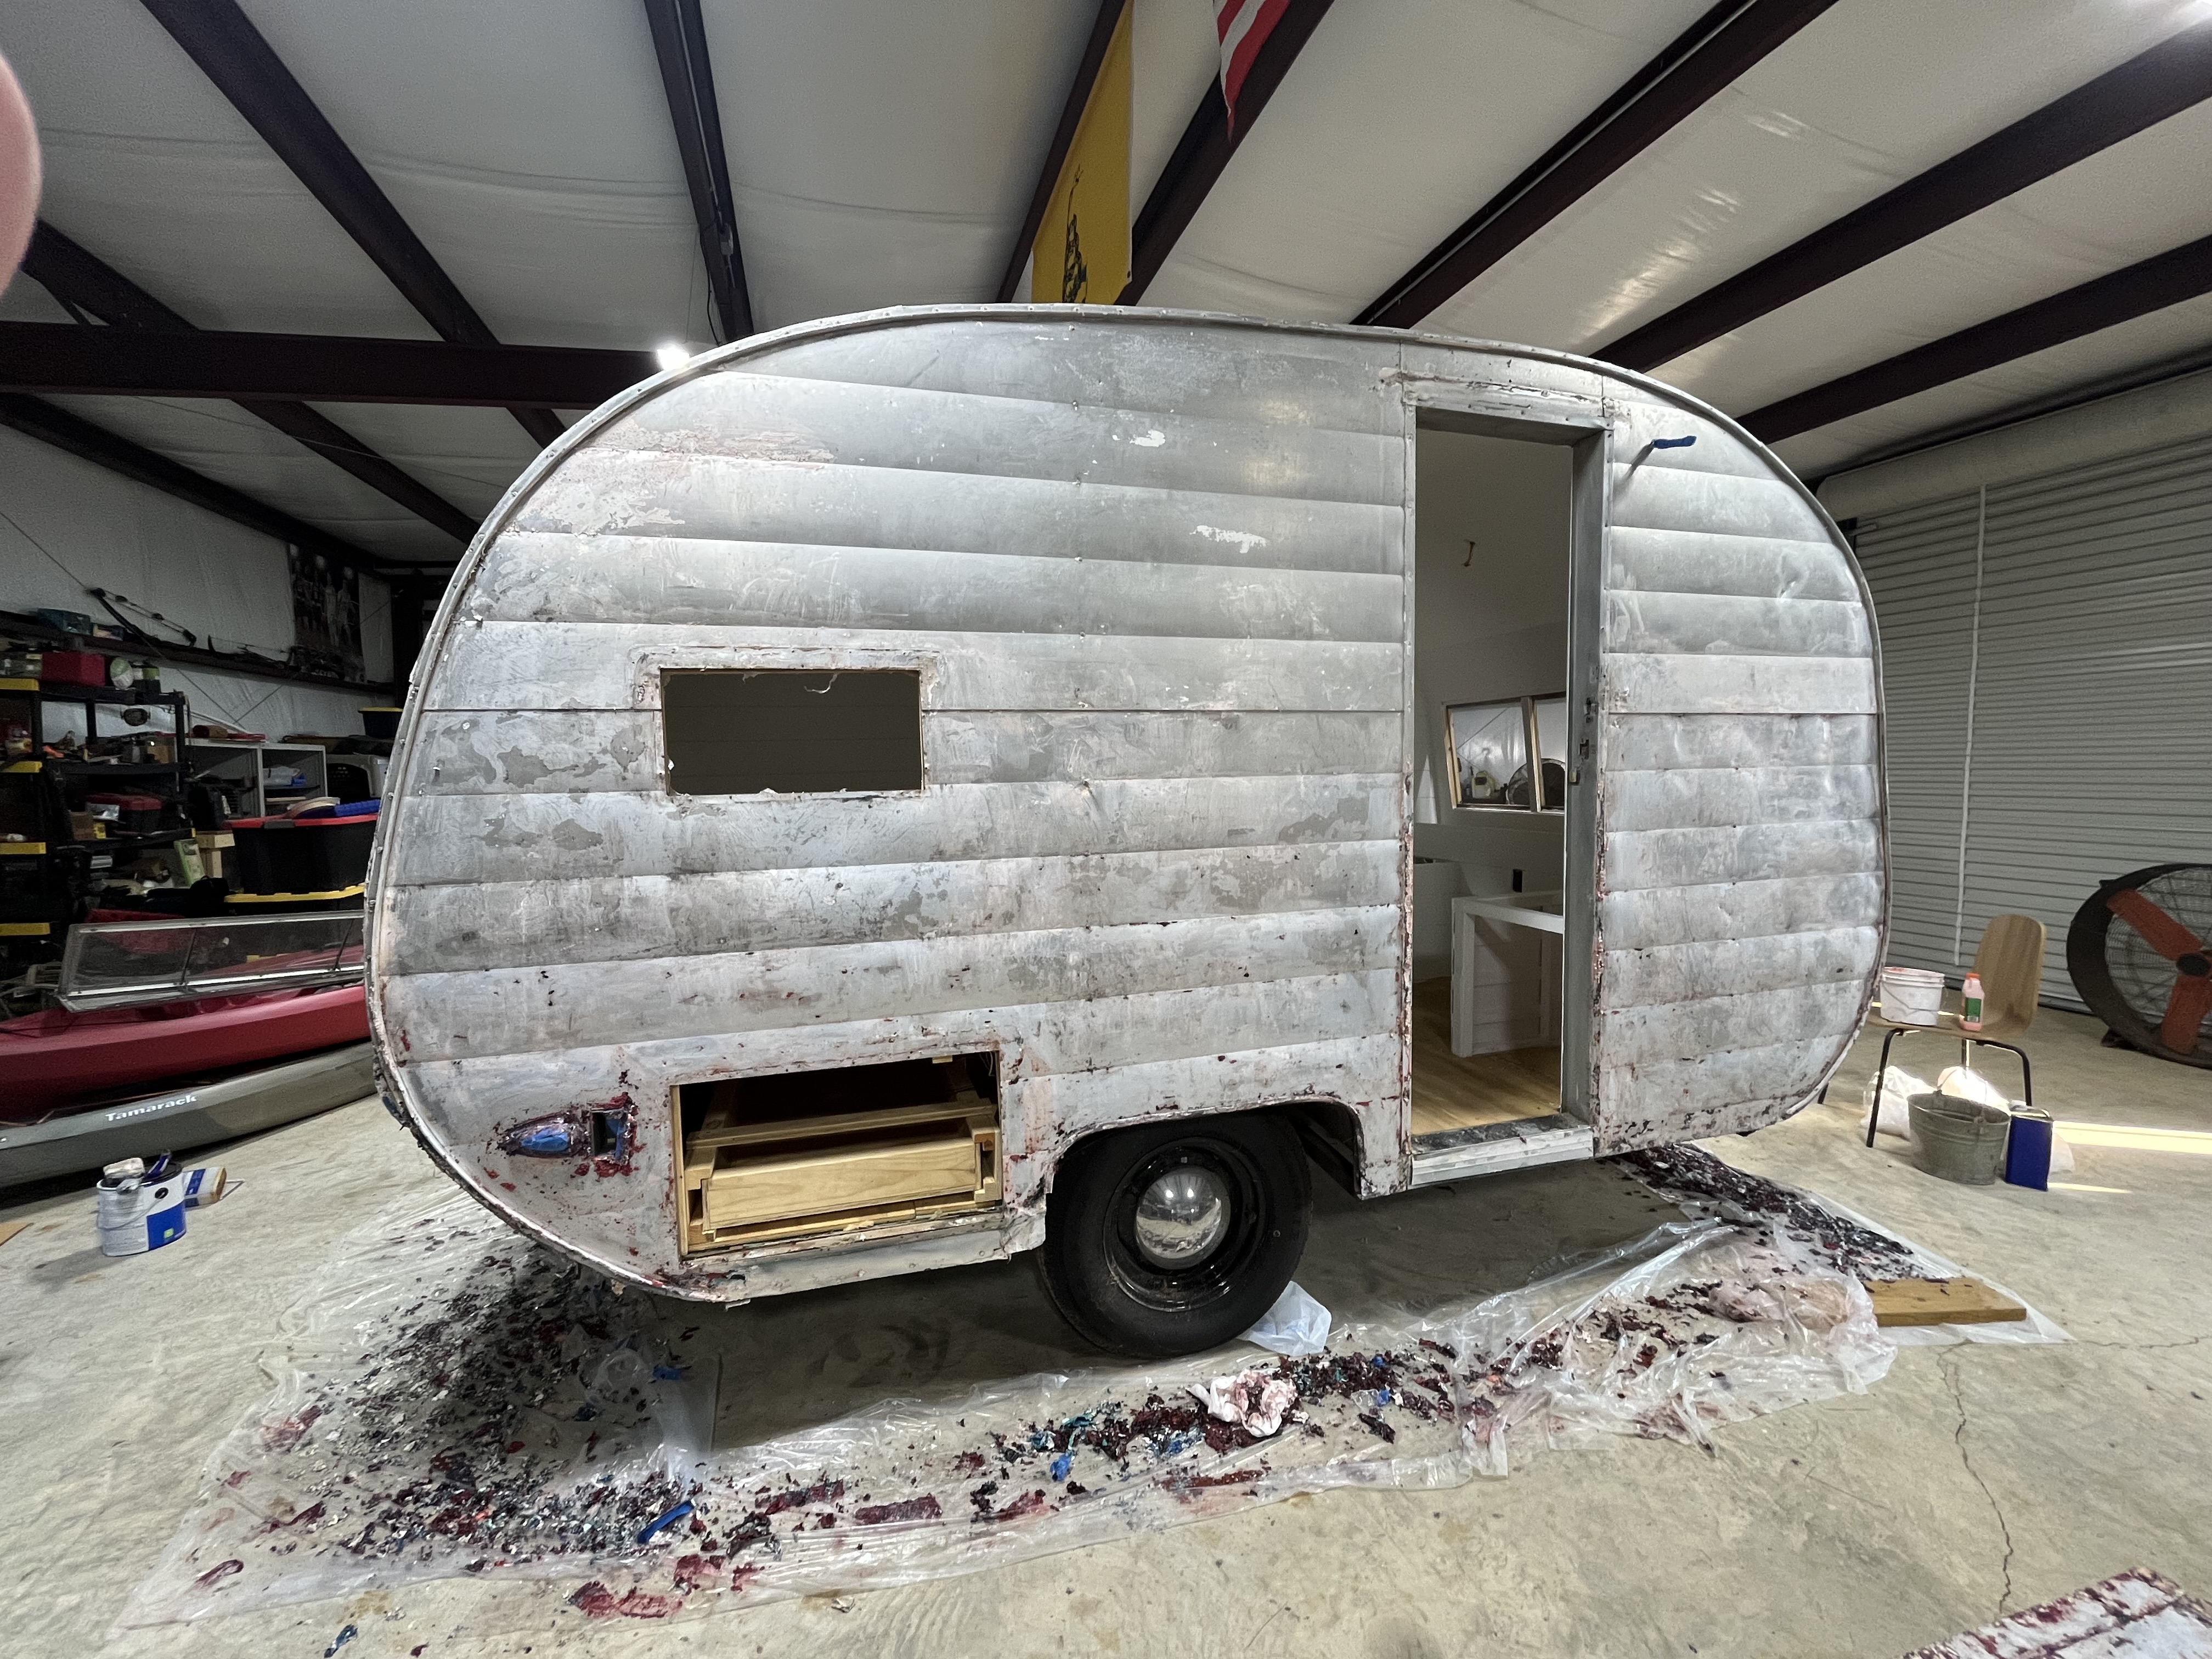
    Door side wrapped in plastic again for a second coat of stripper
    A second round of stripper
    Door side stripped to bare aluminum, storage hatch and door opening showing
    Door side, bare
    Front stripped to bare aluminum, window openings empty
    Front, bare
    Rear stripped to bare aluminum with the rear window back in and propped open
    Rear window back in
    Door side and front corner in bare aluminum with the front windows back in
    Front windows back in
    Street side in bare aluminum with the front window propped open
    Street side, bare
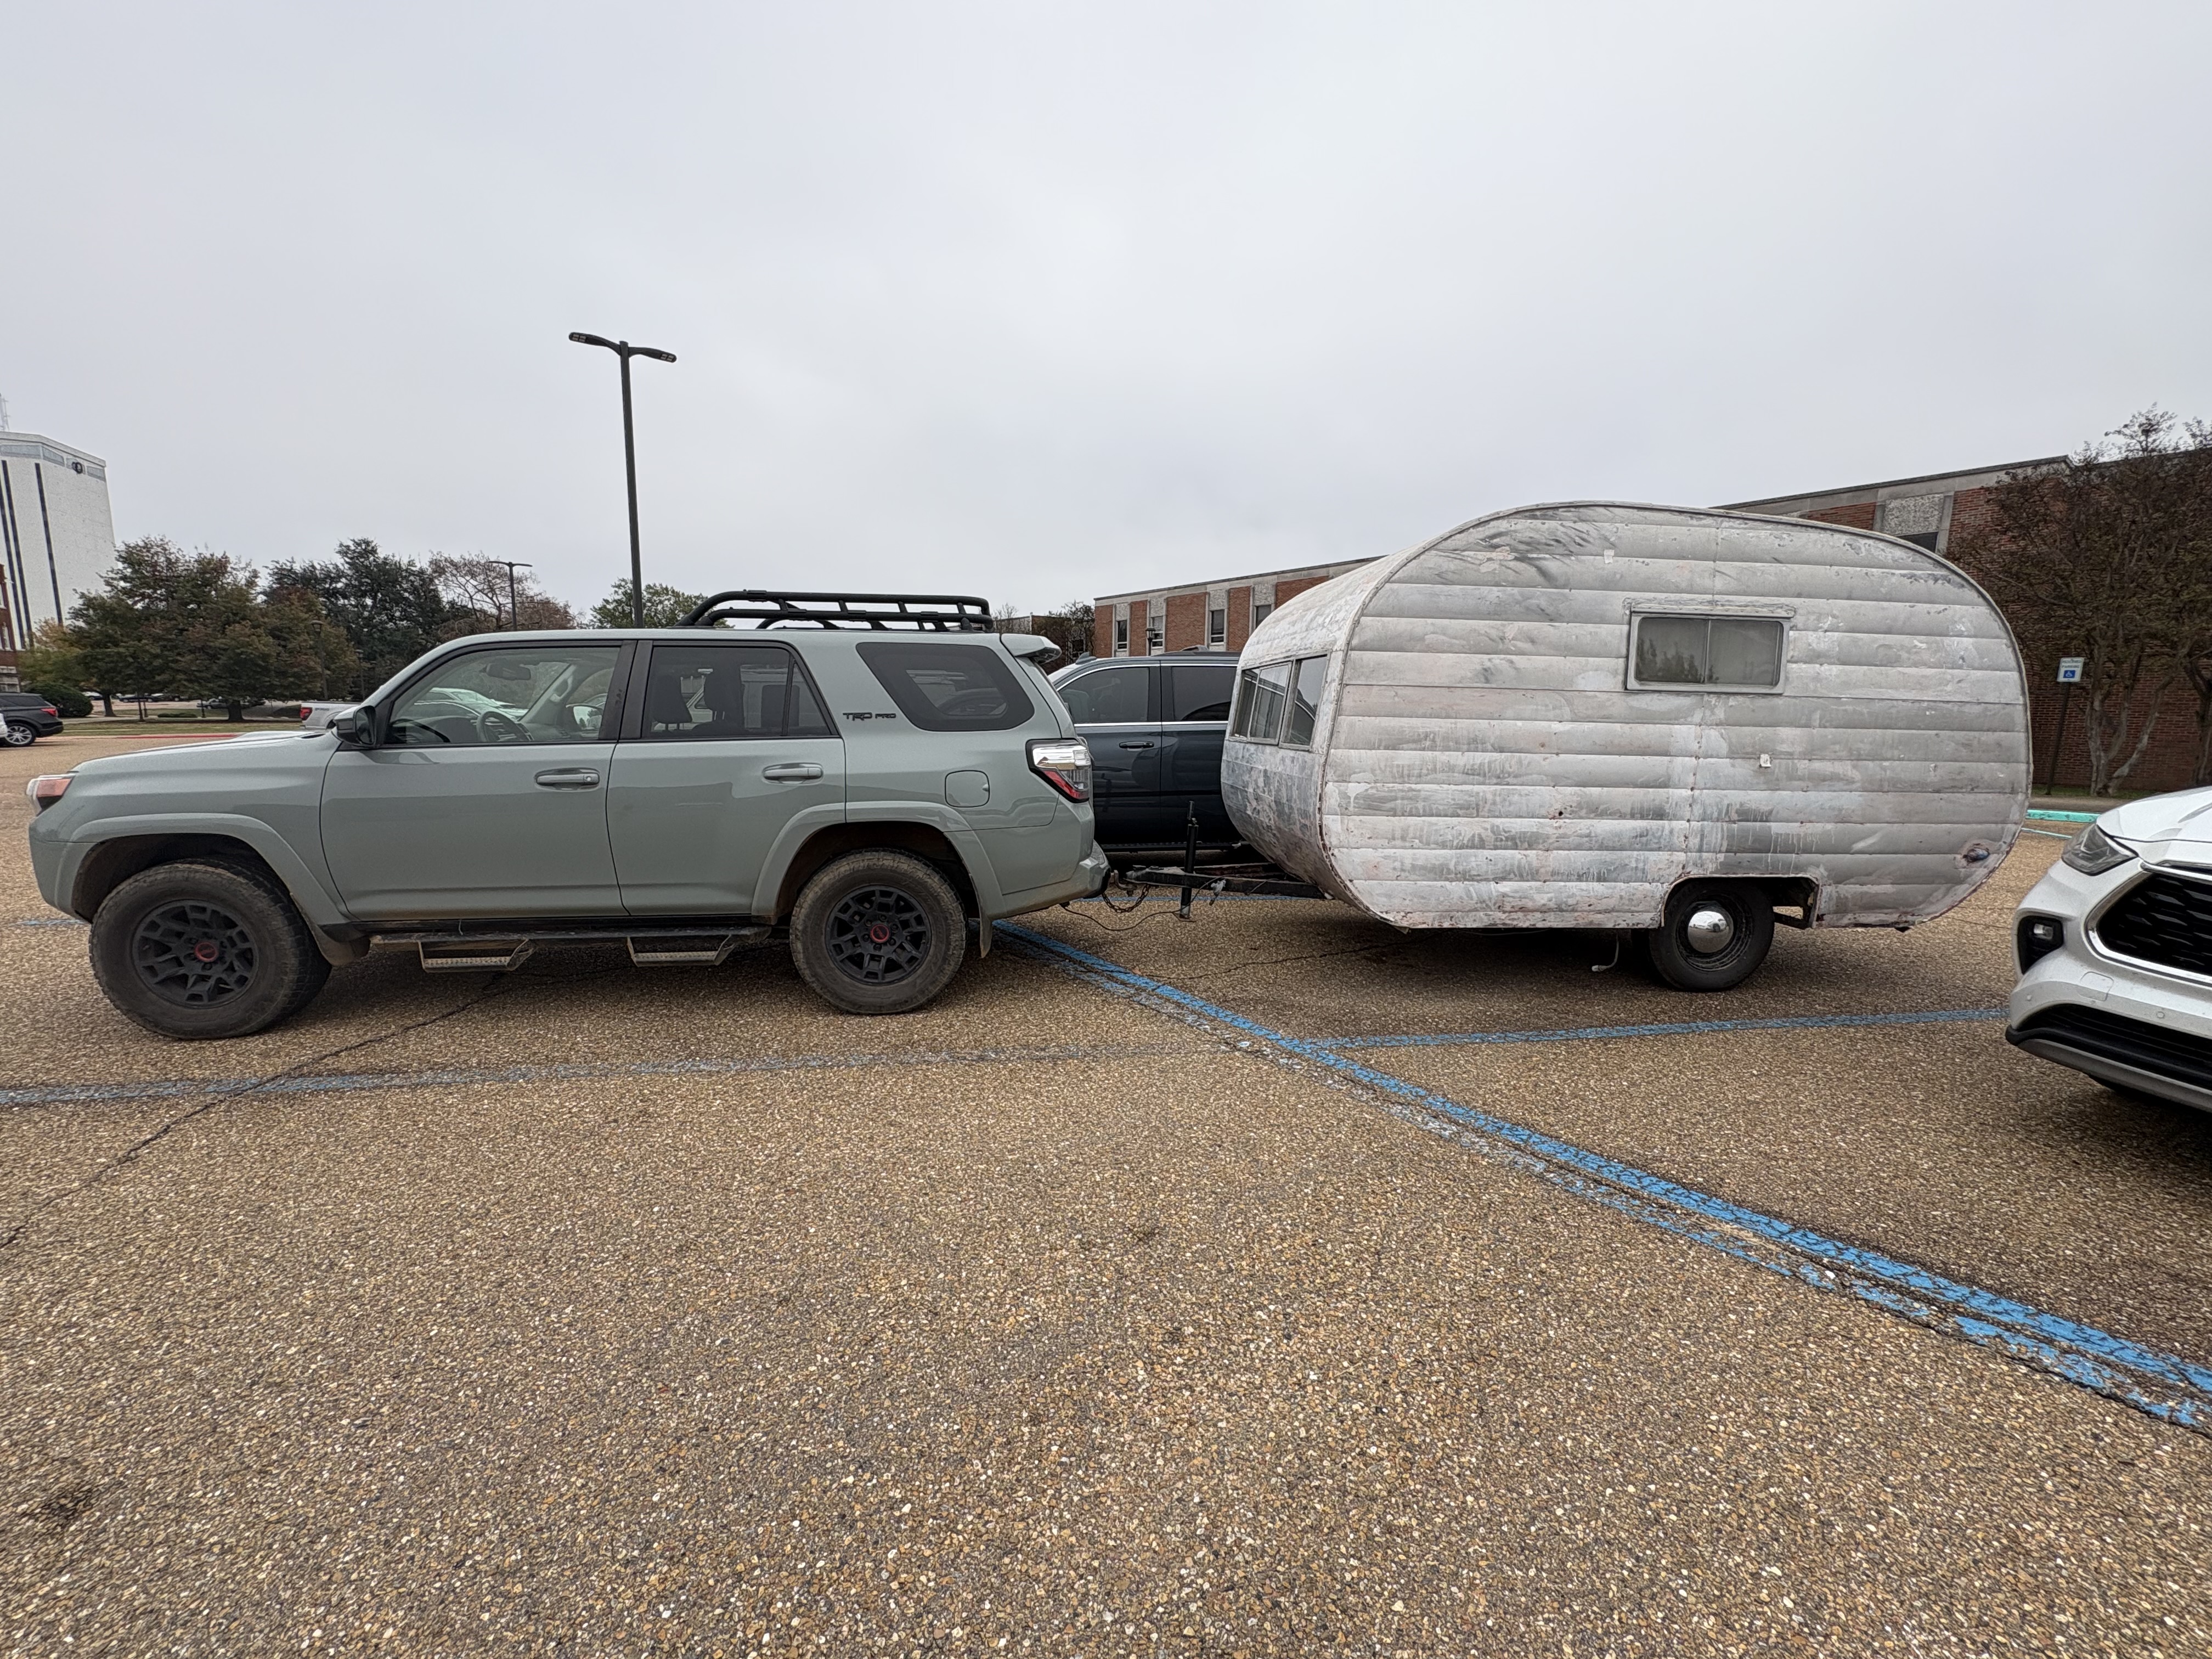
    Midge in bare aluminum hitched behind the Lunar Rock 4Runner in a parking lot
    Back behind the 4Runner, ready for her Lunar Rock

    Saving the original windows

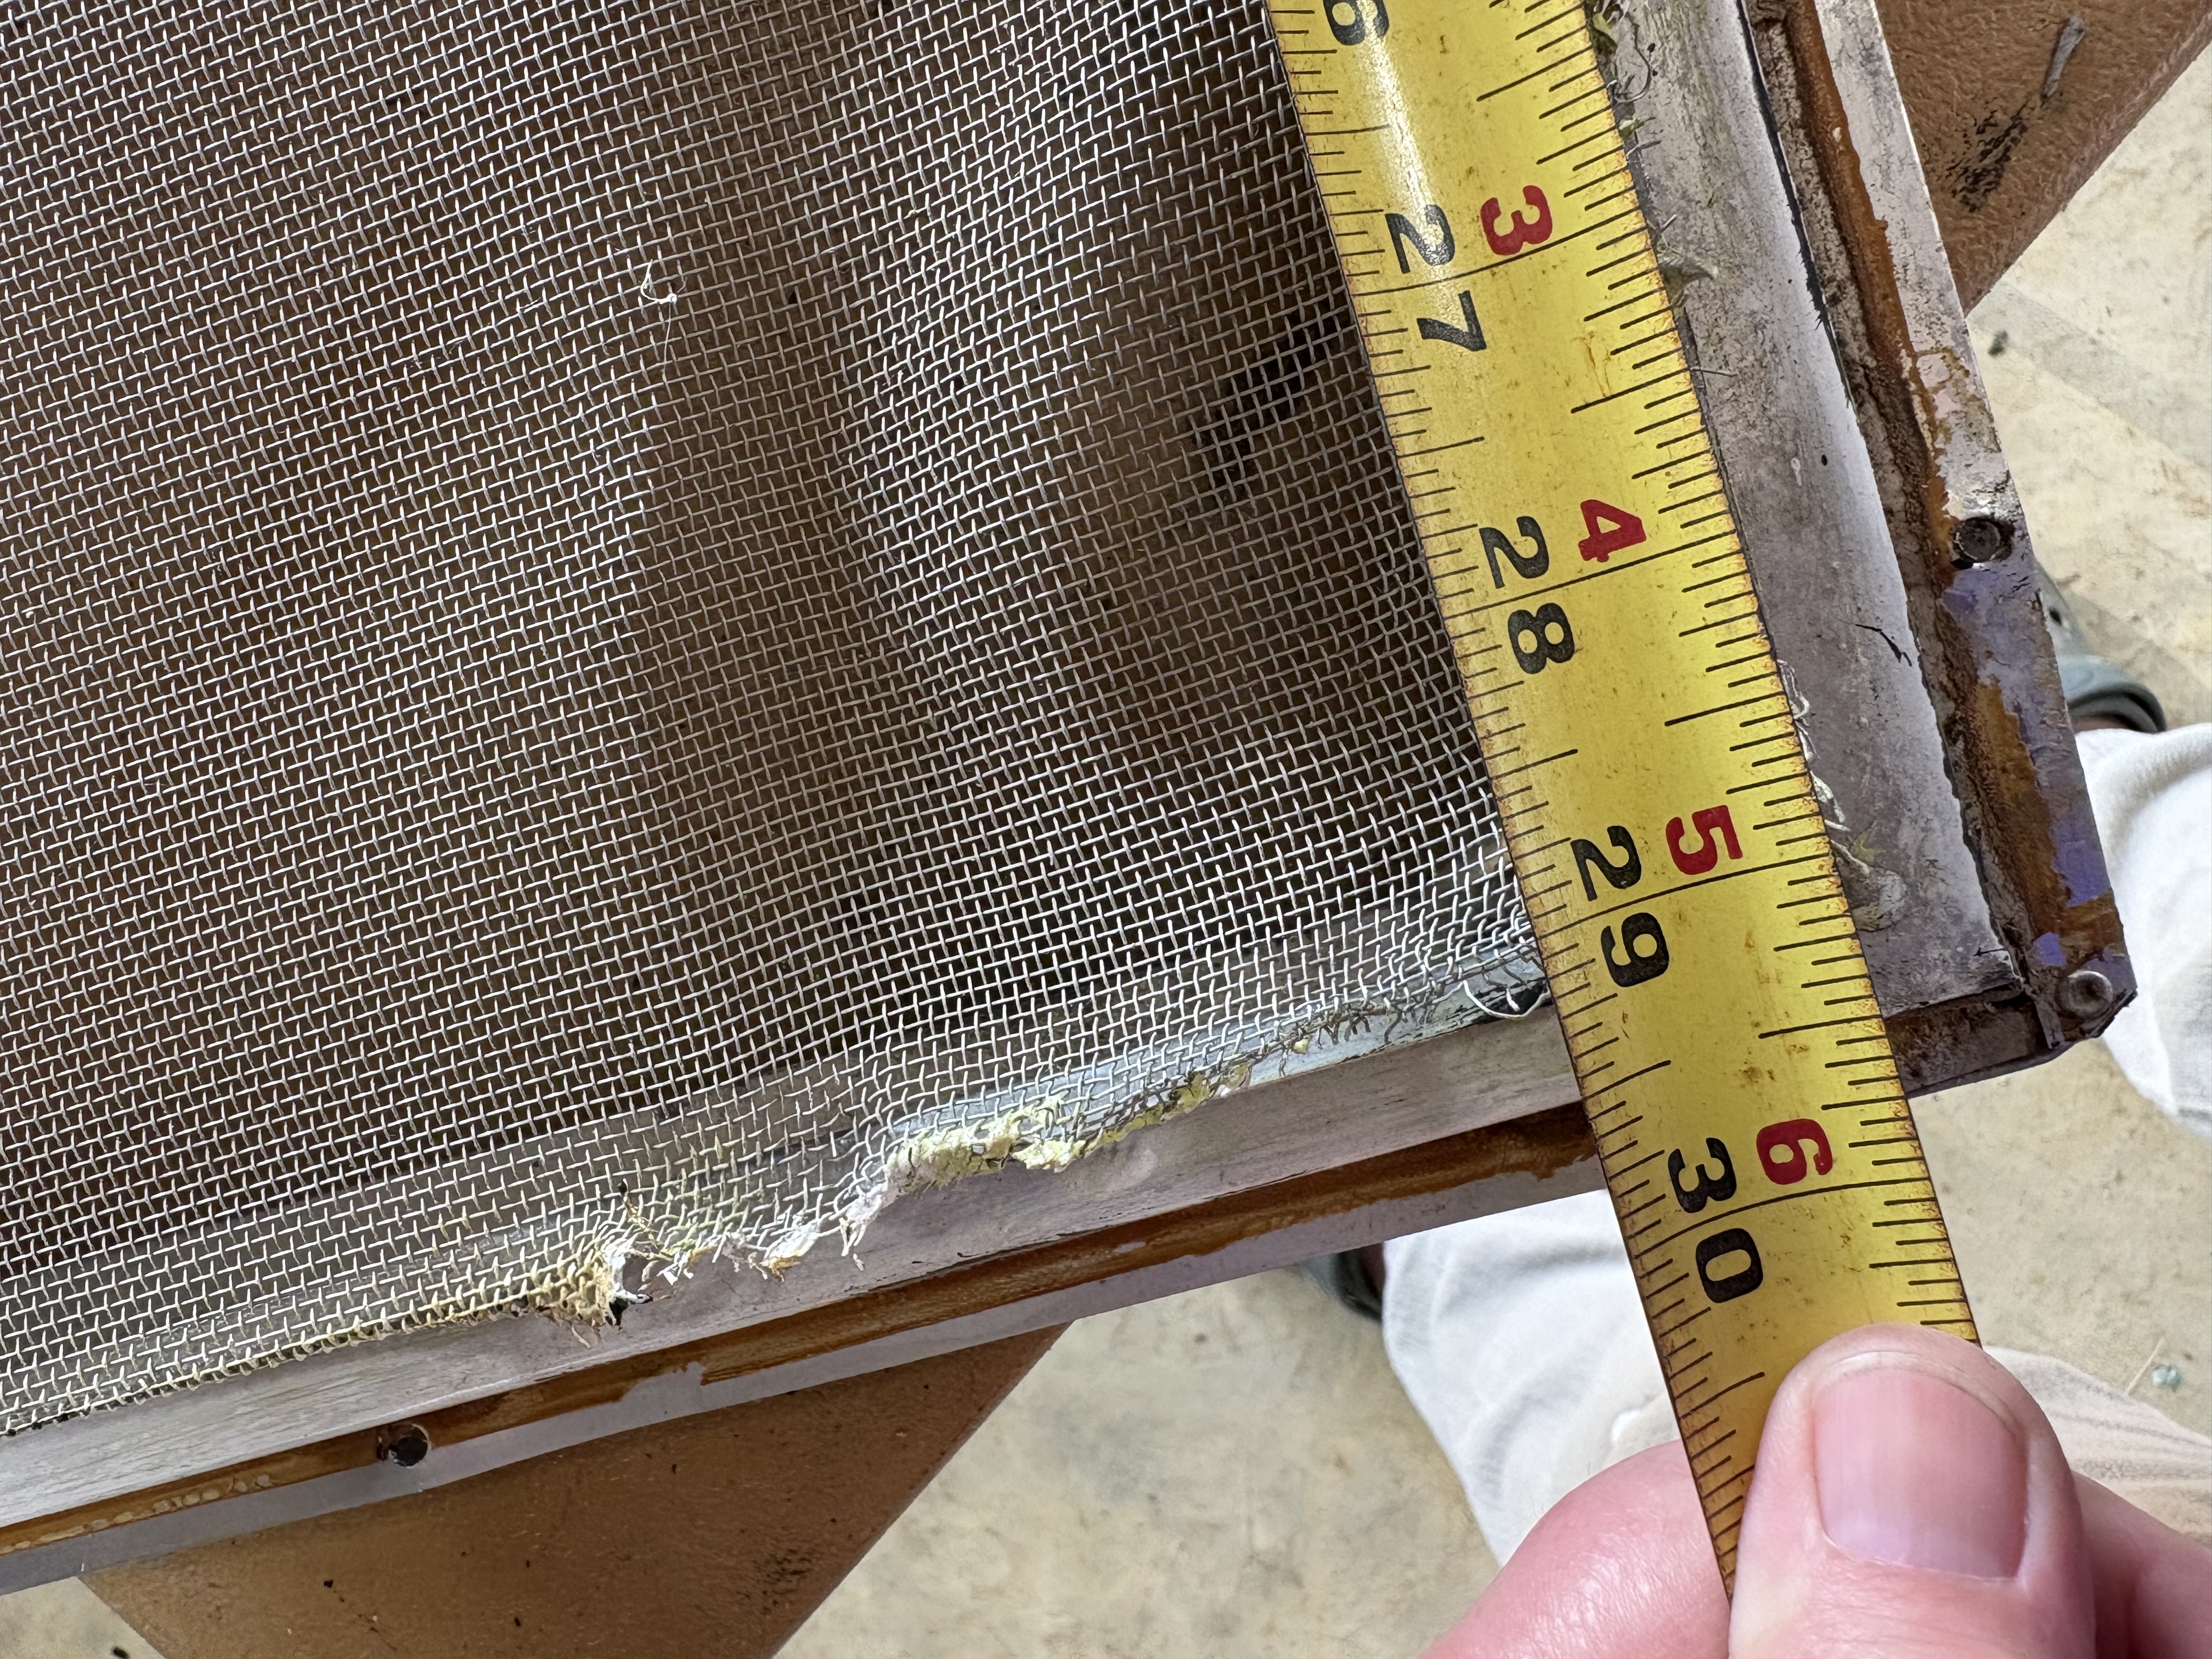
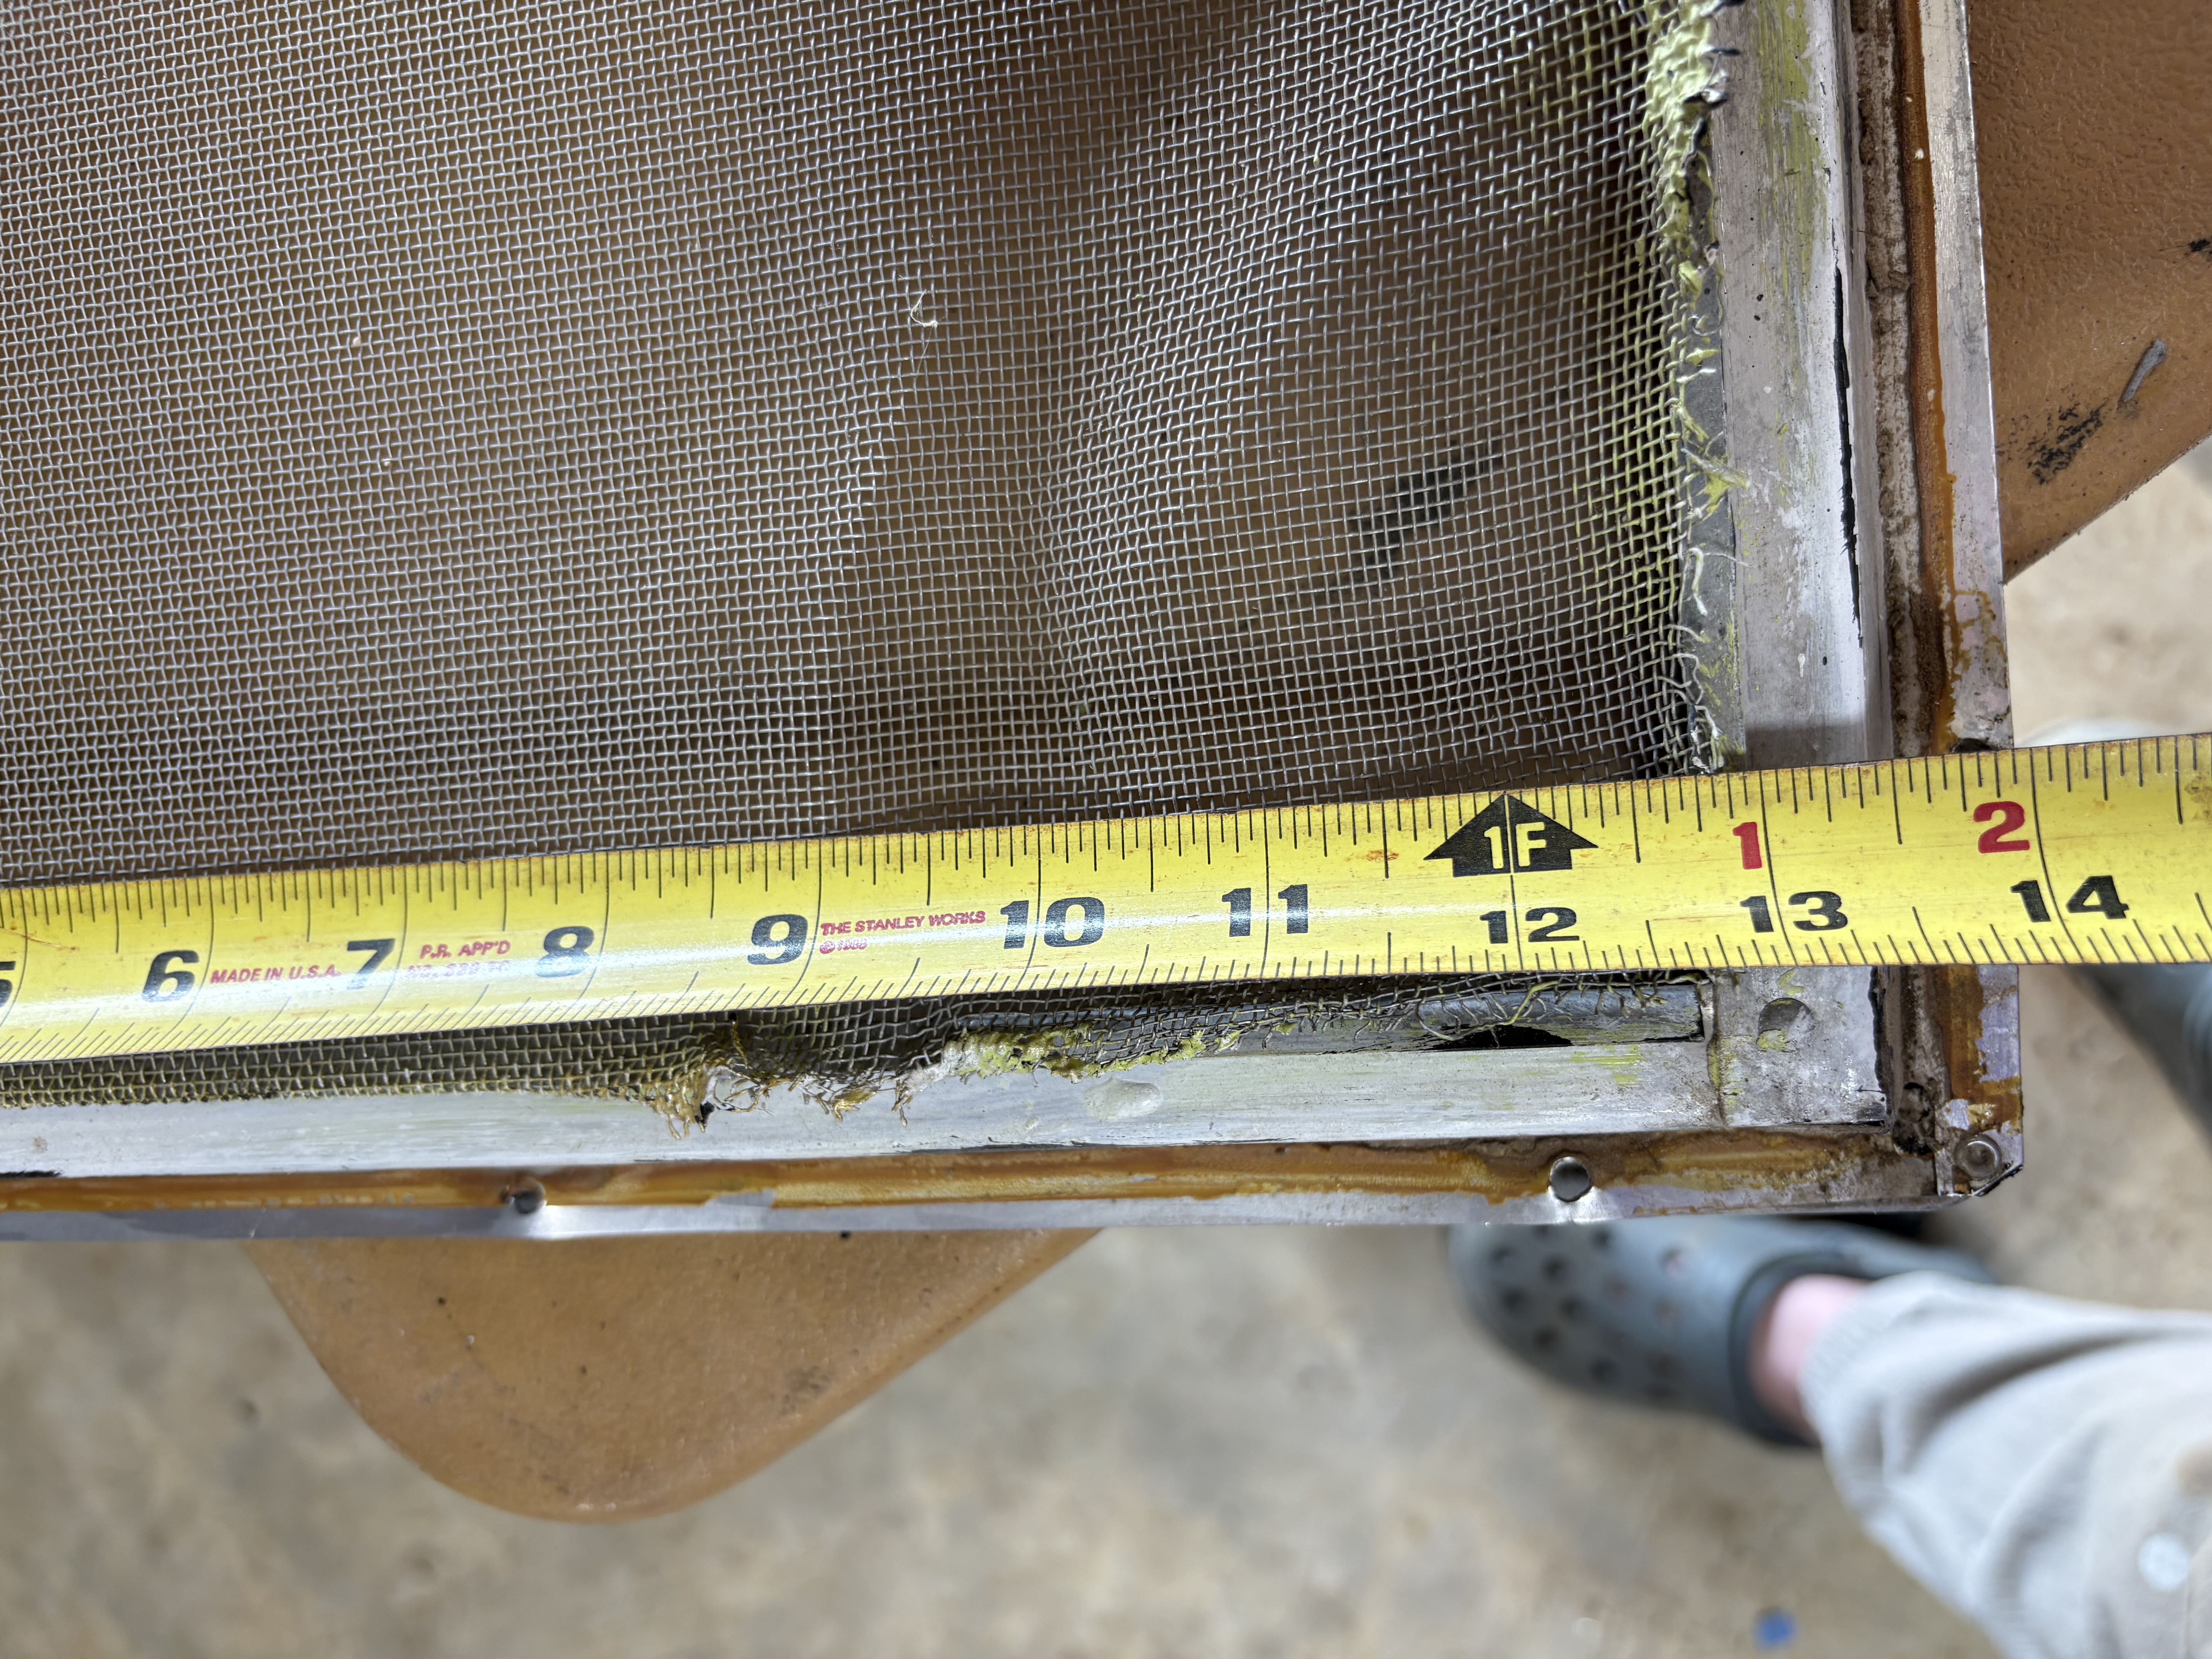
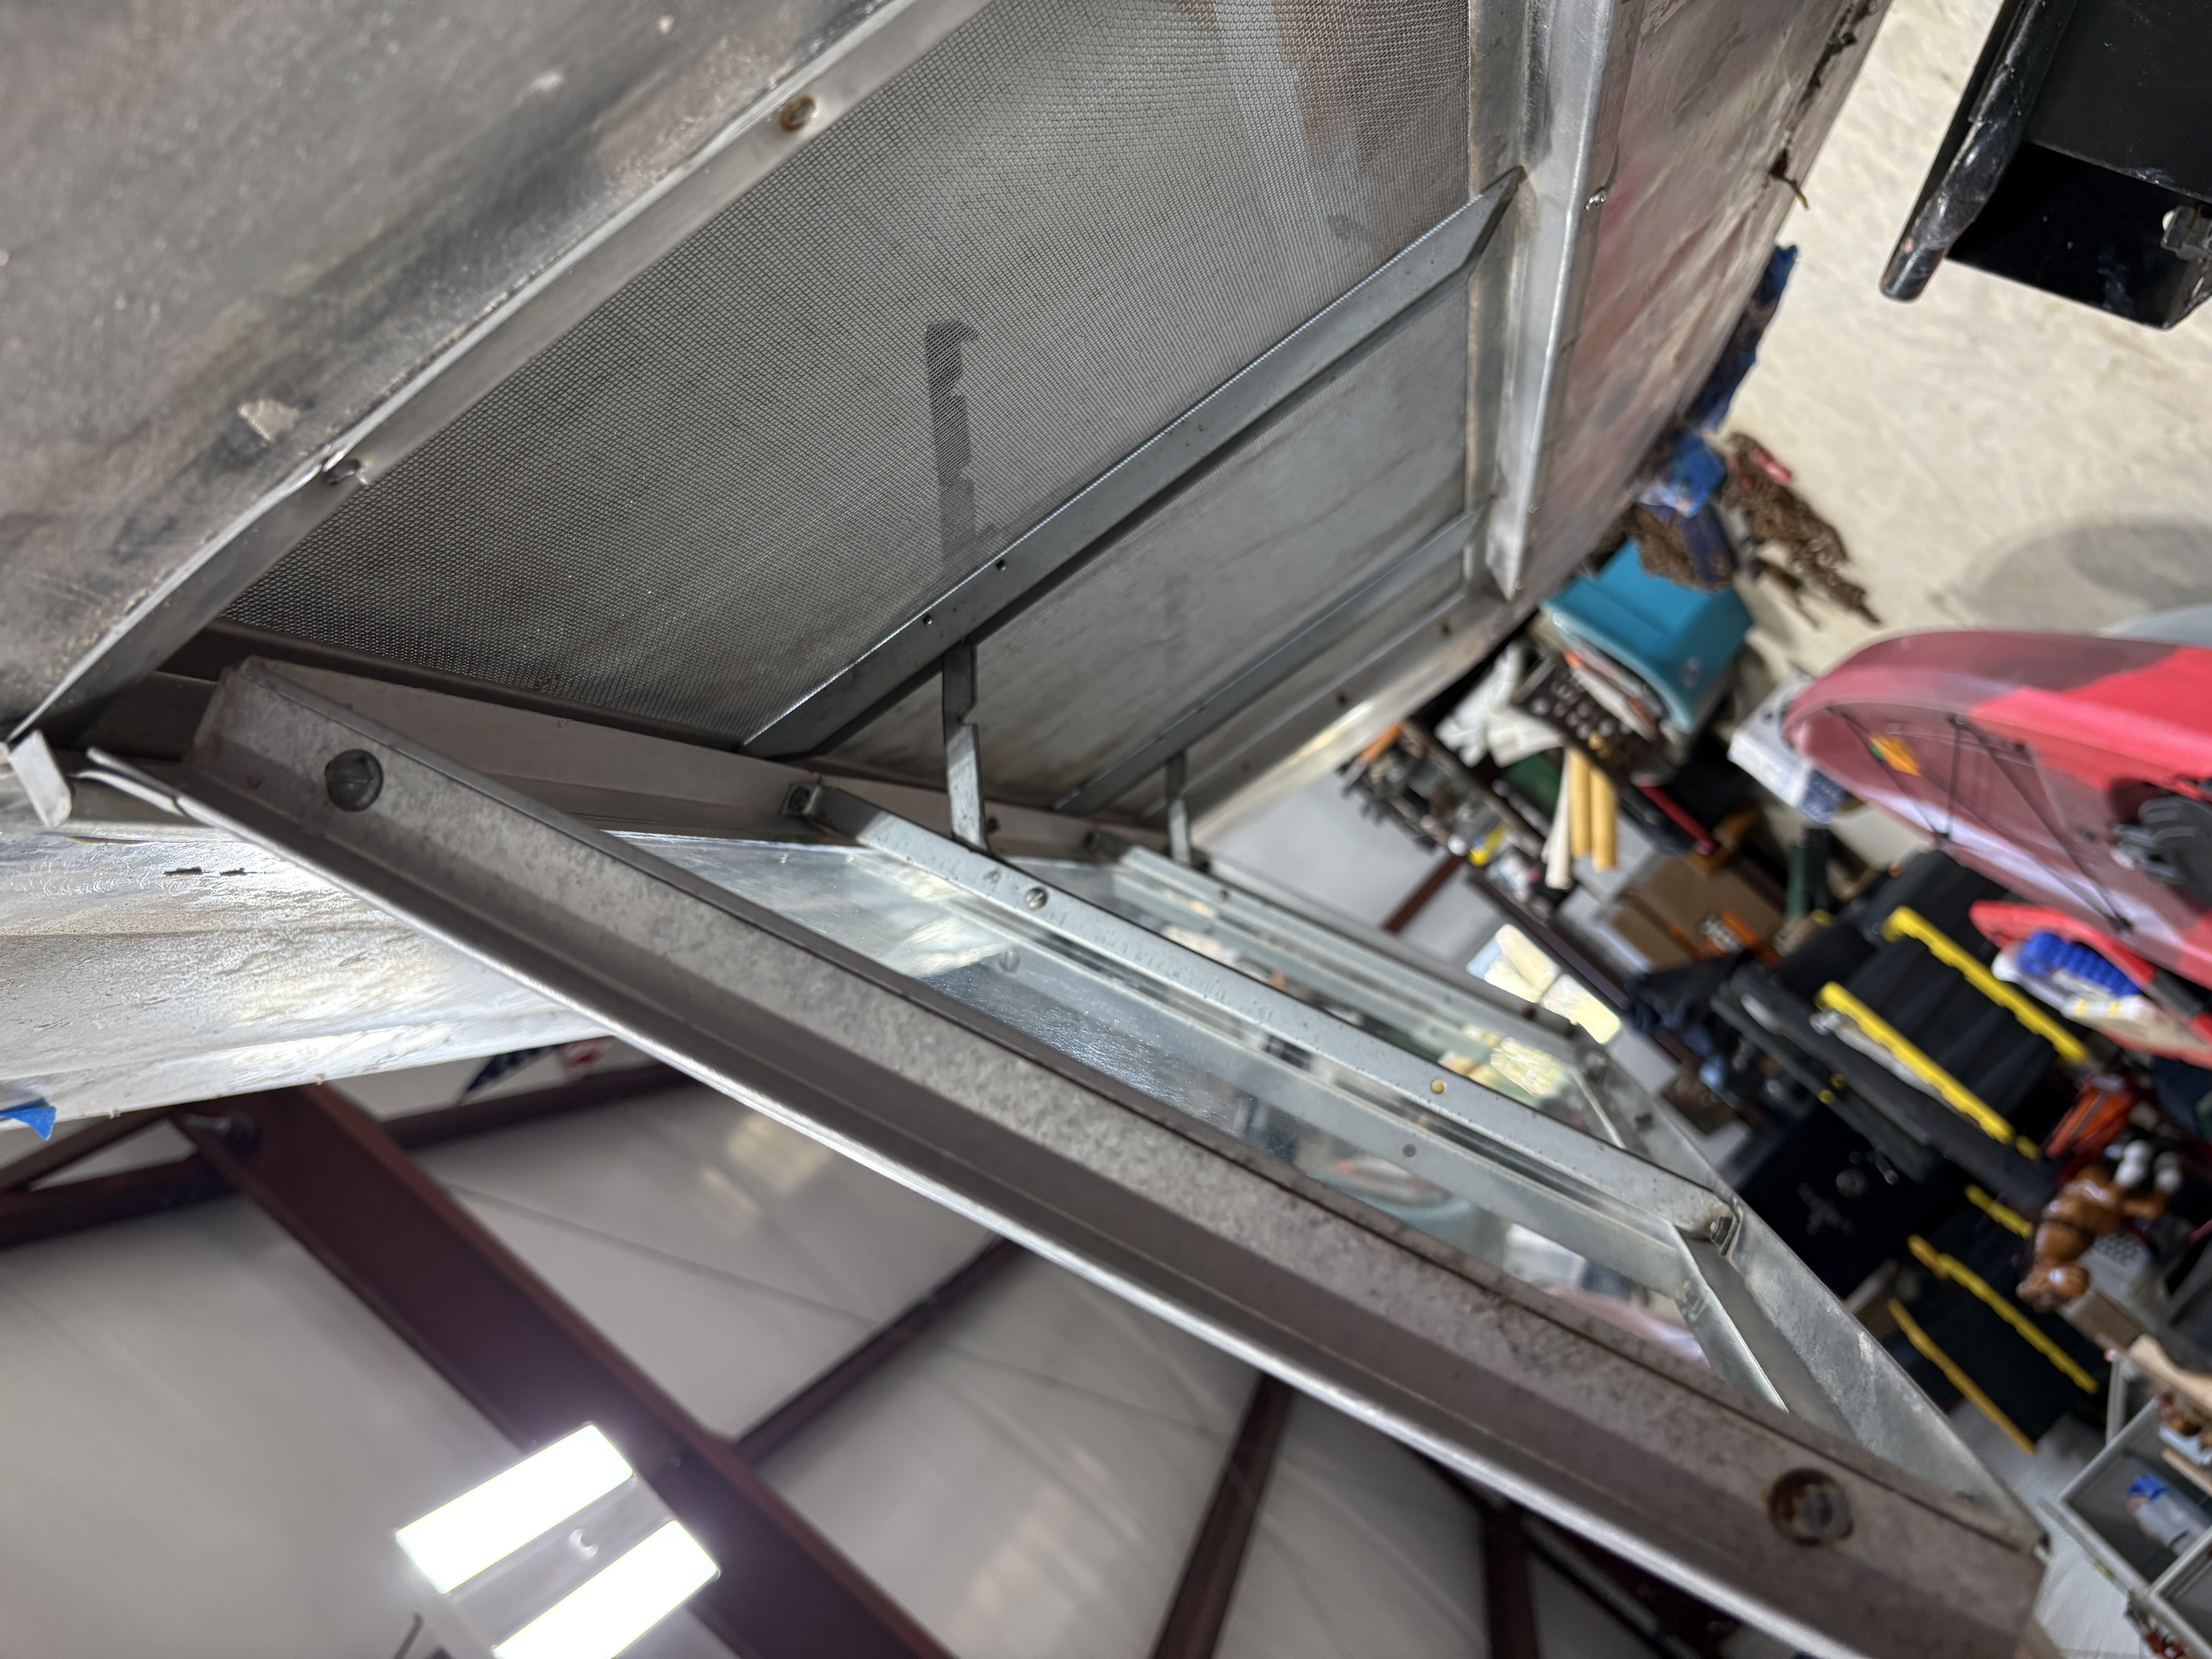
    Midge was put together with screws, not rivets, and every old screw is being replaced with a new stainless one. First the old window frames had to come out, screw by screw. Then Midge's old windows went back in: the wide front panes, the small side window, and the original metal prop arms that hold them open. The glass and frames are keepers. The screens are worn through at the edges, so they're being measured for new mesh.
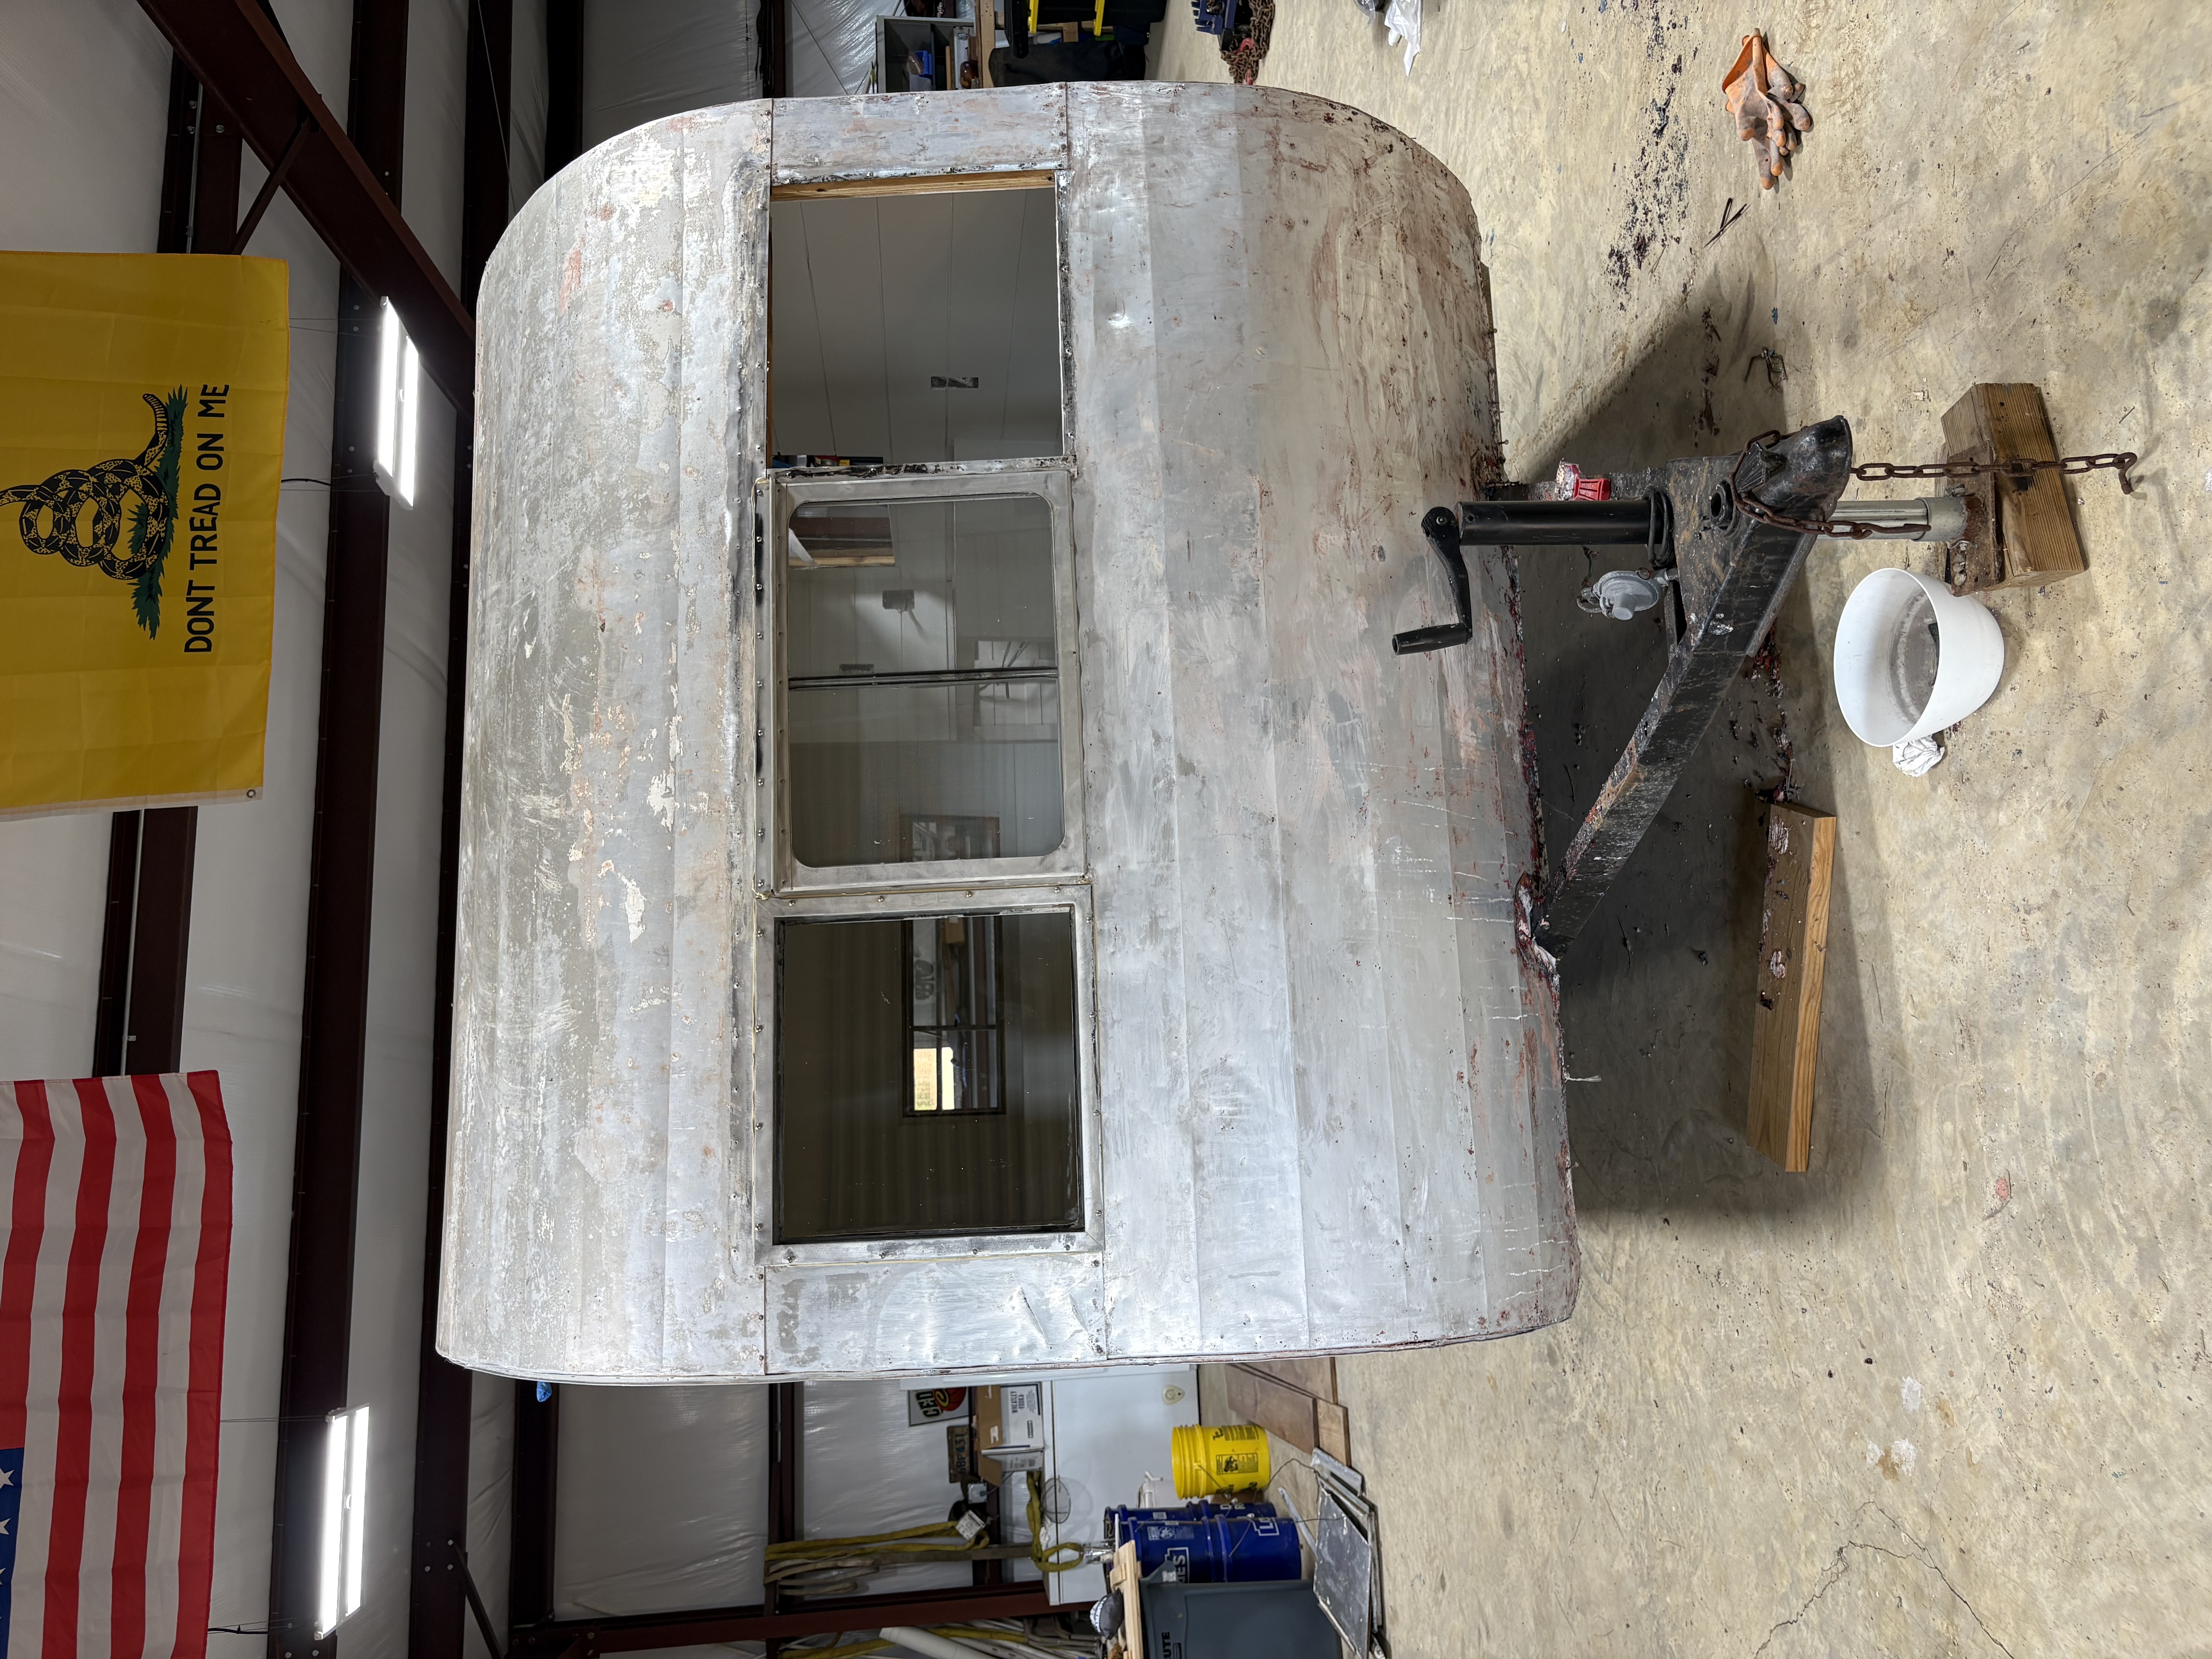
    Drilling out the old screws
    Prying the frame loose
    Front of the camper in bare aluminum with two of the three front windows back in
    Two of the three front windows back in
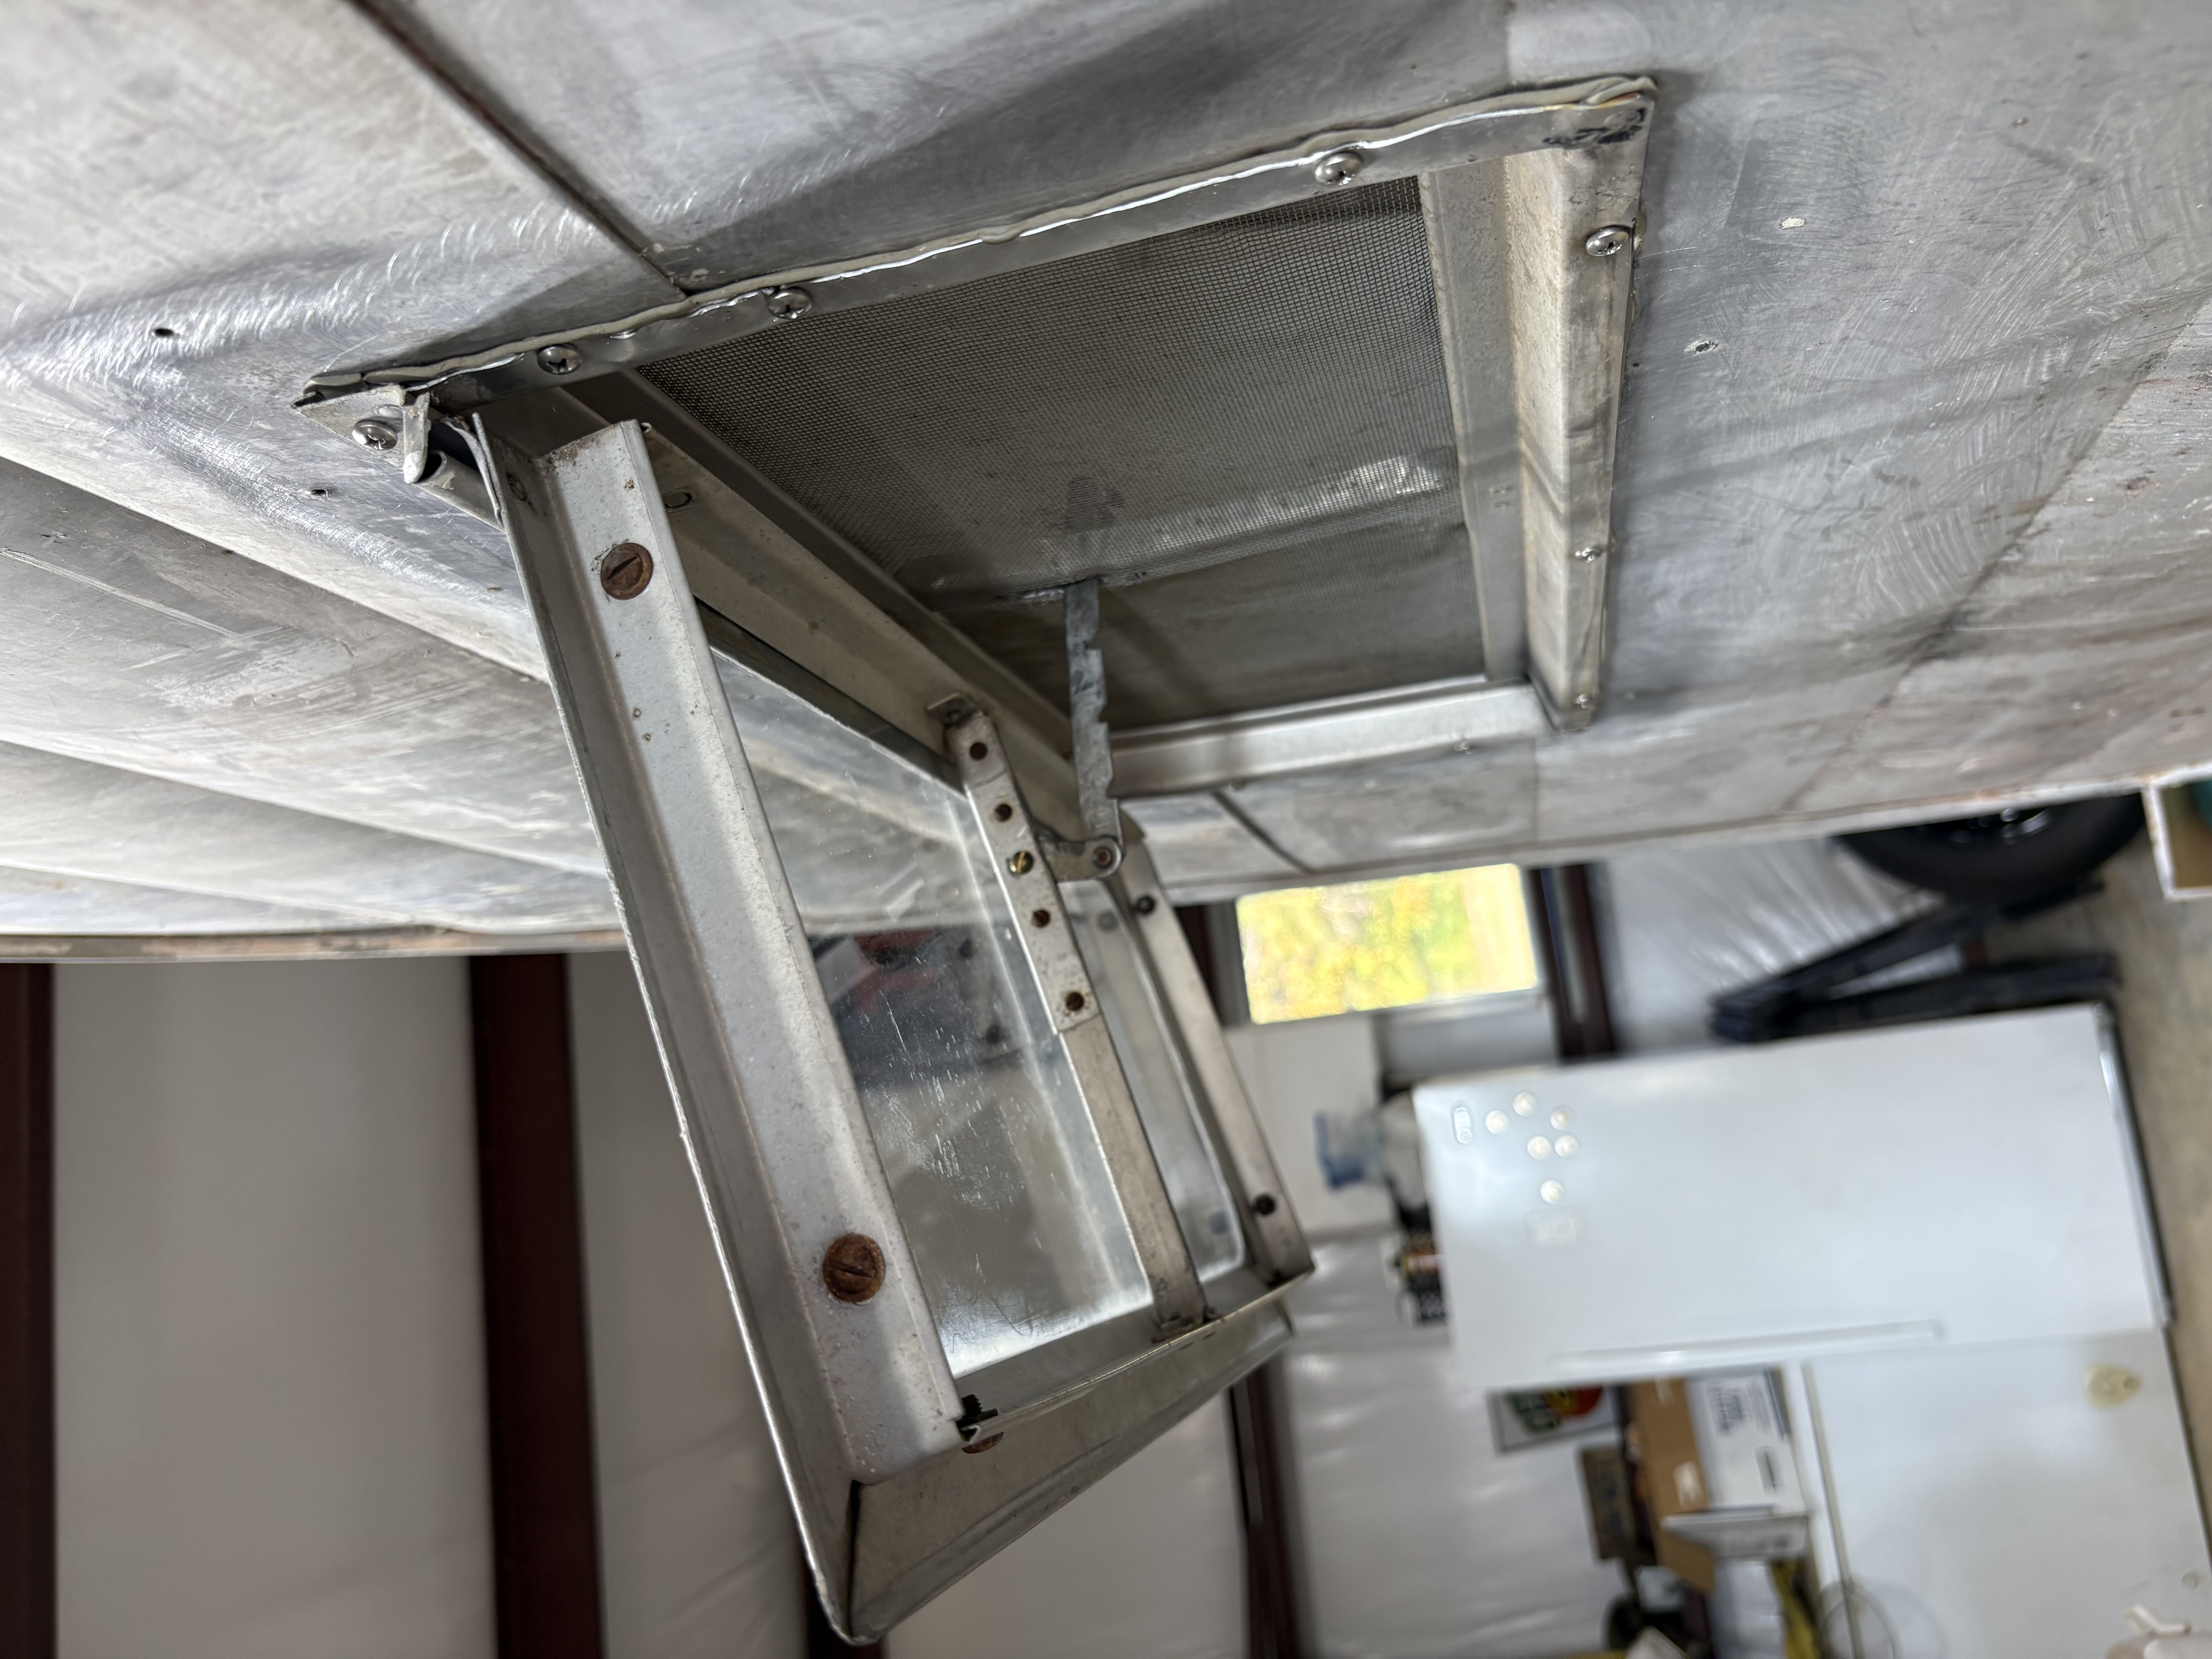
    Front window propped open on its arm, with the screen behind it
    Front window, propped open
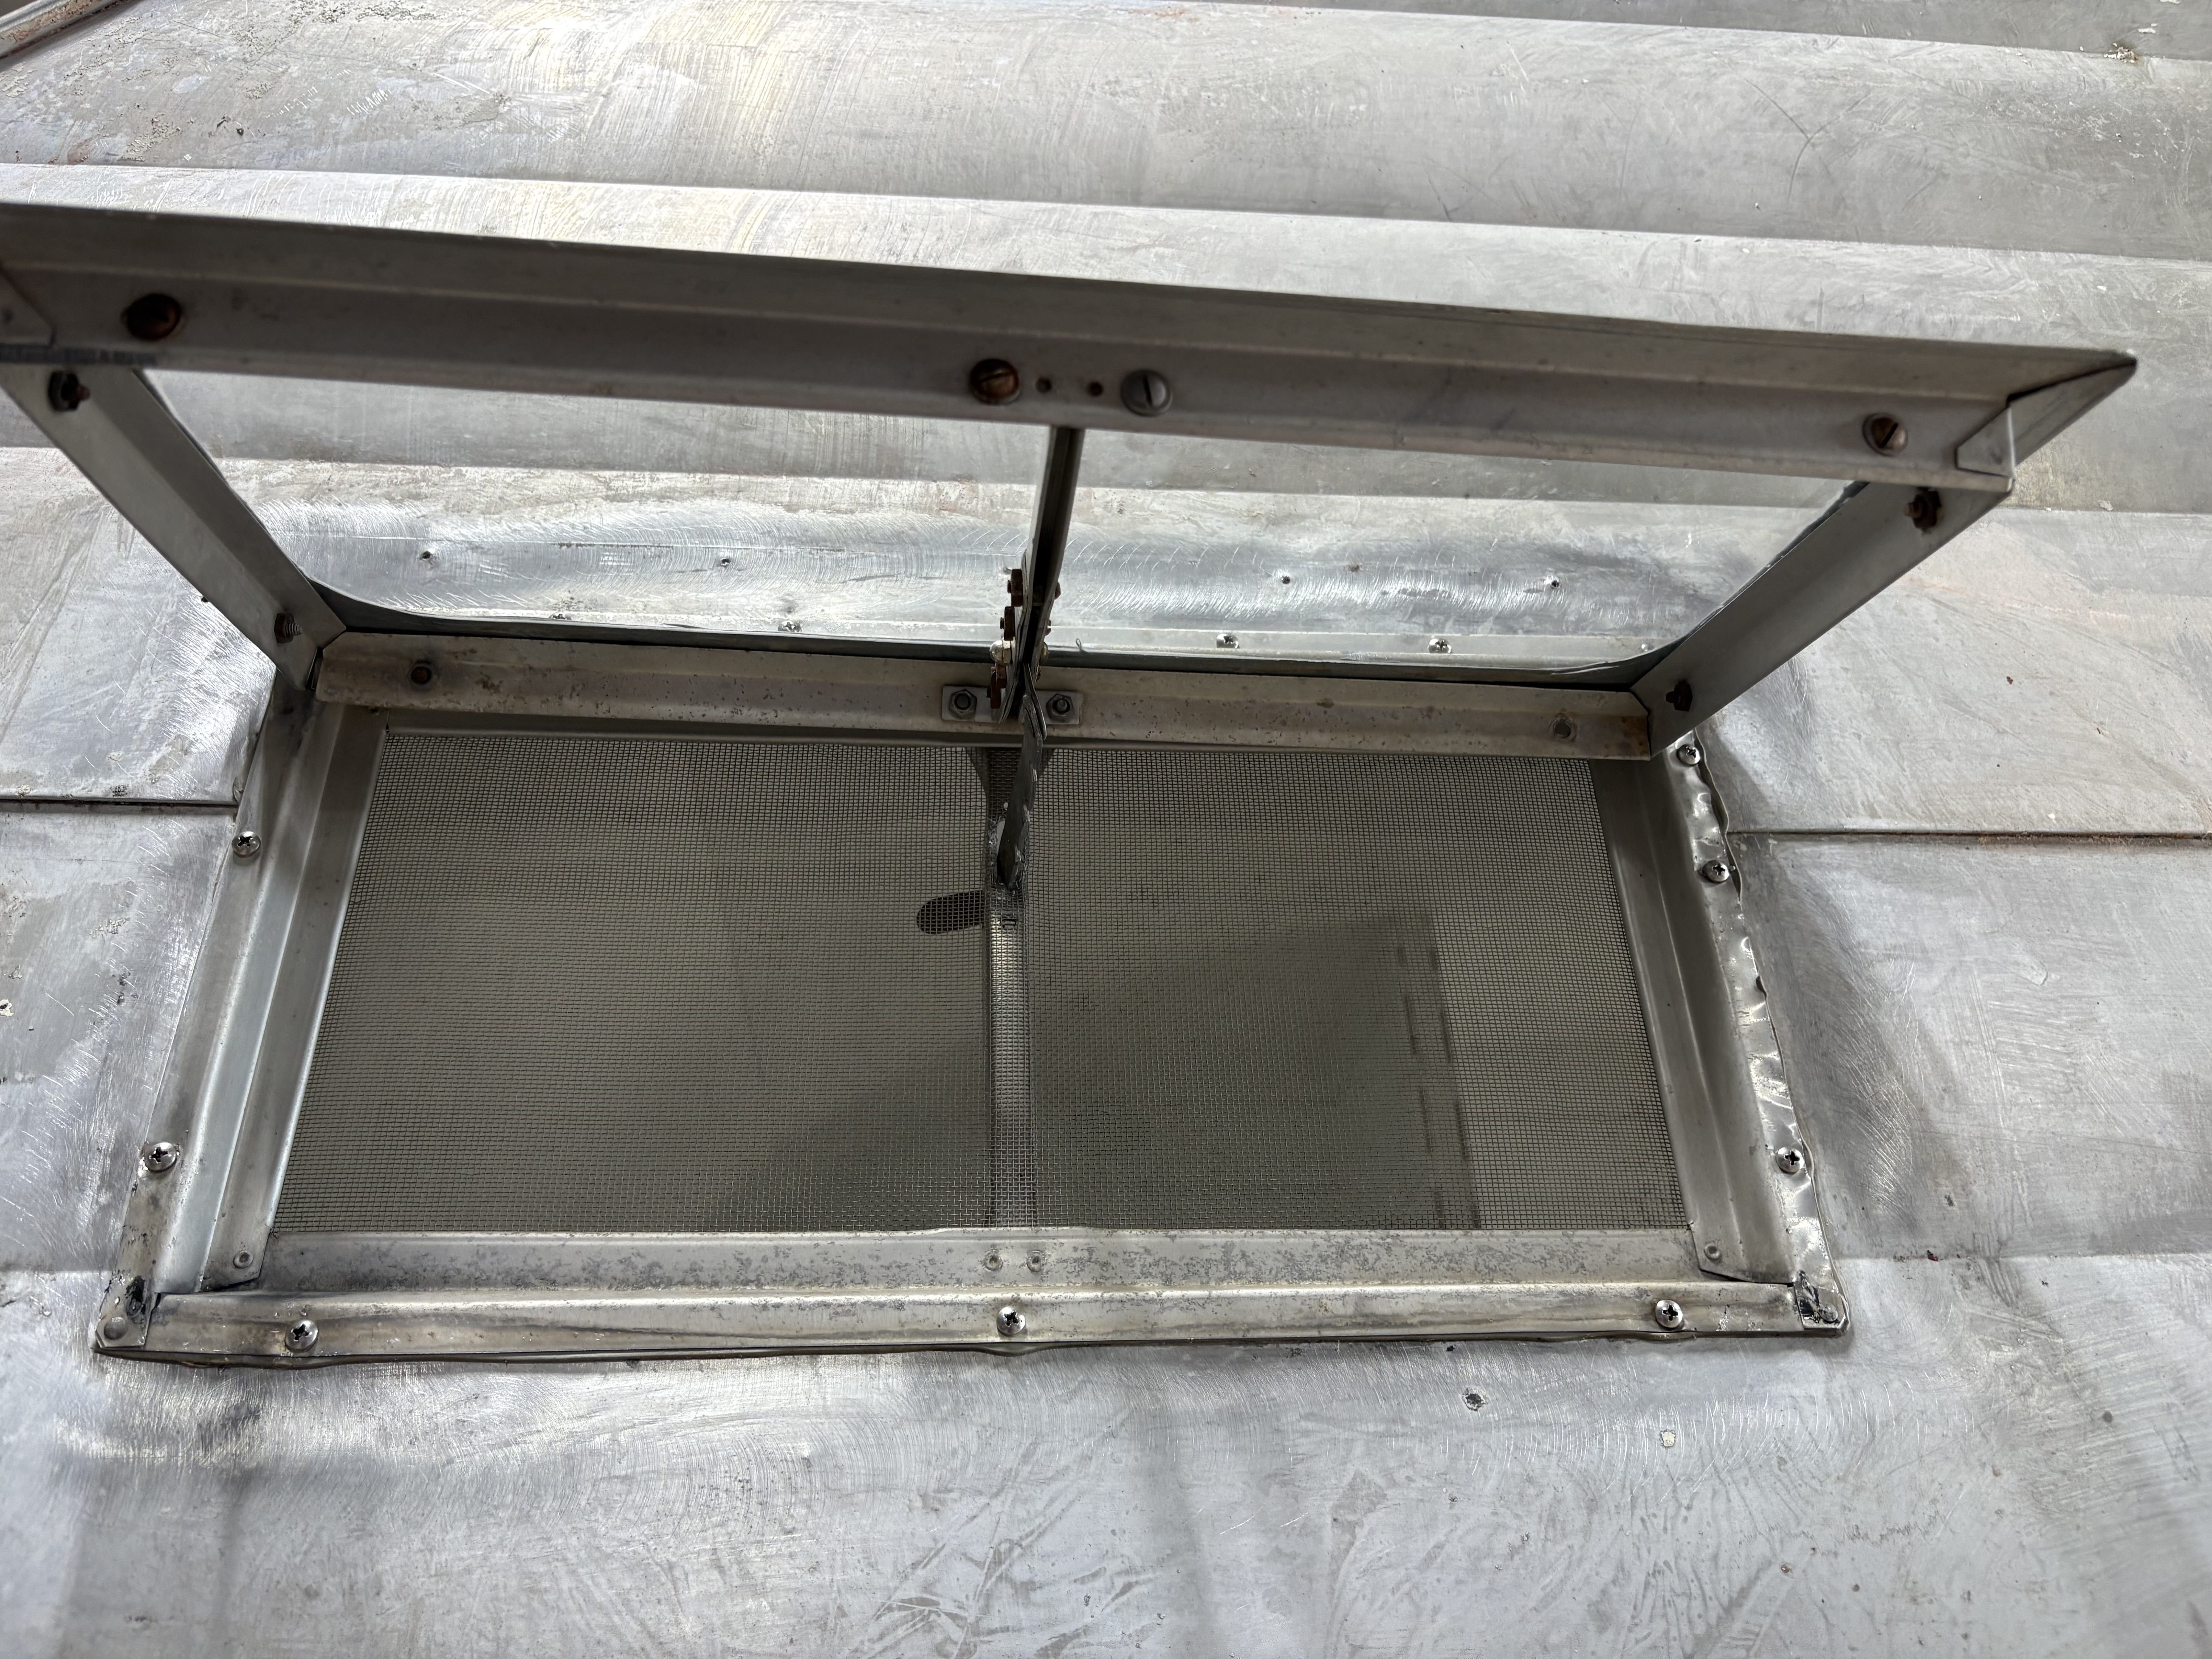
    Small window open from above, the old screen showing inside the frame
    The small window and its screen
    Small window swung open on the side of the bare aluminum body
    Opening on its original hinge
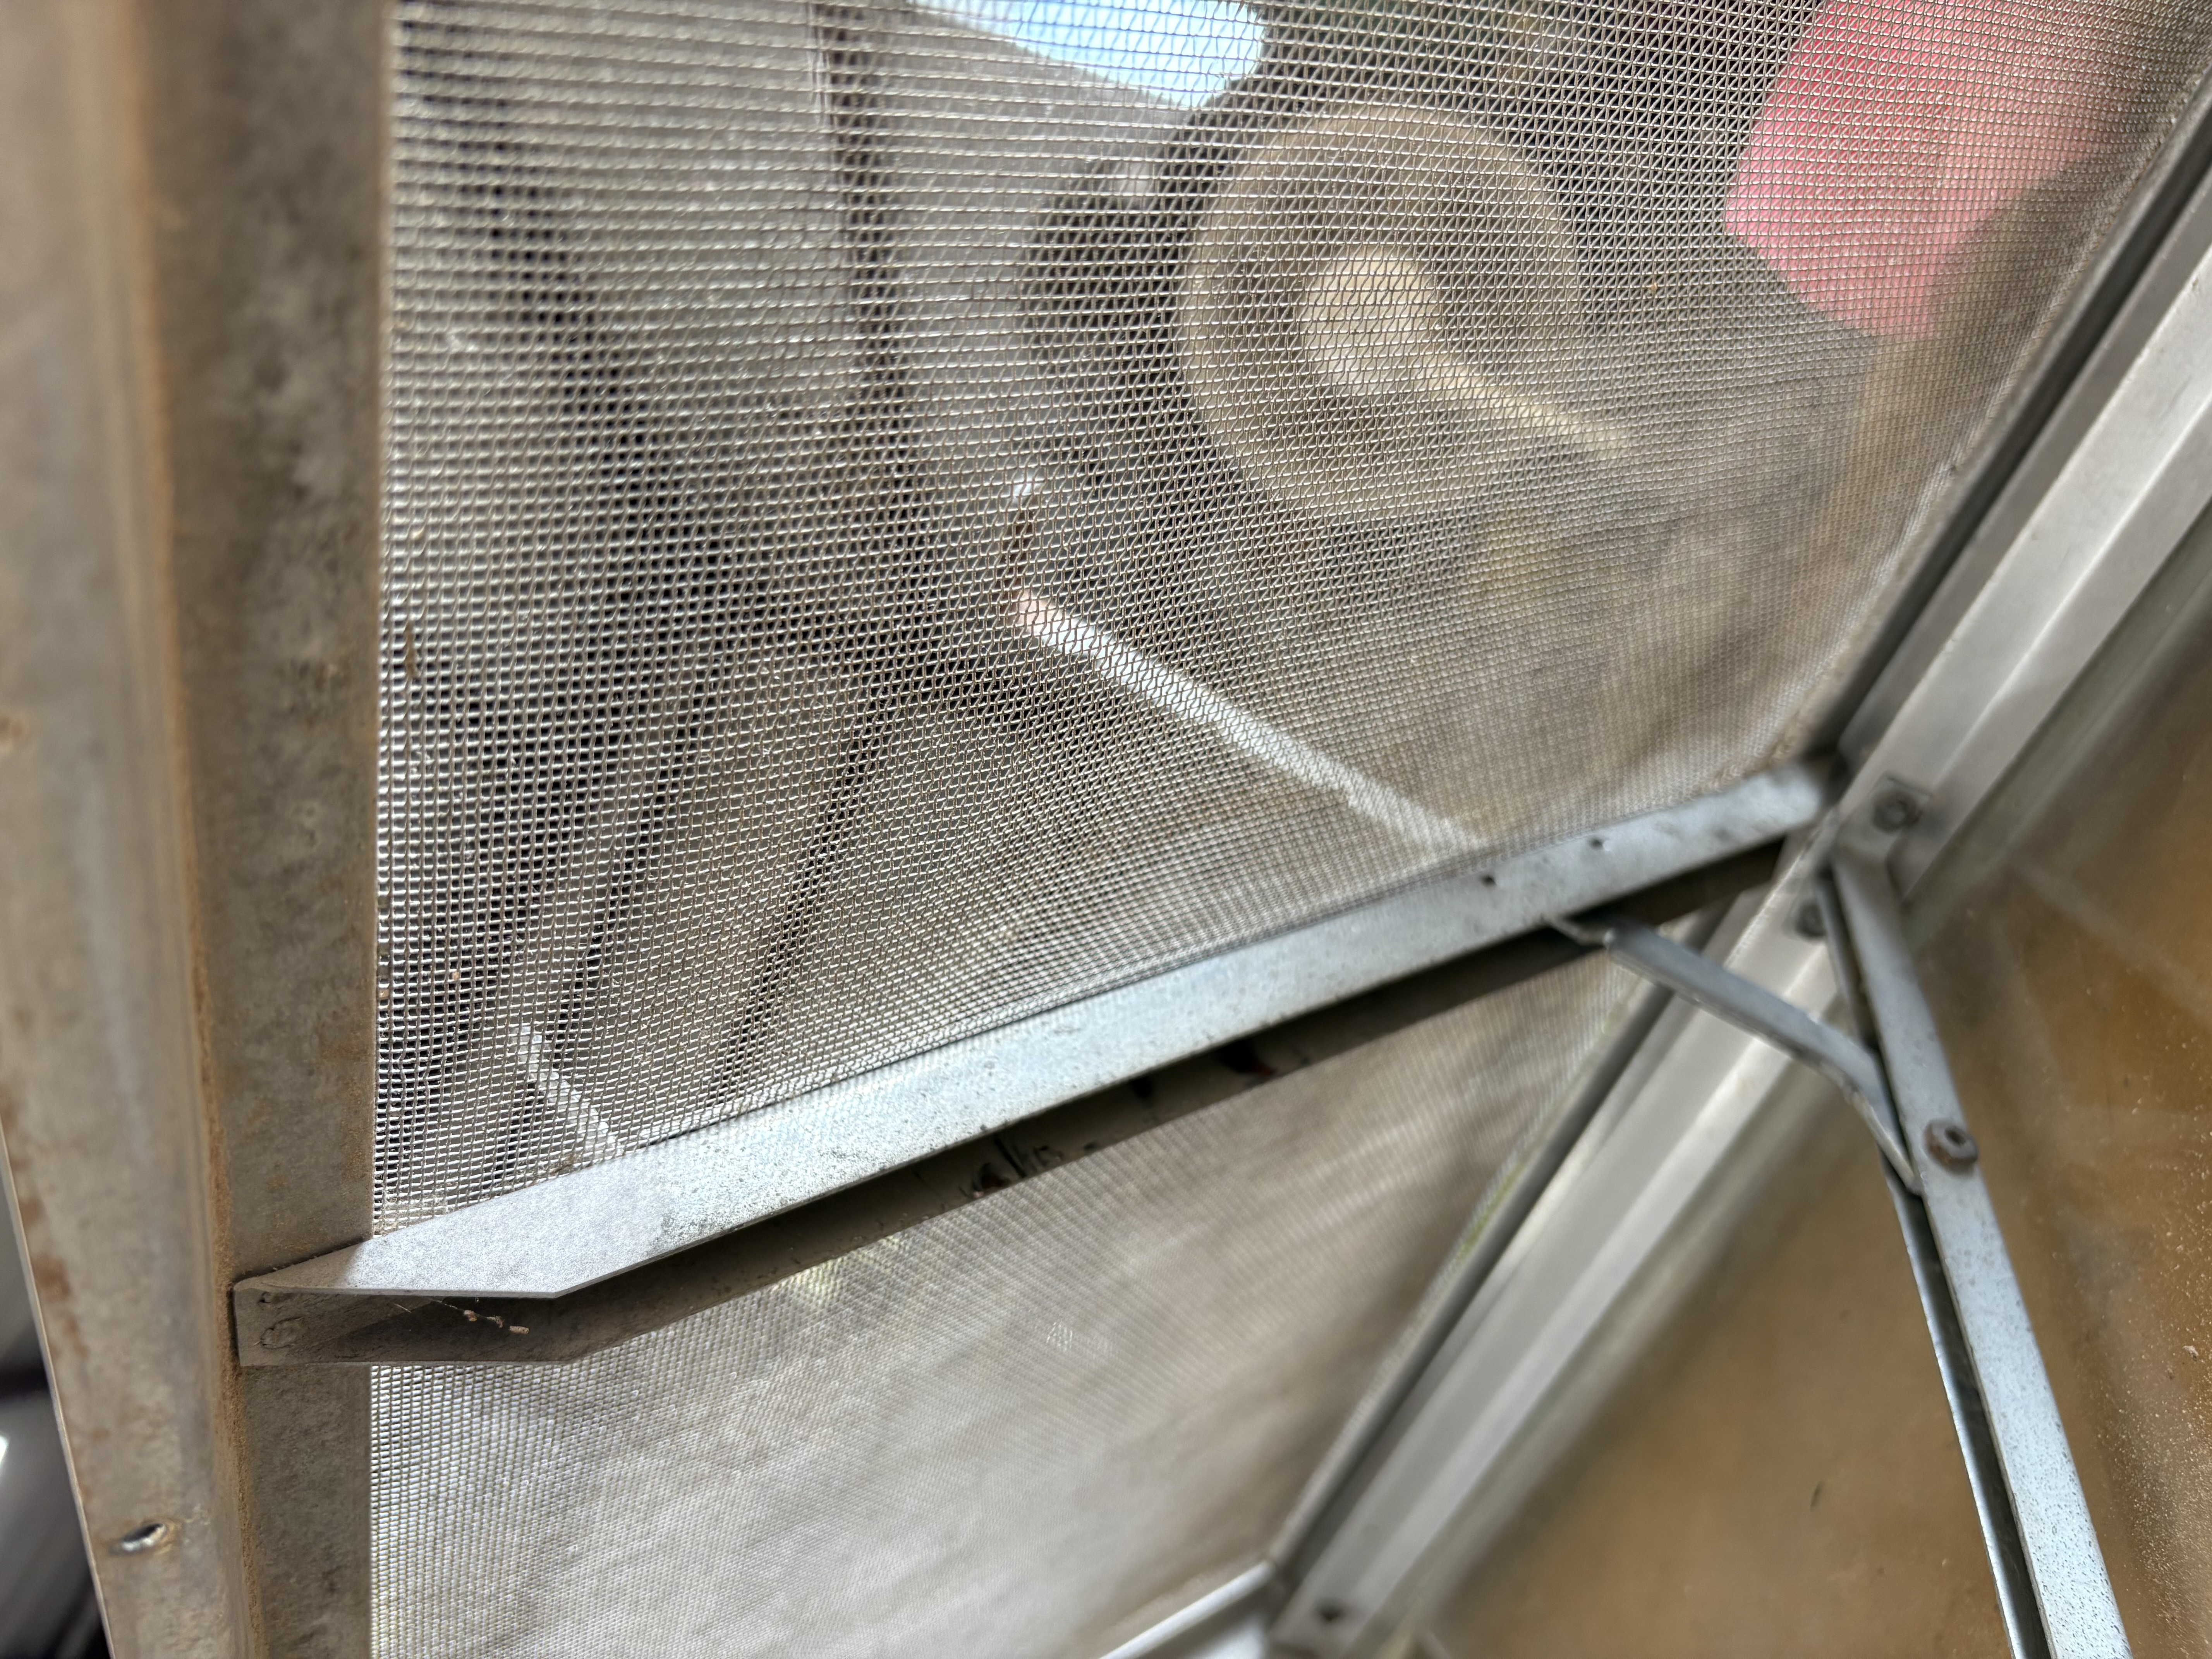
    Close-up of the original metal prop arm and the screen mesh
    The original prop arm
    Tape measure across an old window screen with frayed mesh at the edge
    Measuring the old screens
    Tape measure along the side of an old window screen, mesh worn at the frame
    Worn mesh at the edges

    Trim off, new butyl tape

    I took off all of Midge's trim and scraped away the old butyl tape underneath. Then I tapped the dents out of the old trim, laid down new butyl tape, and put the trim back on. Photos of this step are coming soon.
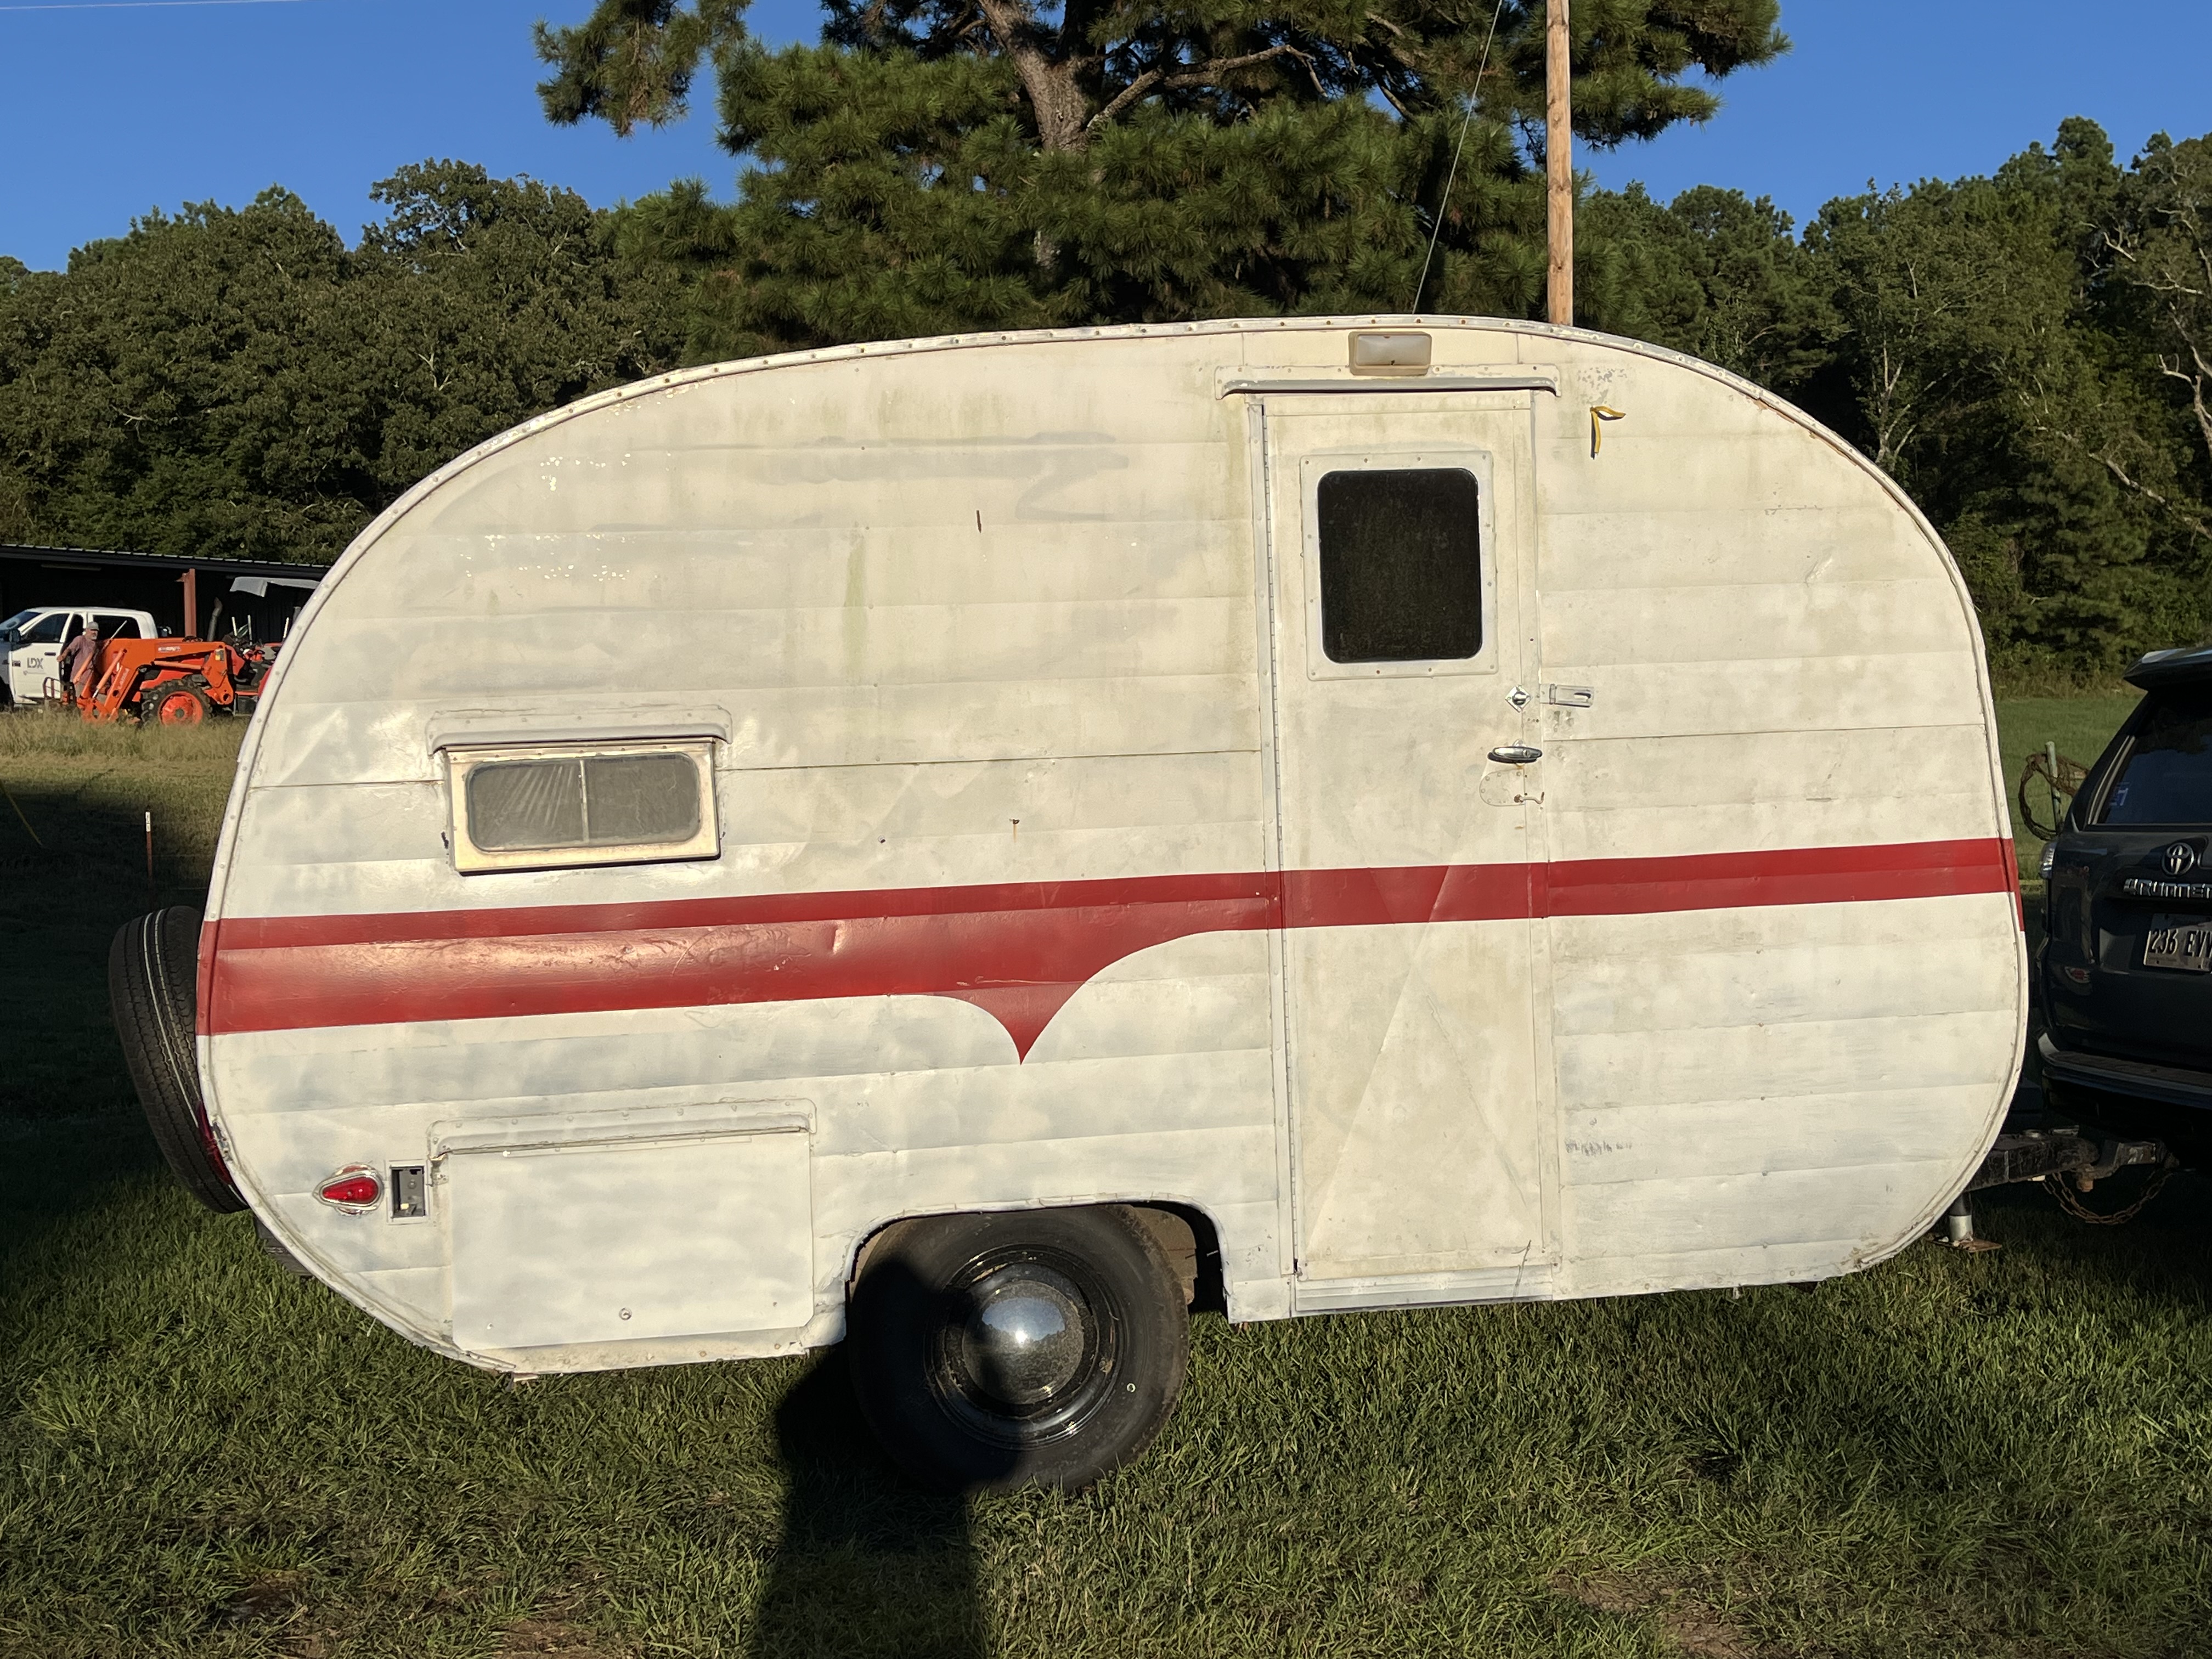
    Midge's door side stripped to bare aluminum Midge's door side in her original white paint with a red stripe As she cameBare metal

    Where she started and where she is now. Drag to compare.

    In photos
  4. Phase 4

    Rebuilding the woodwork

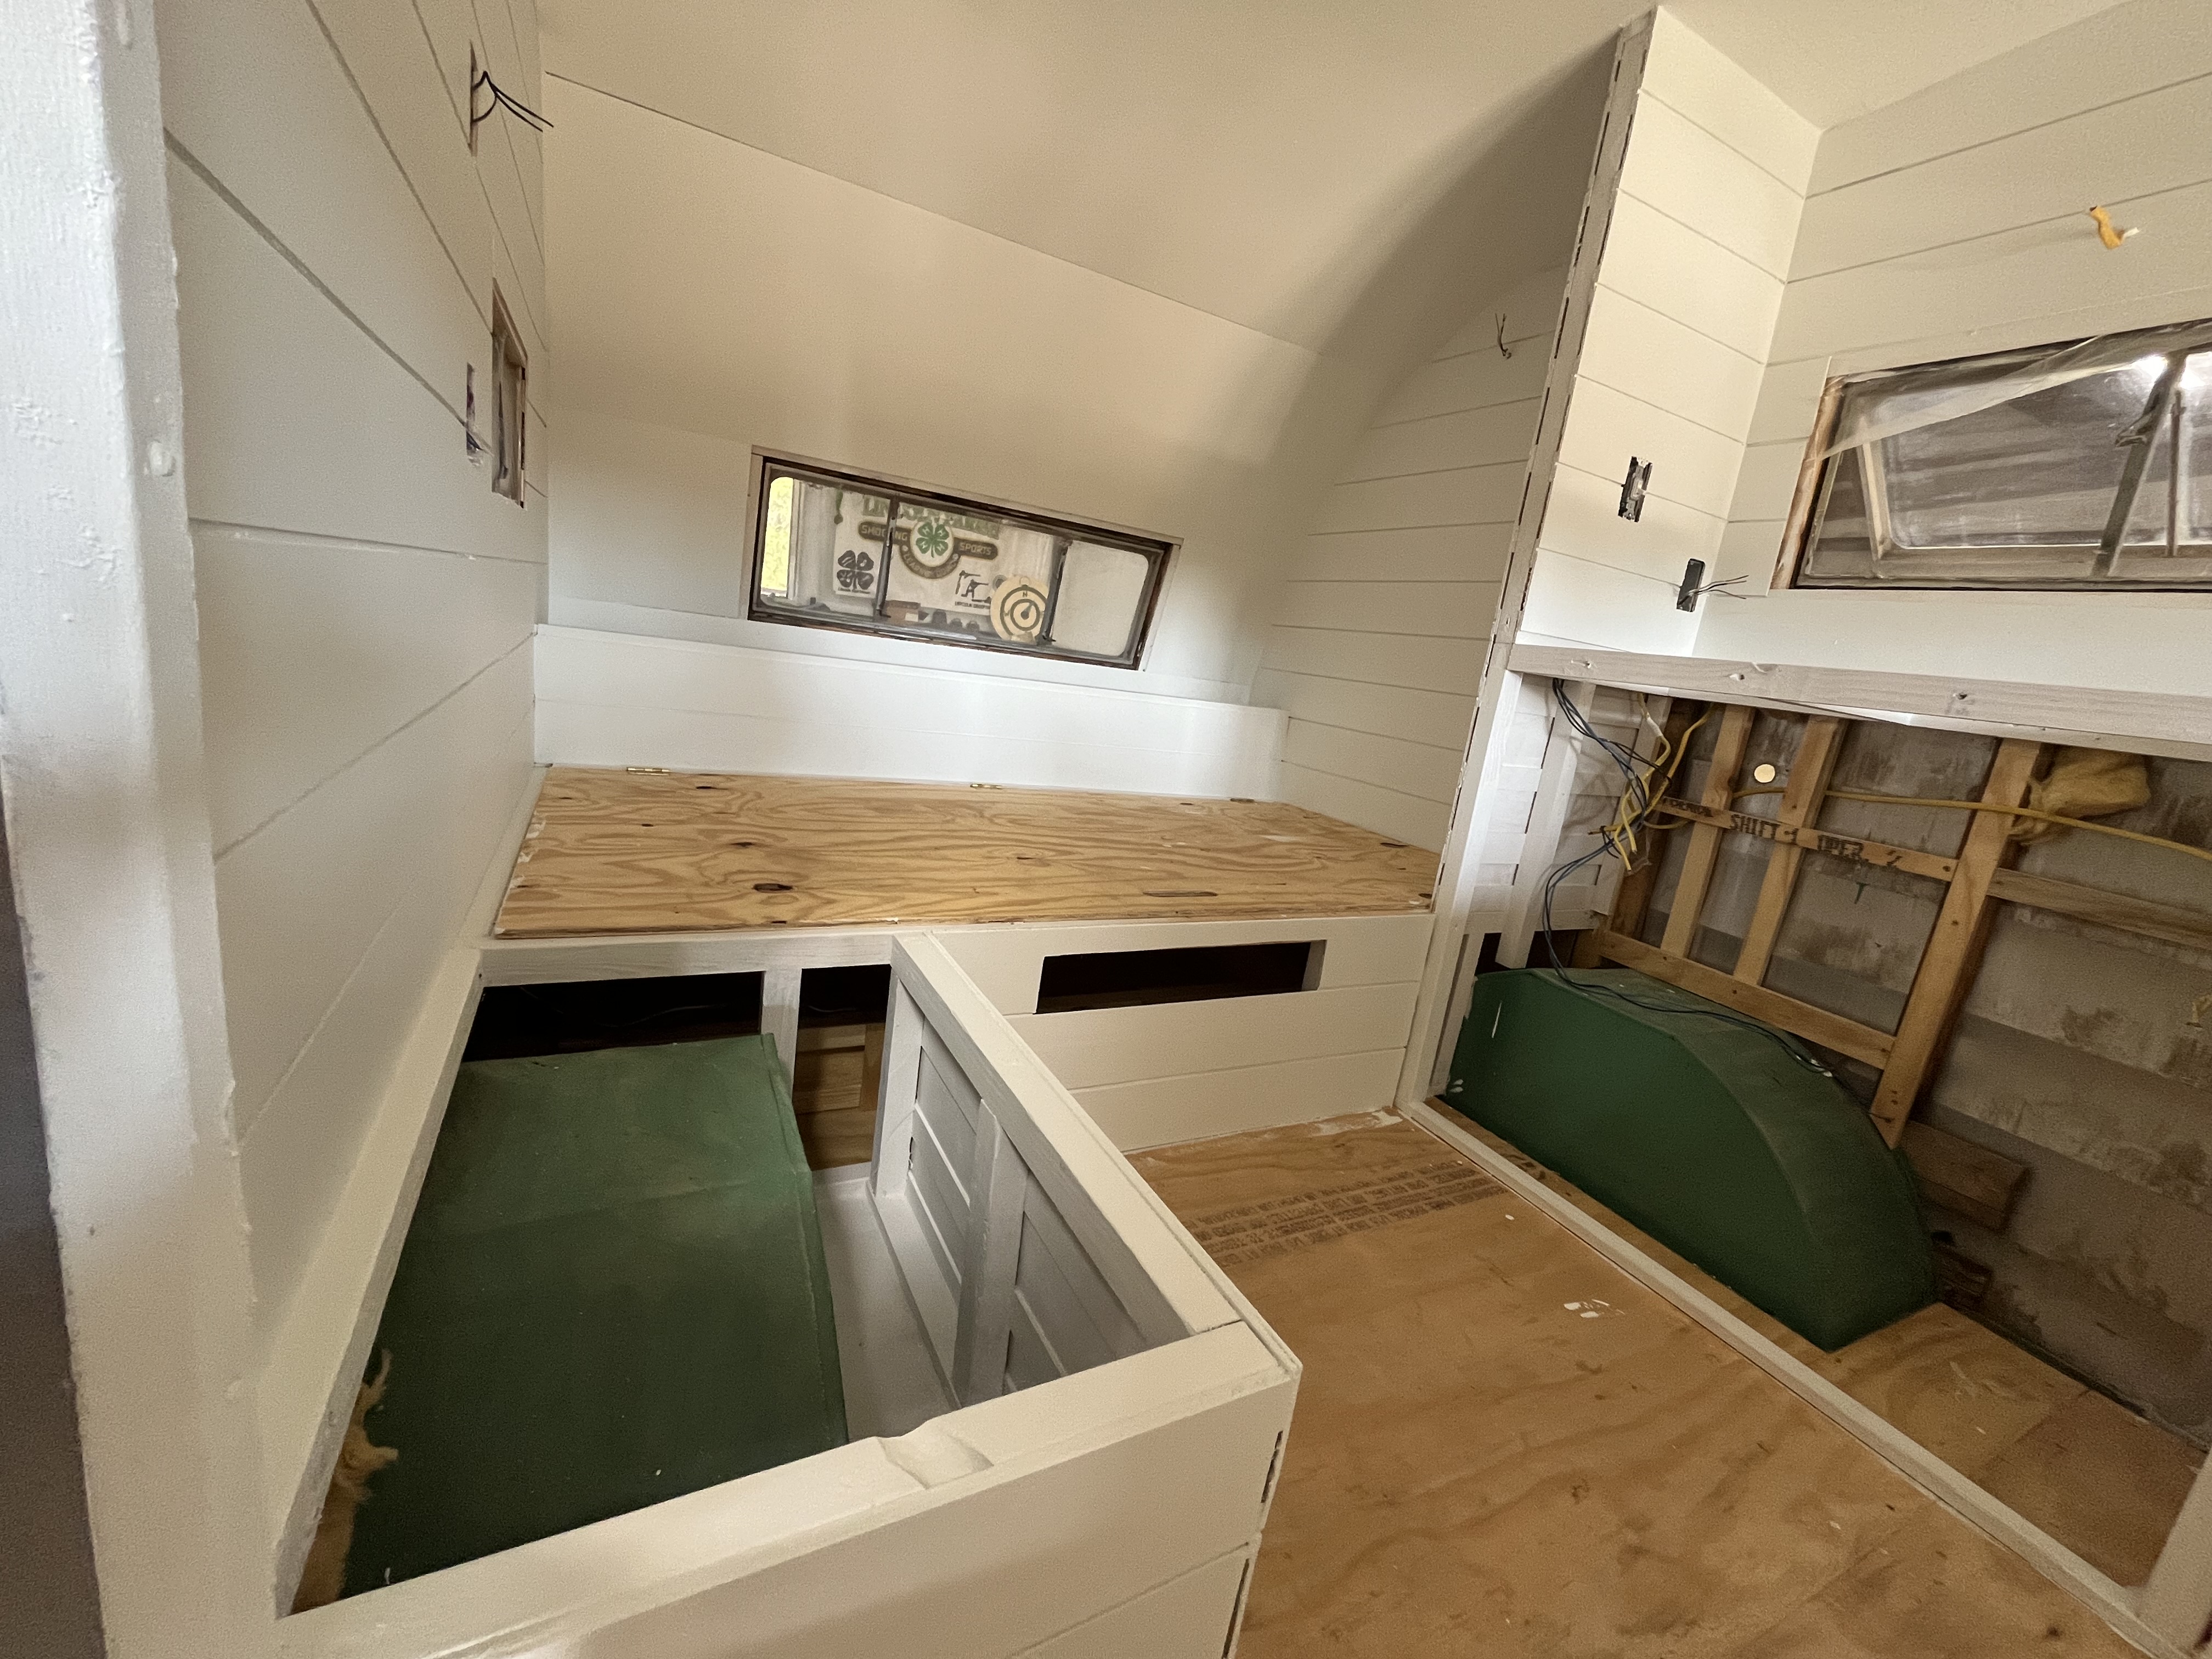
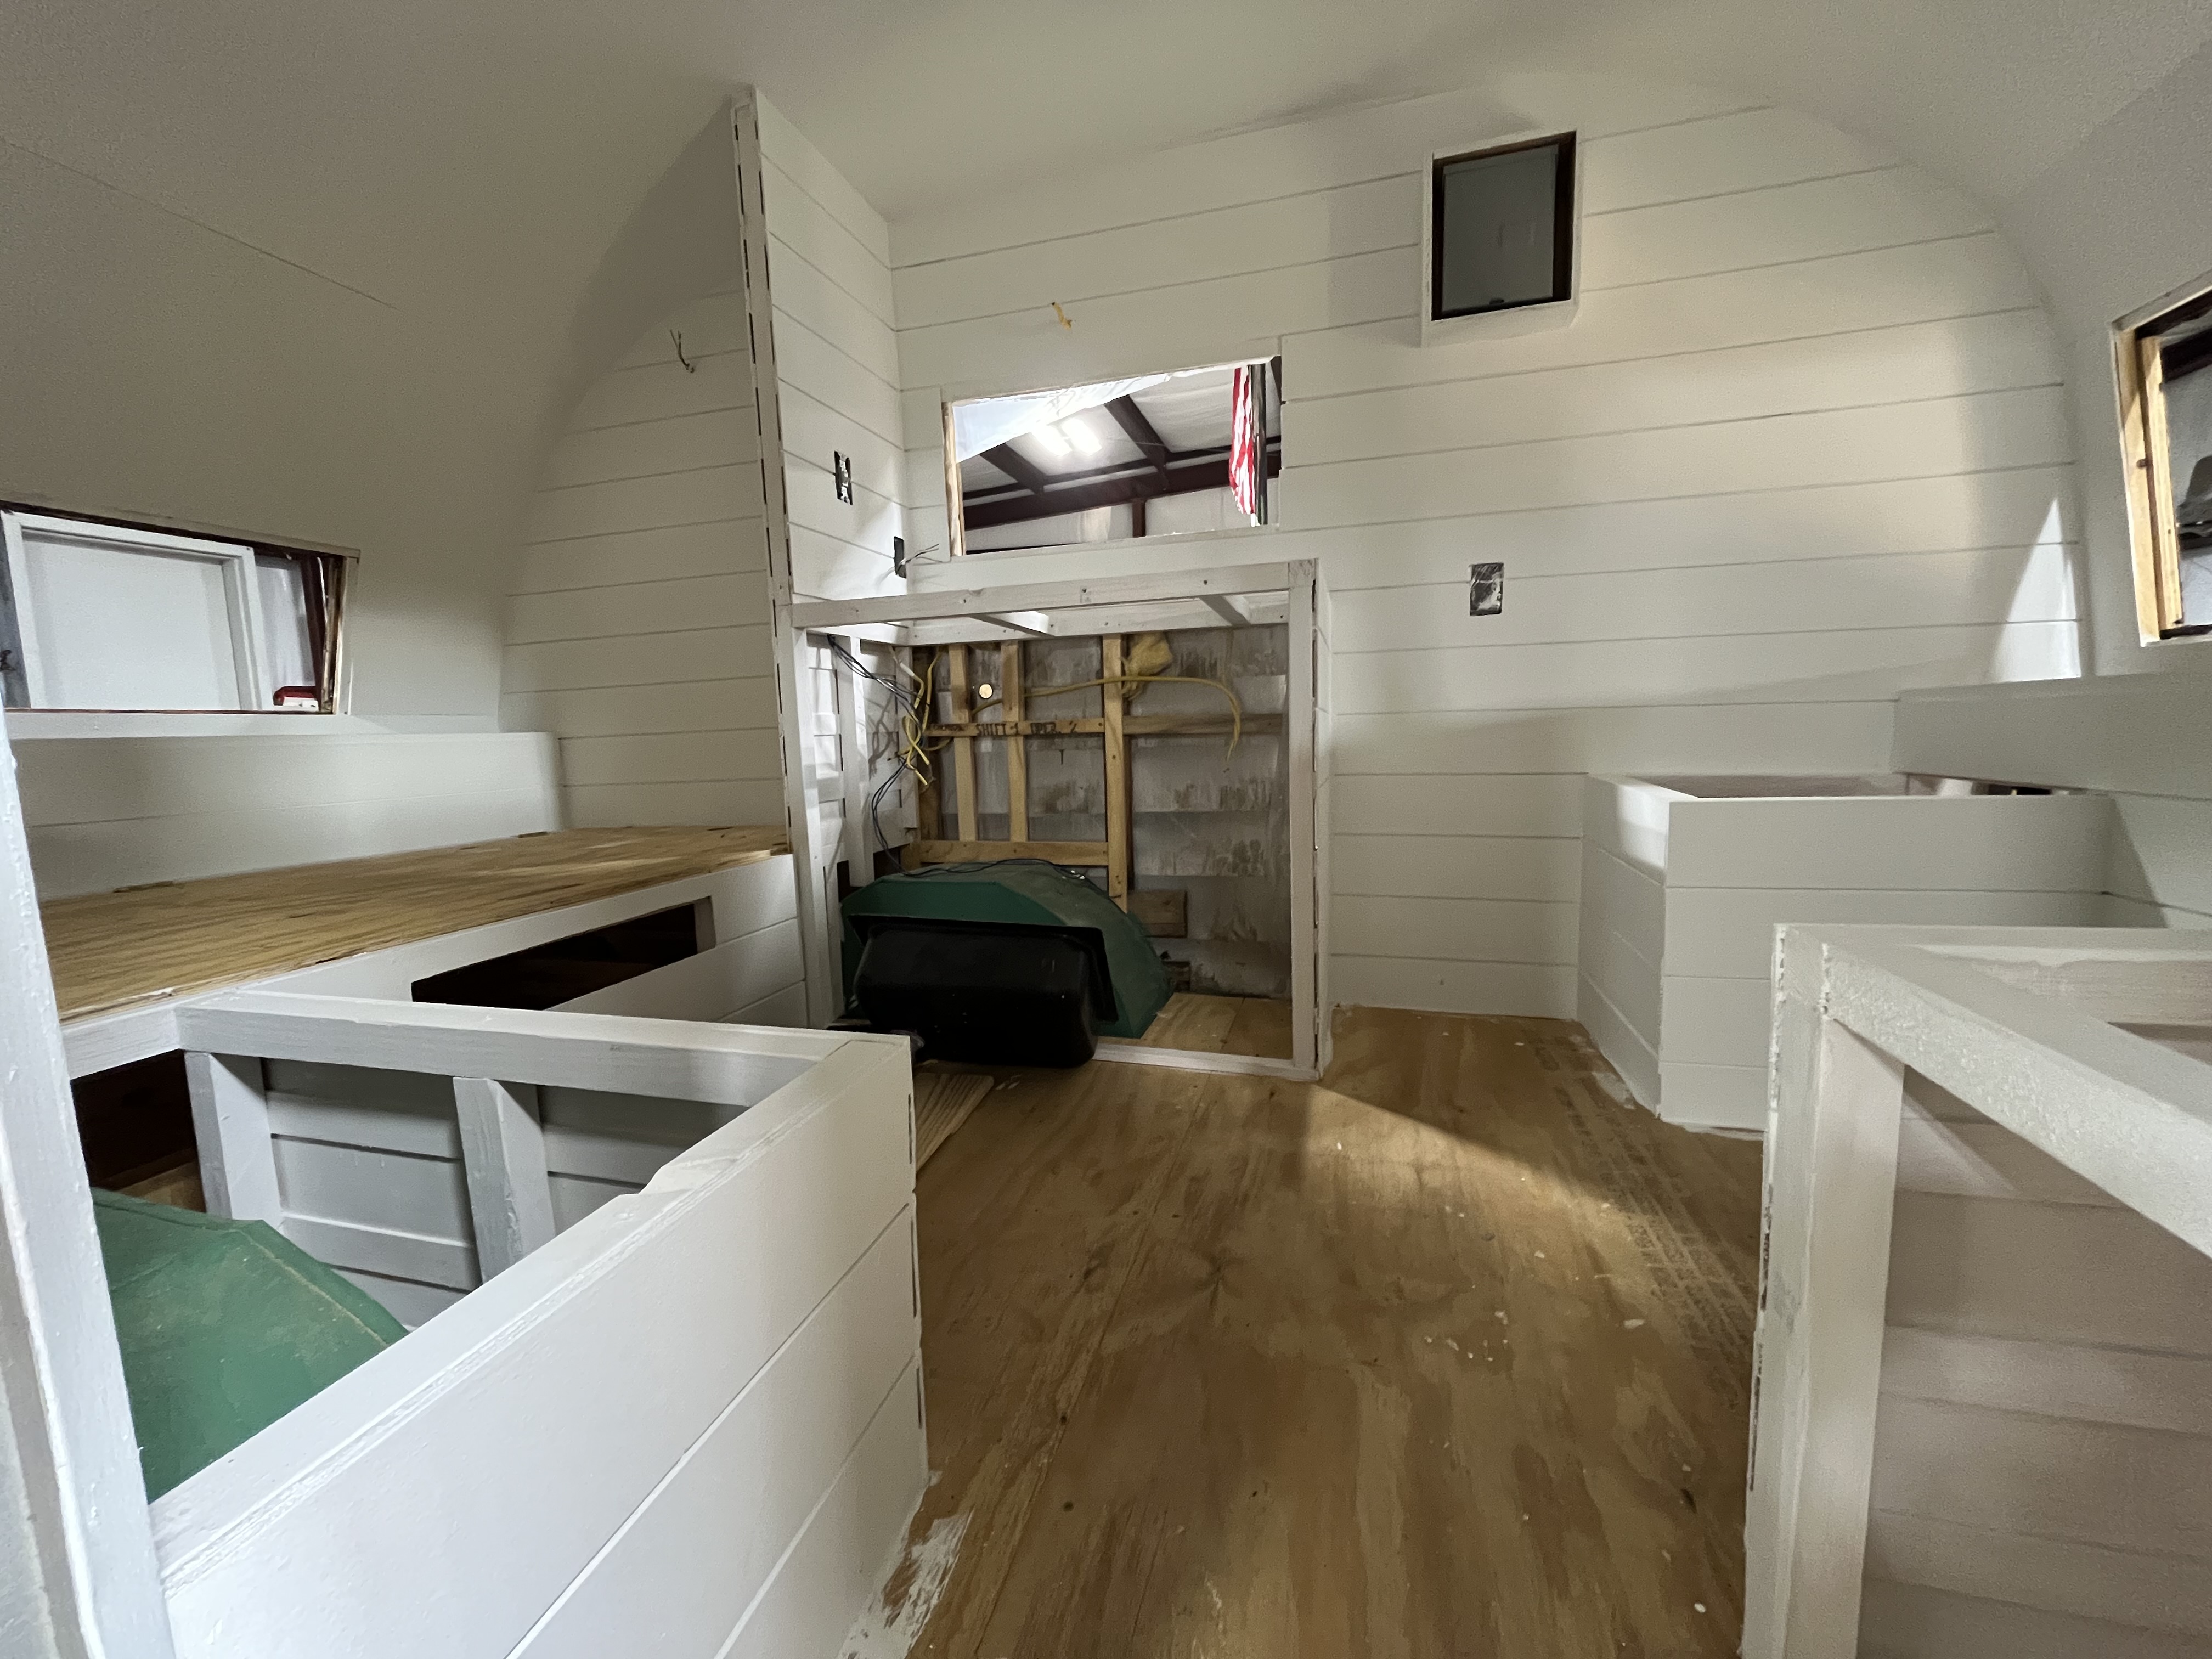
    The shiplap went up in bare wood first, then got painted white. A new plywood floor and frames for the bed and dinette are in. Cabinets and trim come next.

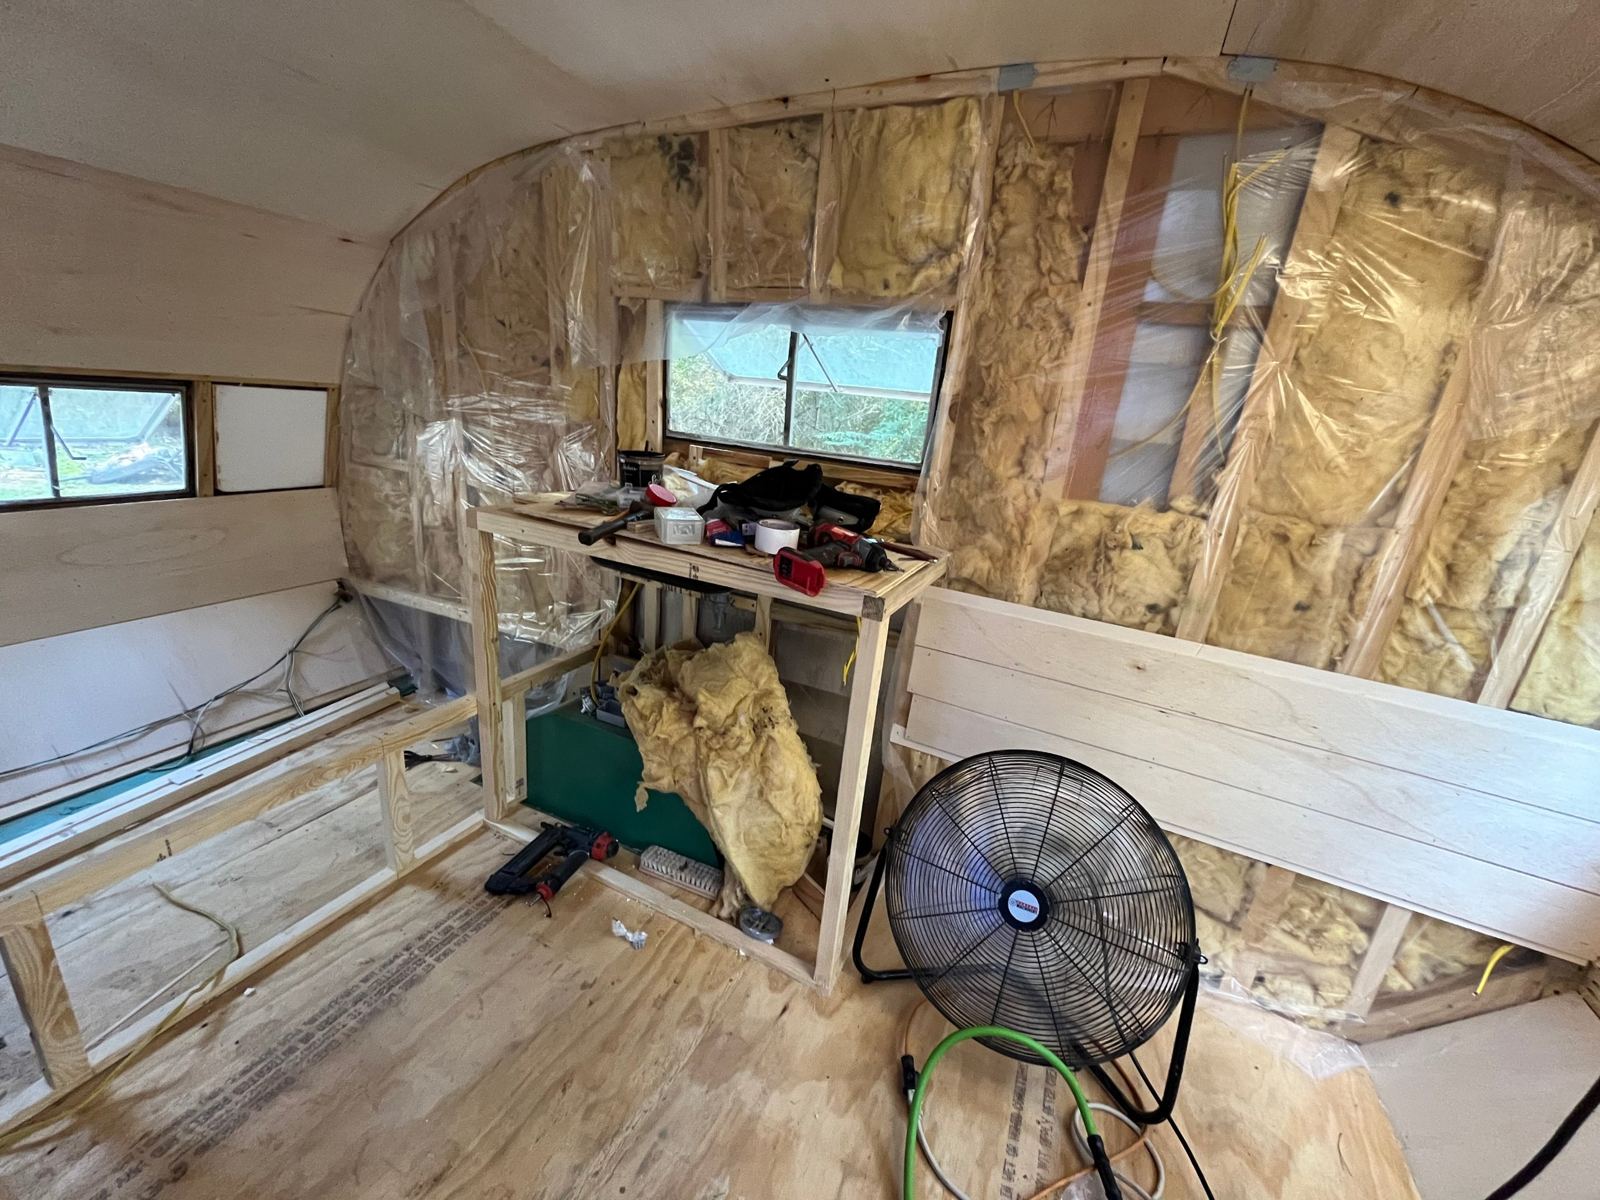
    Insulation in

    With the new frame done, insulation and a vapor barrier went into the walls, a new plywood floor went down, and the bed and dinette frames started to take shape.
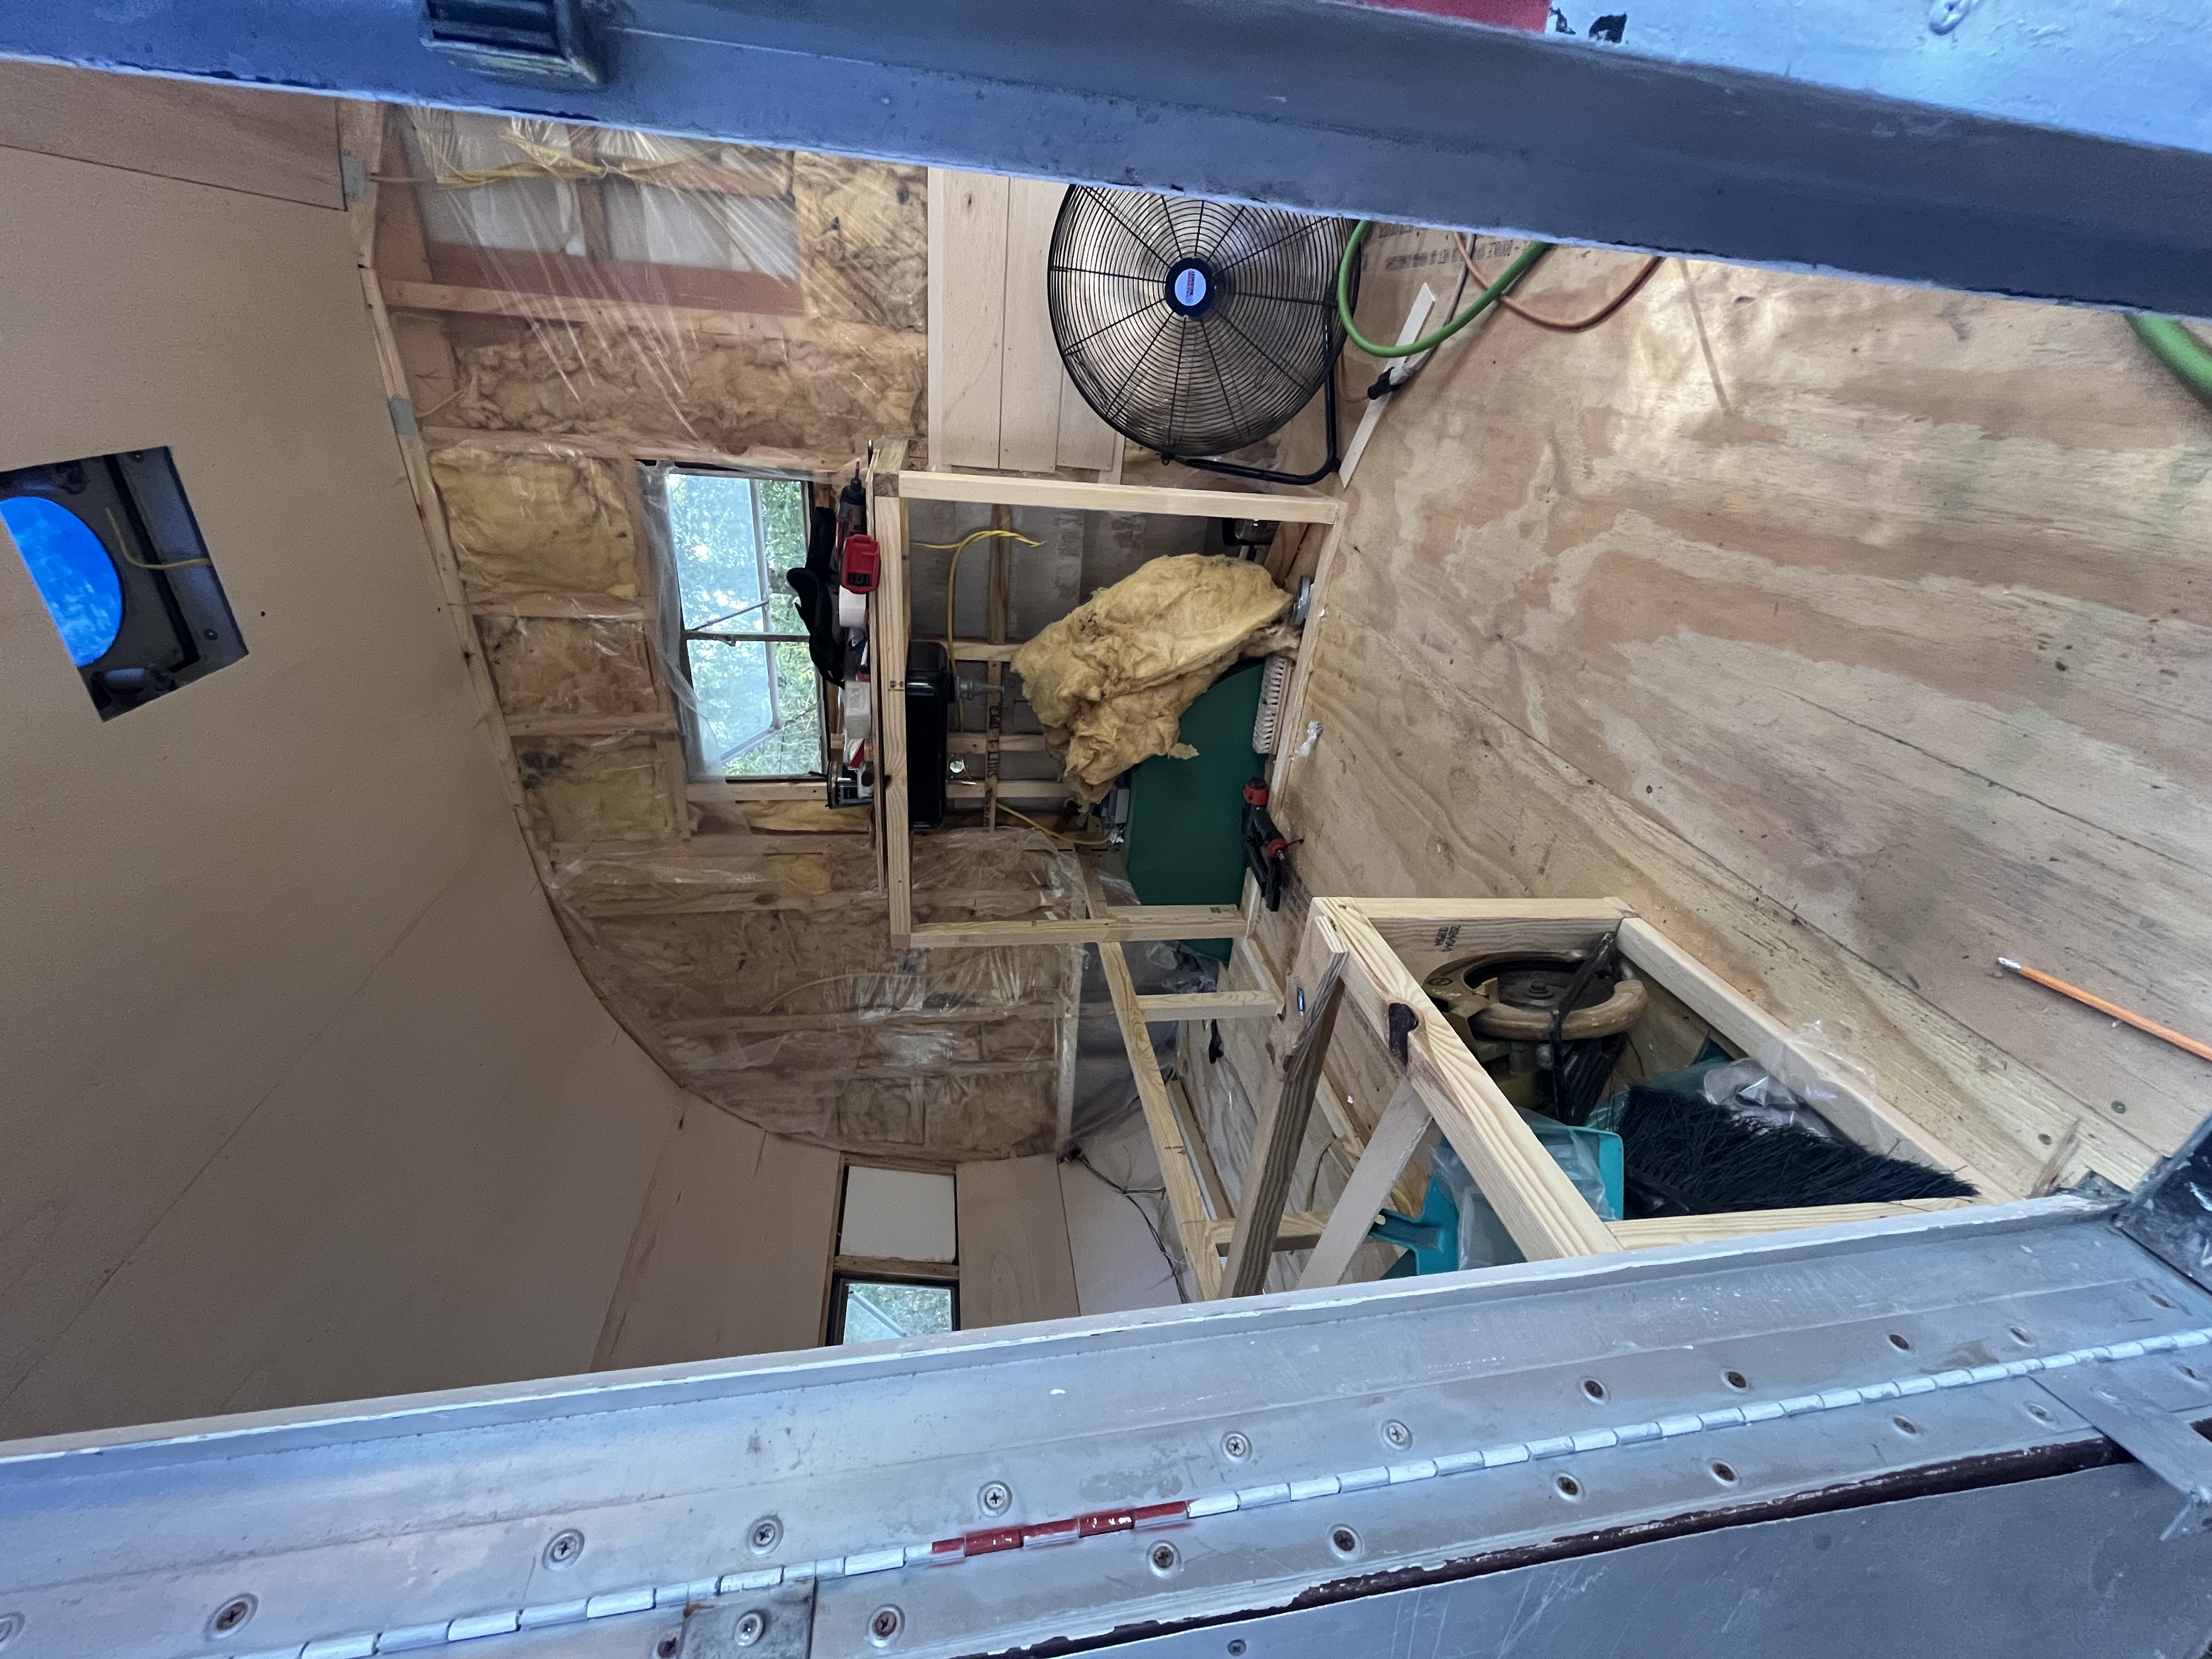
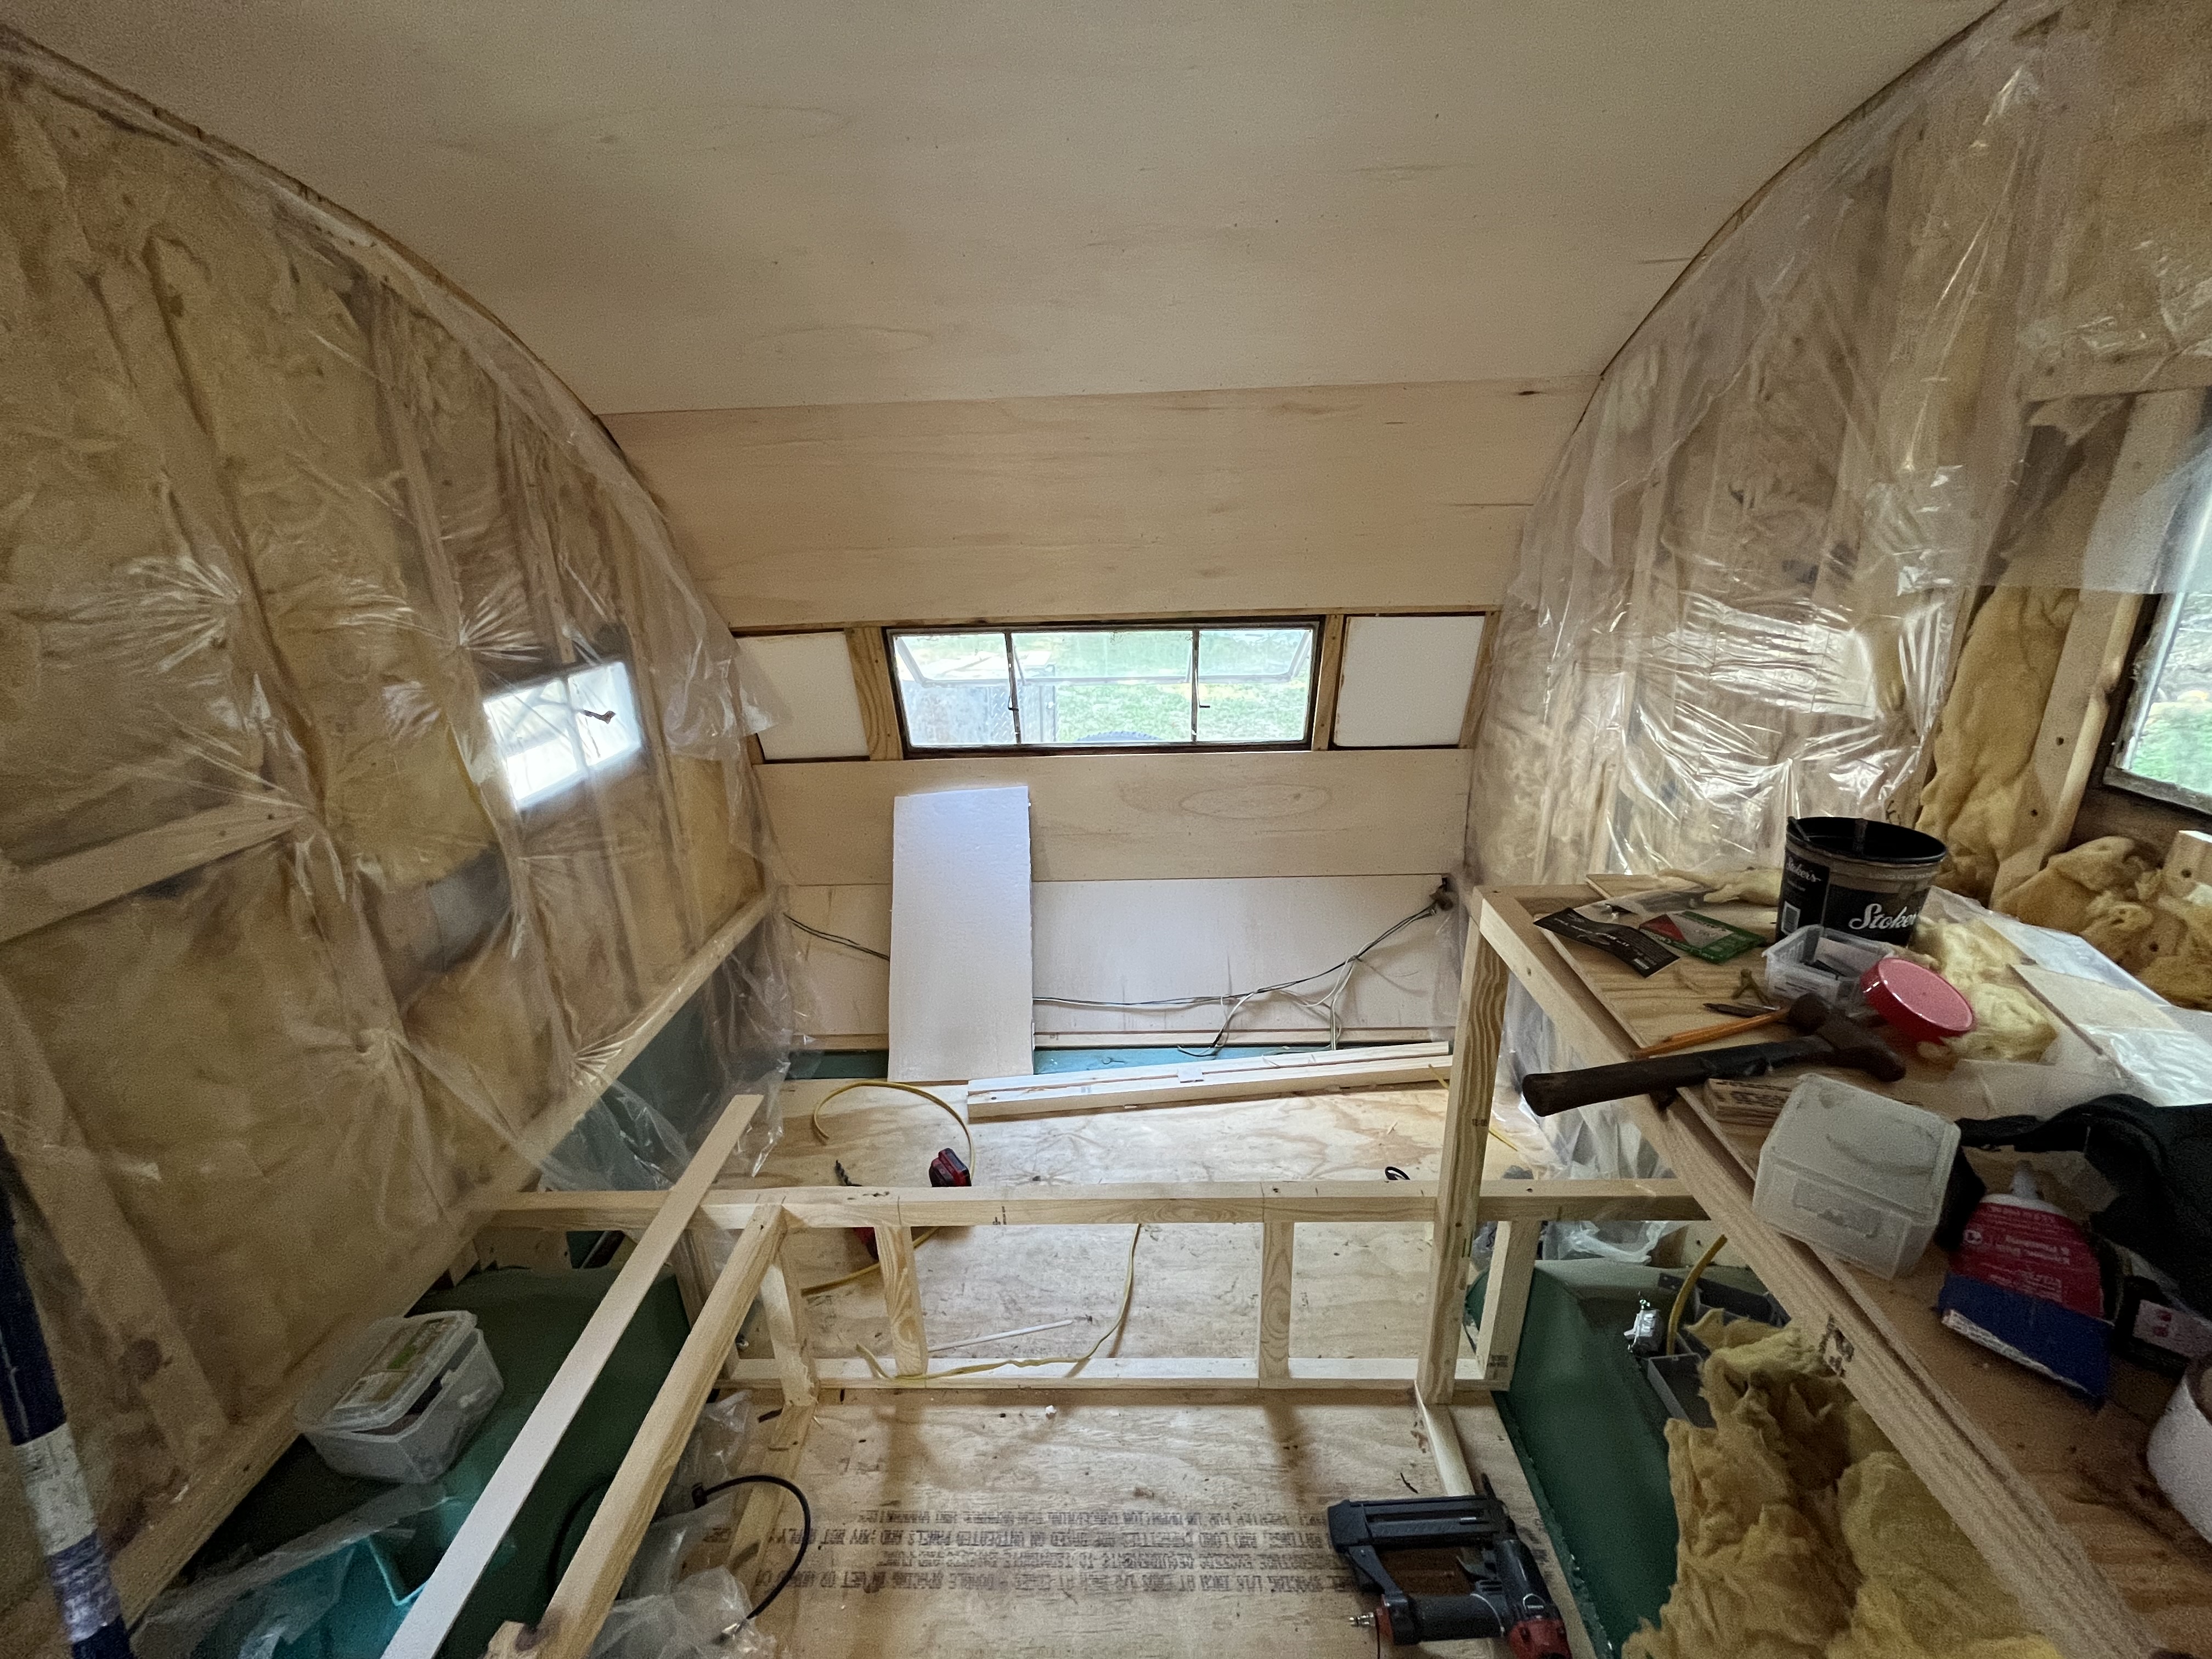
    Looking in through the door at insulated walls, a new plywood floor, and new wood frames
    Through the door, insulation in
    The front of the camper with insulated walls, the front window, and the dinette frame
    Toward the front window
    The rear wall insulated behind plastic, with the new cabinet frame and plywood floor
    The rear wall and cabinet frame

    Shiplap going up

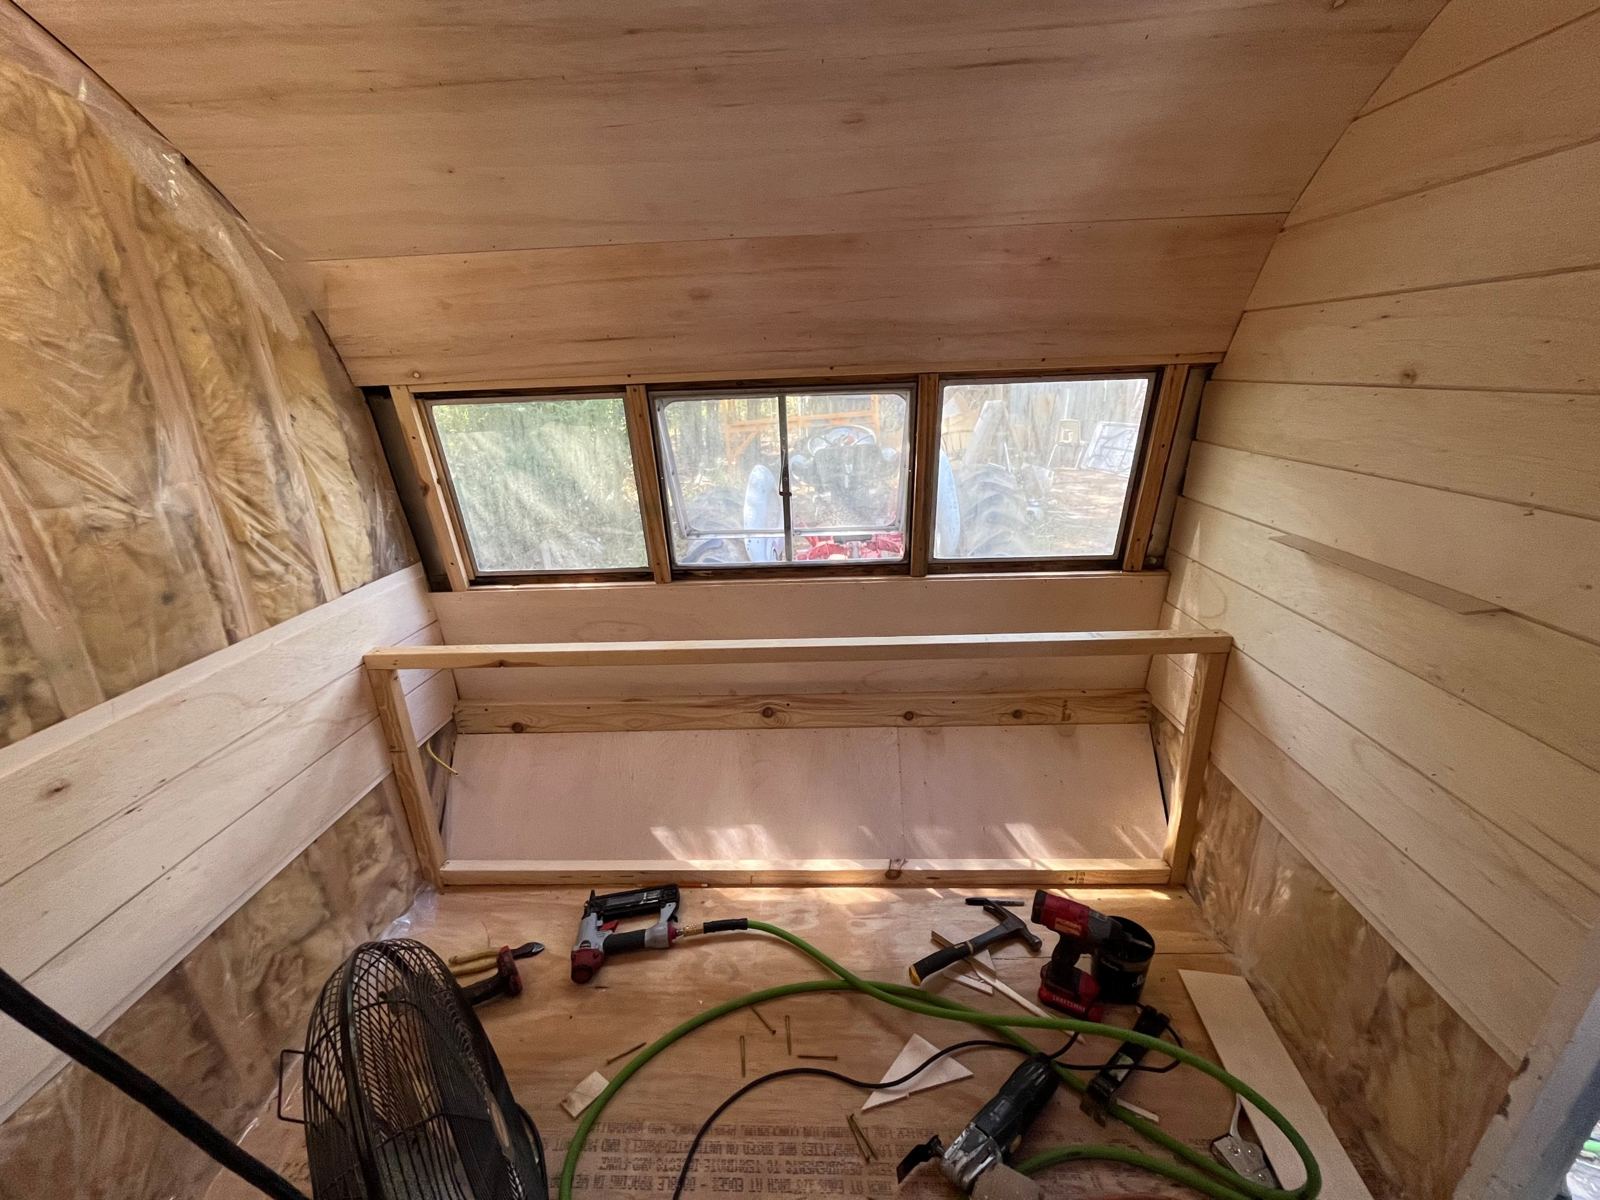
    First look at the bare shiplap
    A tour inside, before paint
    The front wall in new bare-wood shiplap around the three front windows, with the bench frame below
    The front wall in bare shiplap

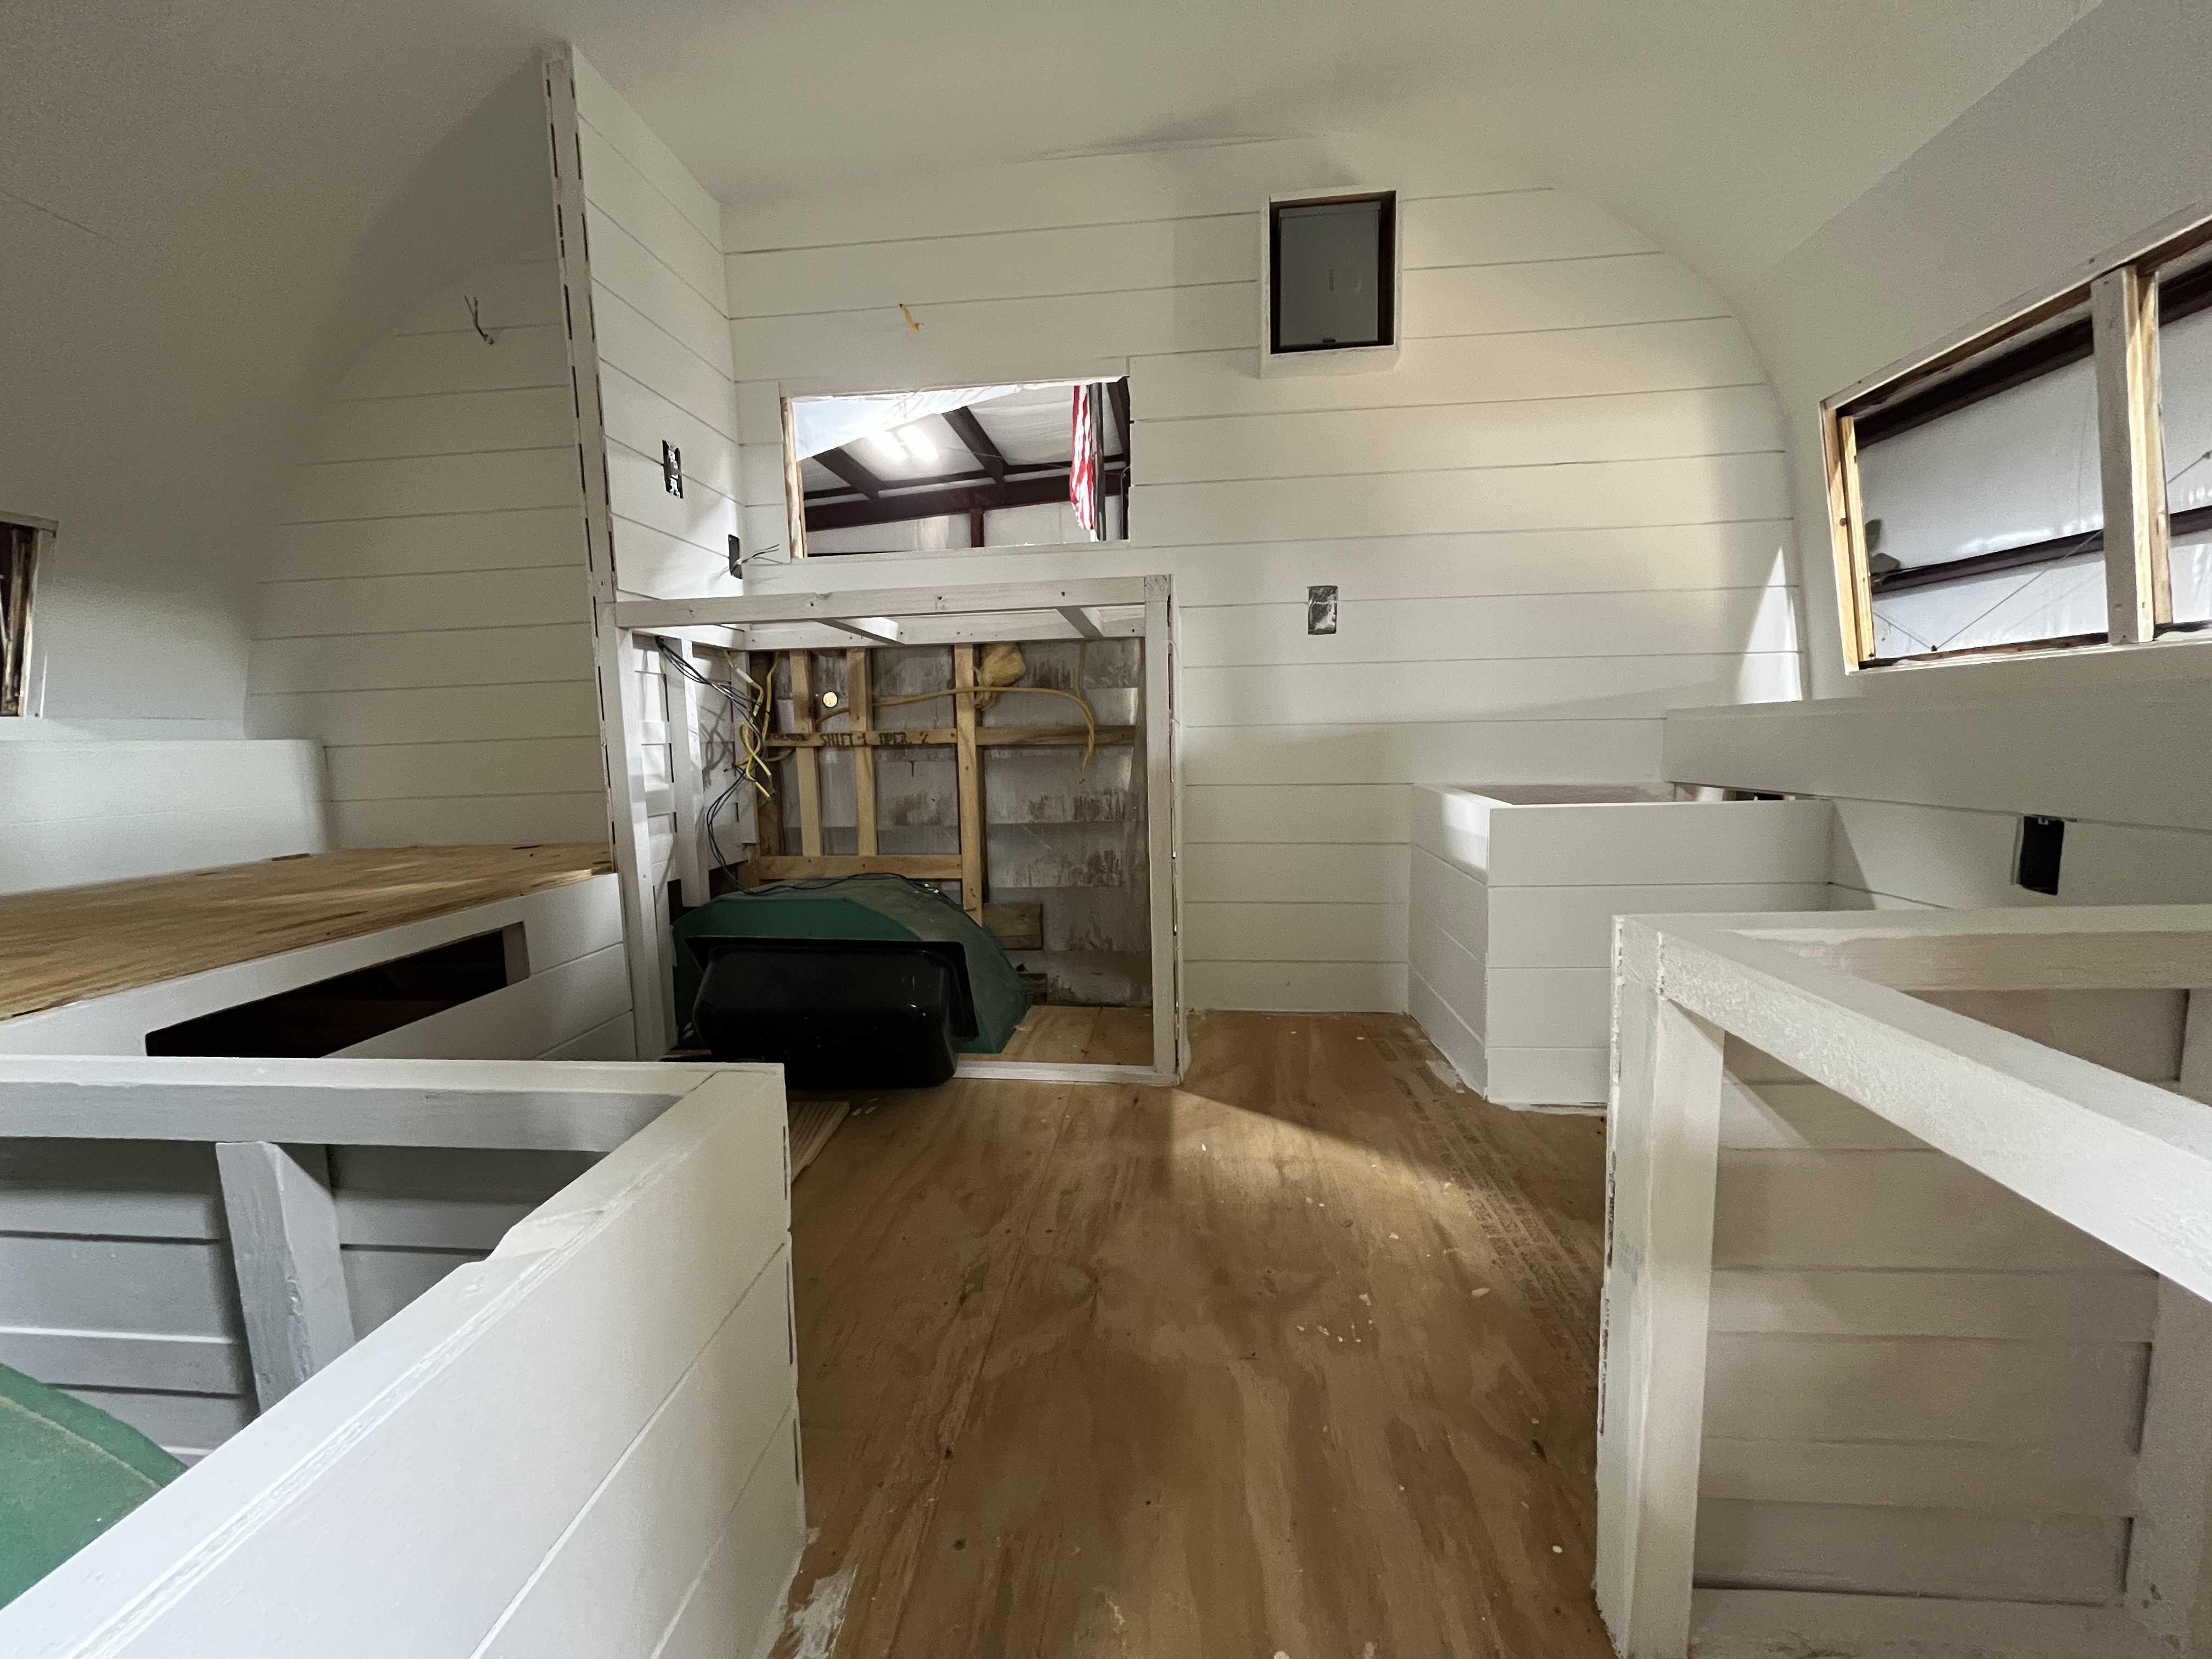
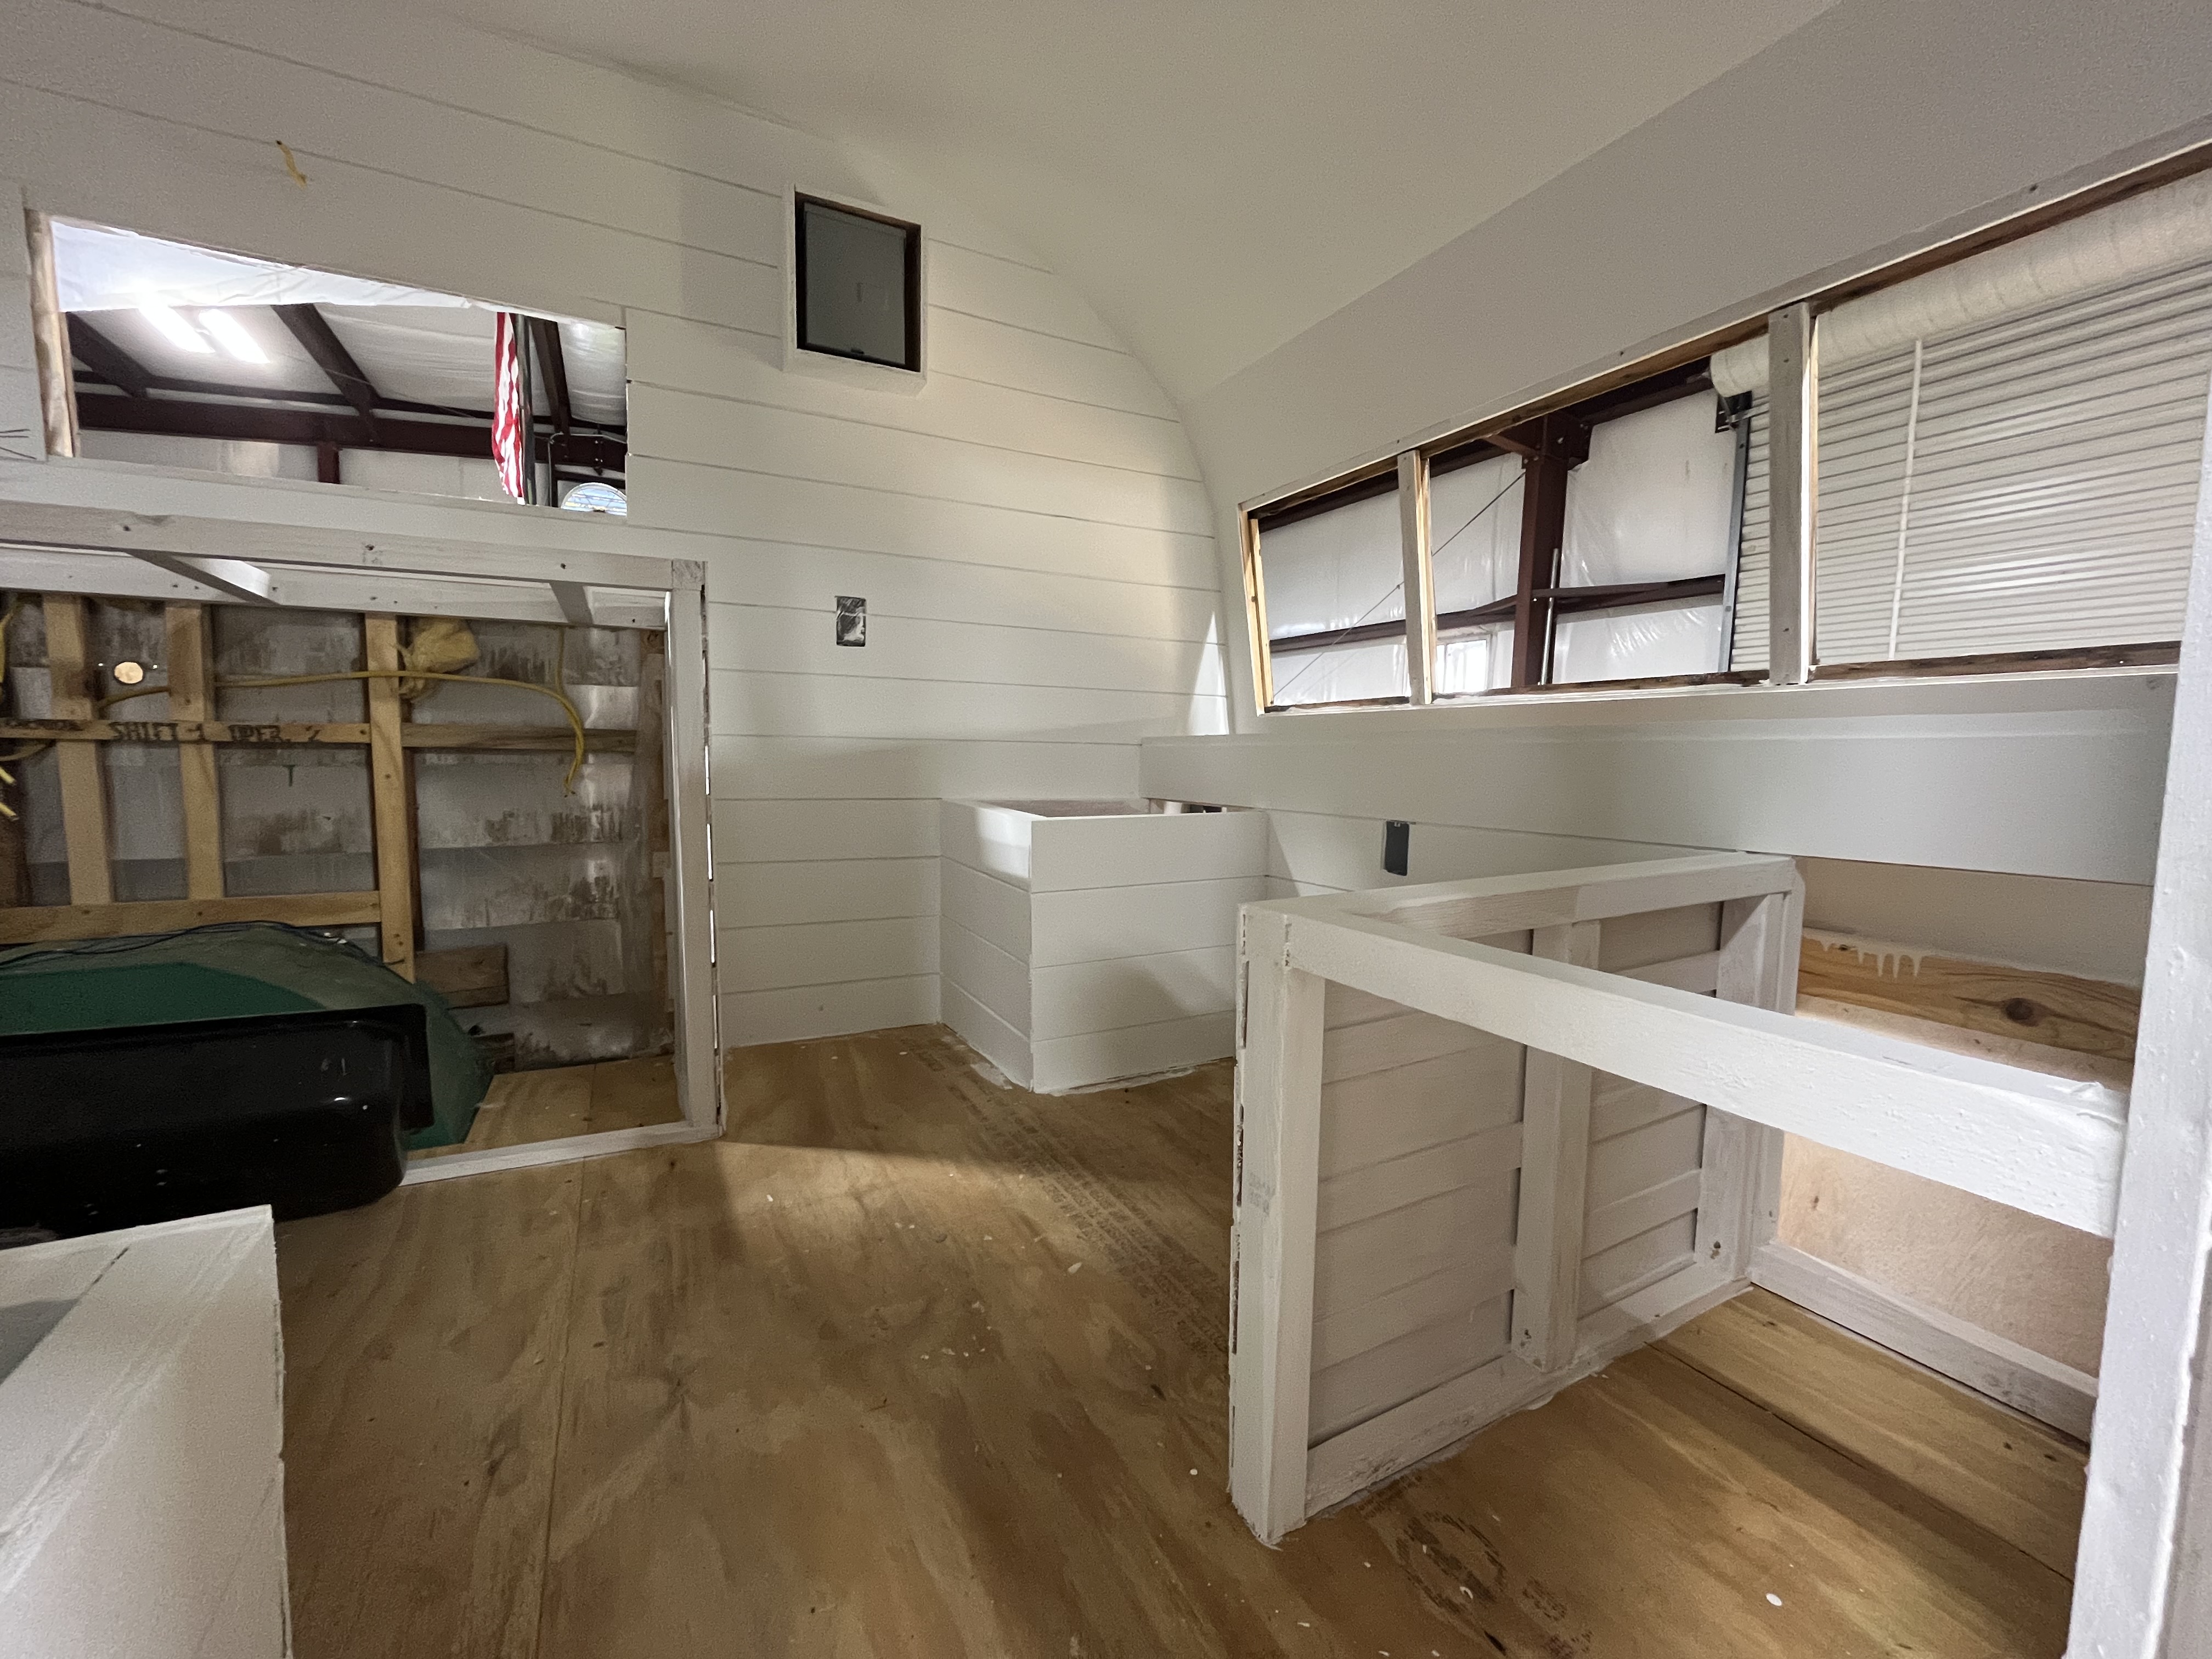
    Painted white

    Inside Midge from the door: white shiplap walls, plywood floor, the bed platform, and dinette frames
    The view from the door
    Inside Midge looking toward the front windows, with white shiplap walls and the dinette frames under the windows
    Toward the front windows and the dinette
    Finished front wall in white shiplap with the dinette frames in front
    Front wall and dinette frames · Oct 26, 2024
    Rear bed platform in plywood under the back window, walls in white shiplap
    The bed platform at the rear · Oct 26, 2024
    On video now
  5. Phase 5

    Thrift, sew, and style

    Vintage fabric curtains, thrifted dishes and lamps, and the decor that makes her feel like home.

    Up next
  6. Phase 6

    First trip

    Hitching up, a campfire supper, and taking Midge back out on the road.

    Up next

What you'll find here

Everything I love to do

I love what I love, and I think you will, too.

Woodworking

Cabinets, dinettes, trim, and furniture for small spaces.

Thrifting

Hunting for vintage fabric, dishes, lamps, and hardware on a budget.

Crafts

Curtains, cushions, signs, and painted details.

Home decor

Styling Midge and my home with found and handmade pieces.

Cooking

Campfire meals, and make-ahead suppers warmed in a crockpot or on an electric burner.

Baking

Baked at home and packed for the road.

Travel

Roads, campgrounds, and small towns once Midge is ready to roll.

Stories

How projects and places turn into the children's books I write.

Episodes

The first season

In the order they'll come out. Links will appear here as each one goes live.

1

Meet Midge: the story so far

The before photos, the gutting, the paint, and the plan.

2

A thrift haul for the camper

One budget, one afternoon, and what came home.

3

What I found inside the walls

The surprises that came out during demo.

4

Building a new dinette

From rough lumber to a seat for two.

5

Thrifted fabric into curtains

Sewing for small, odd-shaped windows.

6

Campfire cooking with Midge

A first supper over the fire, plus make-ahead meals from home.

7

Writing a book inside Midge

A day of storytelling from the dinette.

8

Our first trip

Hitching up and heading out.

The books

Stories for young readers

Before Midge, there were the books. Children's book ideas come to me through everyday contact with others, some serious, some silly. Midge will be a great place to write new ones!

  • Behind the scenes on writing and illustrating
  • How real projects turn into stories
  • Resources for teachers and librarians
A 1954 Empire, a children's author, and a whole lot of love!